| T O P I C R E V I E W |
| PeterW |
Posted - 10/16/2013 : 20:27:47
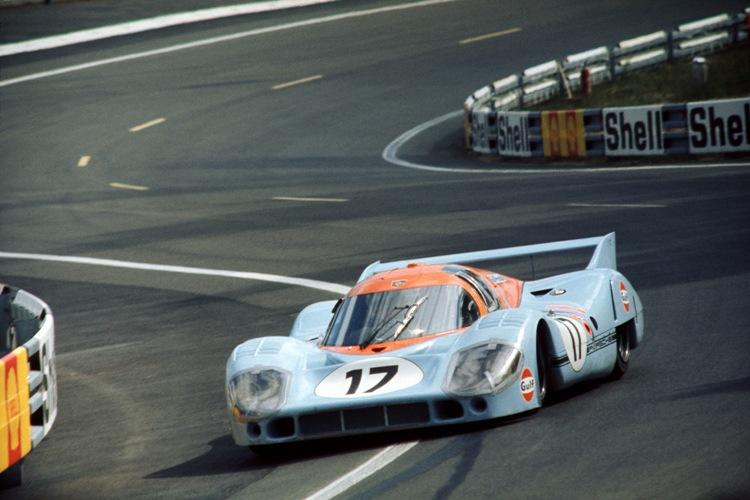
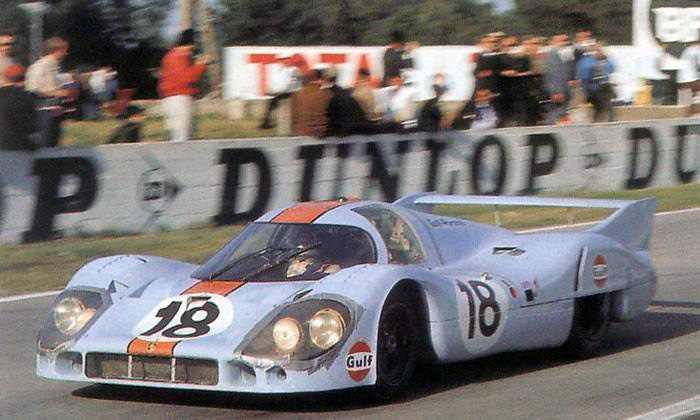
This is a nice break from the Ferrari subjects and personally I don't think they get the exposure they should. They are marvelous cars and MFH has released some stunning kits of the Gulf 917L from Le Mans. I will build one of each, #17 and #18. If interested in one please contact Mike.


Here are photos of the kits...not only are they nicely packaged but very detailed. White metal for the bulk of the kit too. I do like the cast amber parts...nice touch.


 |
| 15 L A T E S T R E P L I E S (Newest First) |
| SAMLAMBO |
Posted - 12/17/2015 : 21:22:11
I've decided that I'm commissioning master craftsman Peter W to build for me the No 18 Gulf car.
I am simply blown away after looking at his wip in this thread. If only I had looked at it earlier. The car is simply stunning!
I receive my kit in the next few weeks which I purchased online and having it shipped to Peter. |
| PeterW |
Posted - 02/07/2014 : 14:55:18
Work on the Gulf version, car #18, commences...this version will be available later this month. Contact Mike if interested in reserving this one.


 |
| PeterW |
Posted - 01/19/2014 : 15:32:56
quote:
Originally posted by 914joe
Nice job!!! That looks like a fun kit to build. Any pics of the Gulf car finished?
think small
Thanks Joe. The #18 Gulf car will commence this week. Photos to follow... |
| davesans |
Posted - 01/11/2014 : 18:24:21
Nice work Peter both cars look great.
I really need to get back to some building again our work is very inspiring
Regards
Dave |
| 914joe |
Posted - 01/07/2014 : 09:29:21
Nice job!!! That looks like a fun kit to build. Any pics of the Gulf car finished?
think small |
| PeterW |
Posted - 12/19/2013 : 16:15:27


 |
| PeterW |
Posted - 12/16/2013 : 15:16:24
The photo etched frames are carefully bent to fit the windows and then painted mat black.

The glass is installed and frames are applied over the glass.

And almost there..just some pluming and a little more tweaking. These kits require a lot of finesse to get everything in there and still fit properly. No room for error.
 |
| PeterW |
Posted - 12/13/2013 : 15:22:07
Tweaking the chassis and adding the suspension components. Everything is a very tight fit. On to the final stretch of this build!
For those who will be building the MFH kit the photo etched fire wall will need to be modified to allow the body to fit nice and snug as shown in the last photo.


Final fitting of the body panels is essential. Little tweaks here and there will make it all come together nicely in the end.
 |
| PeterW |
Posted - 12/12/2013 : 15:14:24

 |
| PeterW |
Posted - 12/11/2013 : 16:09:56
Thanks Guys...on to more progress.
Dry fitting some more as assembly continues and colors are incorporated into the chassis. And no...the rear wing is not decaled backwards, just sitting around waiting to be clear coated ;)

 |
| Cloud 9 |
Posted - 12/11/2013 : 06:14:58
Models look great as well as the base, Peter! |
| the.x.man |
Posted - 12/10/2013 : 18:44:01
There is no way anyone could buy only one of these - you would just have to have both!
________________________________________________
The only substitute for cubic inches is more cubic inches!
Max Balchowsky
the.x.man 1:43
|
| PeterW |
Posted - 12/10/2013 : 16:32:43
Clear coat is complete and now basic assembly commences. Checking carefully all of the fitting of detailed parts.


 |
| PeterW |
Posted - 12/09/2013 : 16:49:14
The decals are finalized and after some cure time will receive the clear coat.


 |
| PeterW |
Posted - 12/05/2013 : 18:55:53
The rear wing uprights are painted first and the main decals are placed and set down with solvent to help them settle into the complex shape of the body. Certain parts of the decals have been removed intentionally. A clear will be applied at this stage and then these voids will be “wet masked” and airbrushed to match. Small gaps, etc will also be touched in at this point before the rest of the livery is applied.


 |
