|
Note: You must be registered in order to post a reply.
To register, click here. Registration is FREE!
|
| T O P I C R E V I E W |
| ewestra |
Posted - 03/28/2011 : 02:35:20
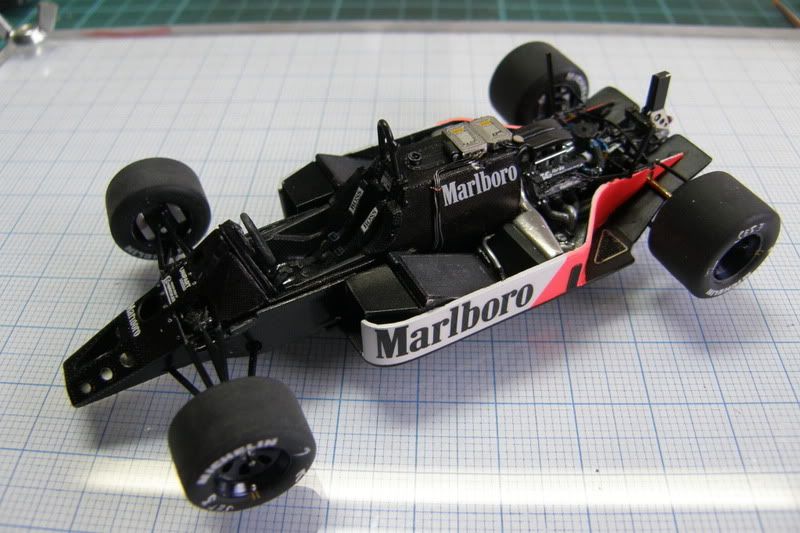
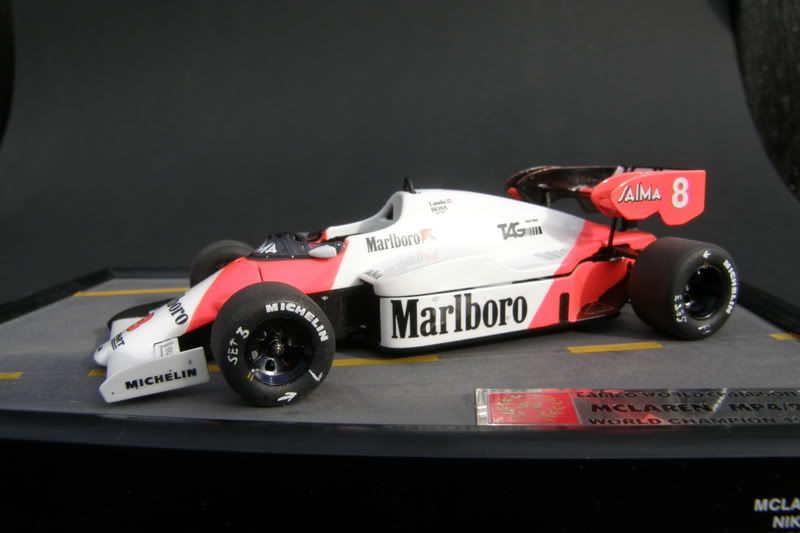
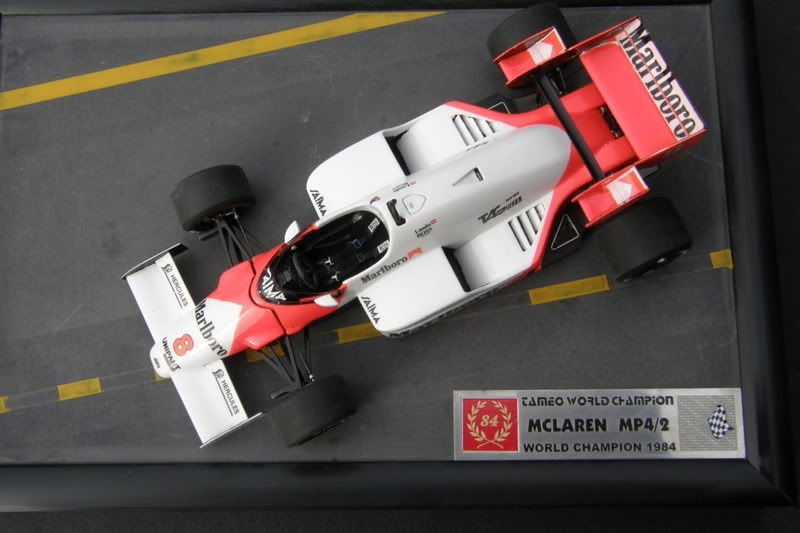
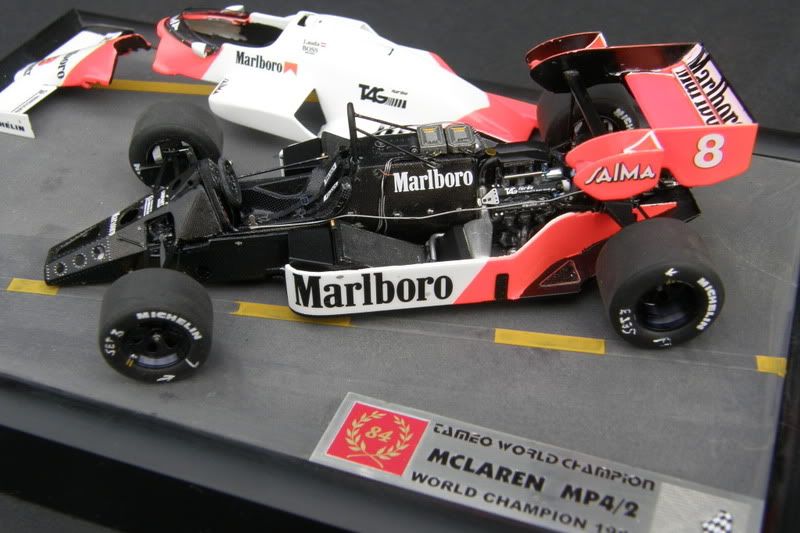
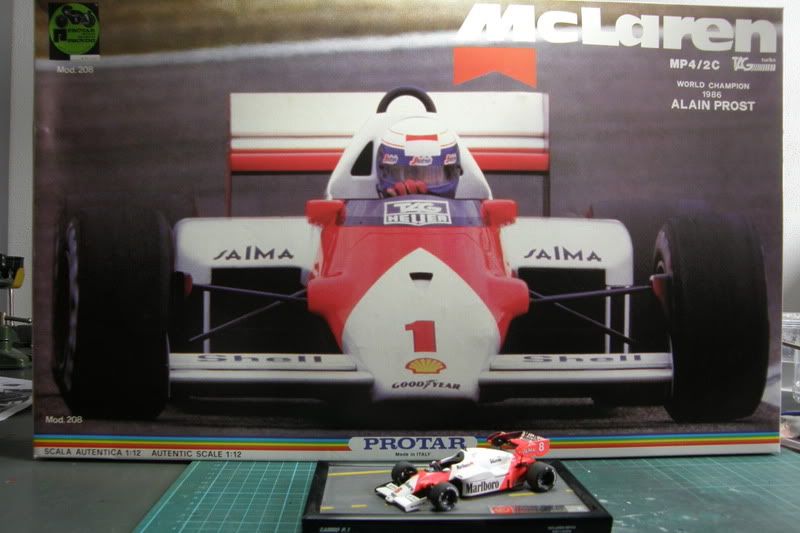
In 2010 I finished this McLaren. It was a interesting build since it was a while back I build 43rd scale.
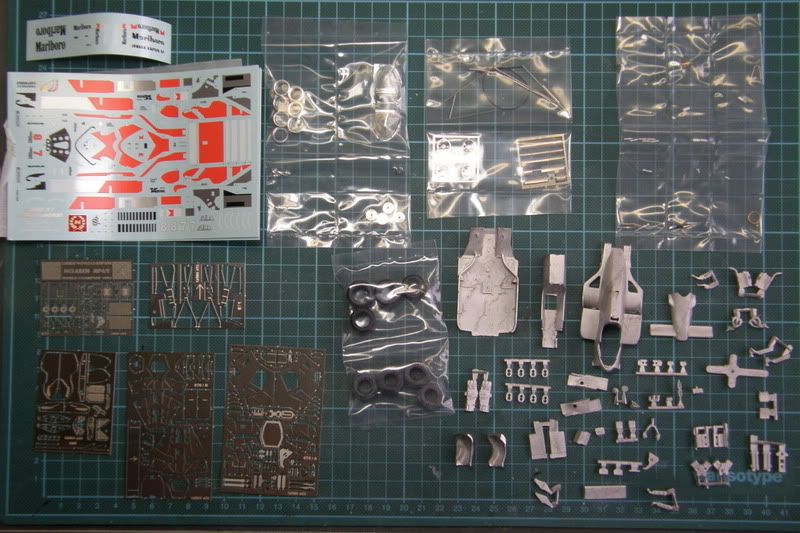
This is the Worldchampion kit from Tameo.
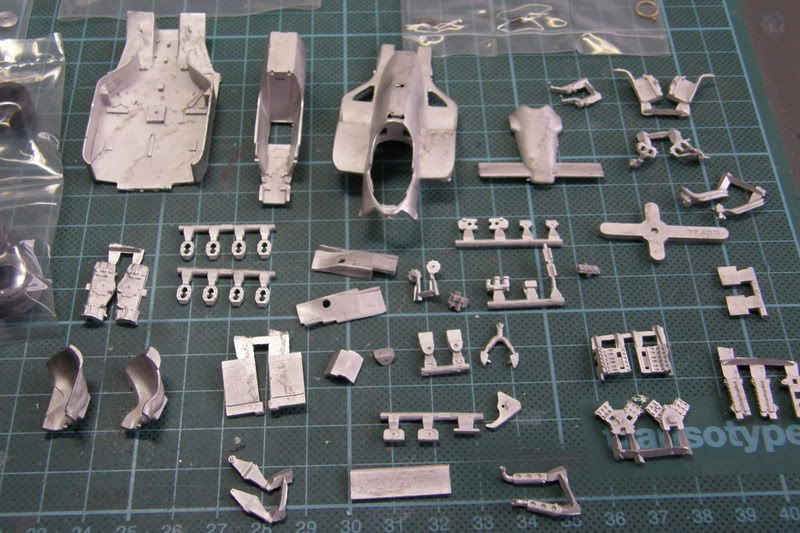
White metal parts
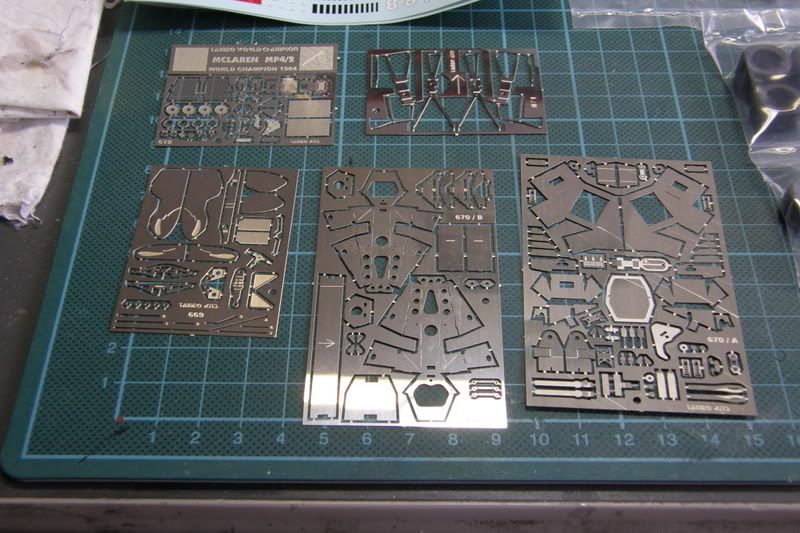
Photoetch parts.
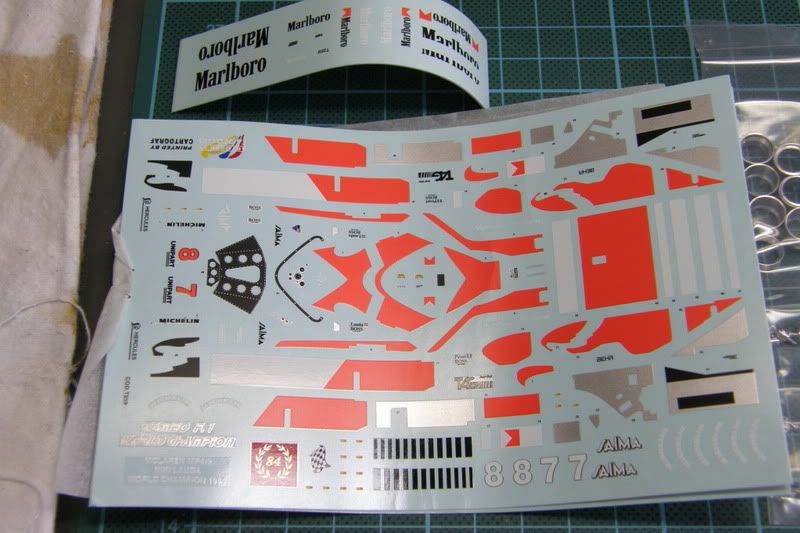
Decals
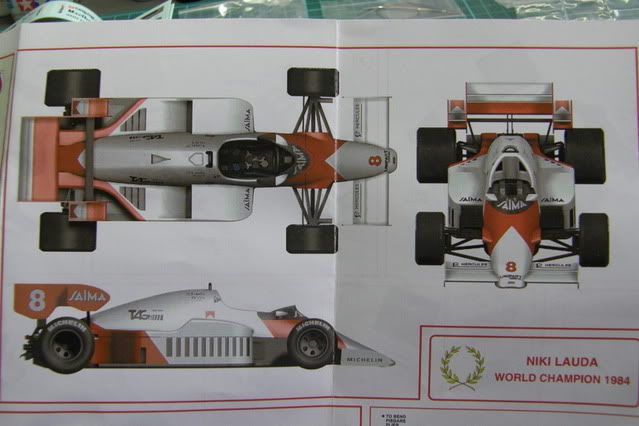
Beautifull instructions by Tameo
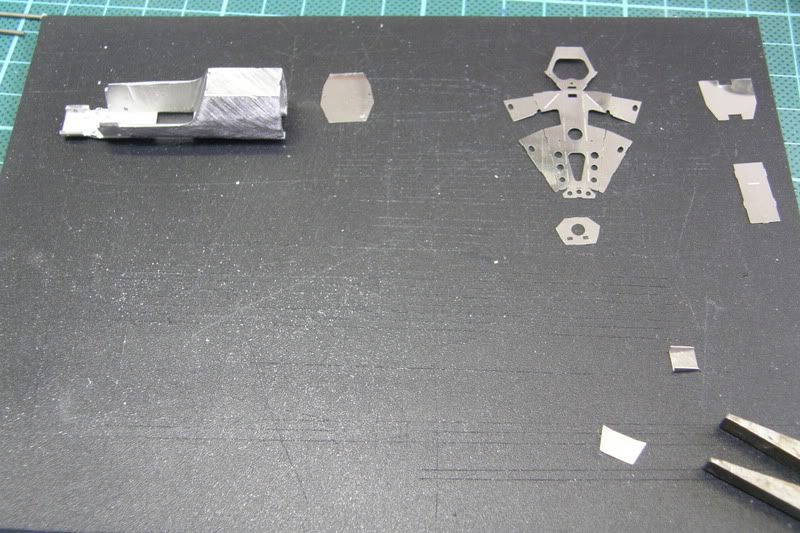
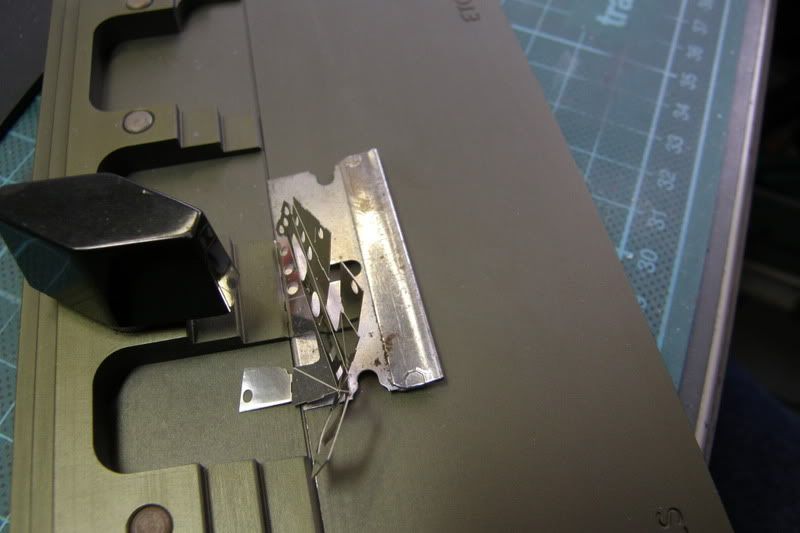
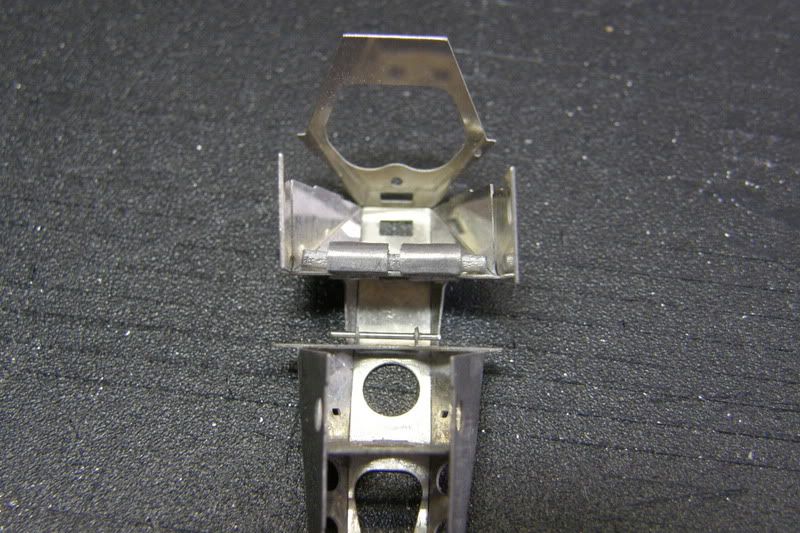
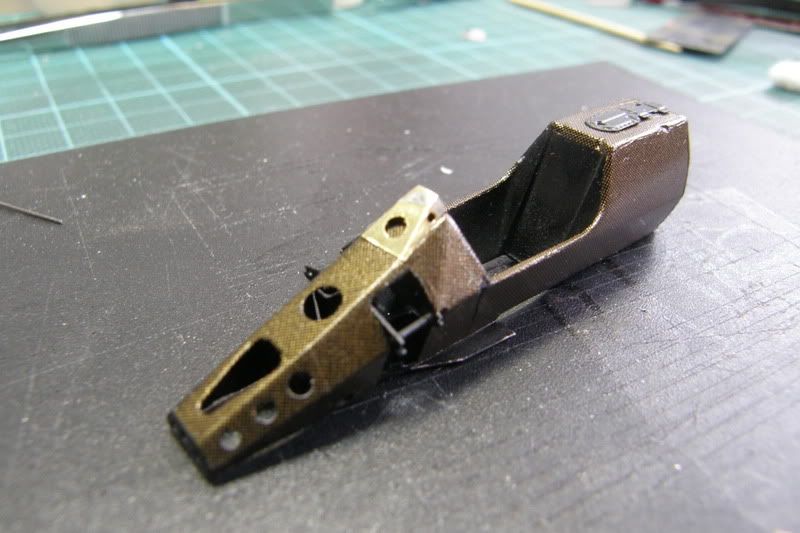
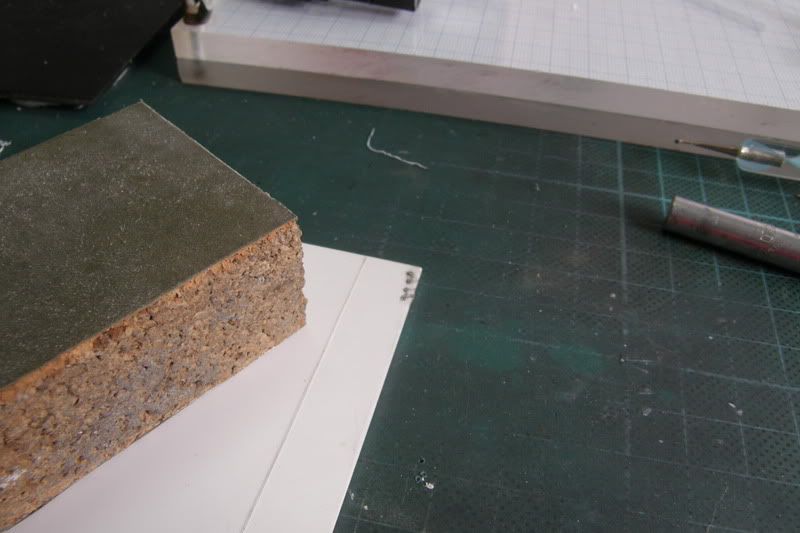
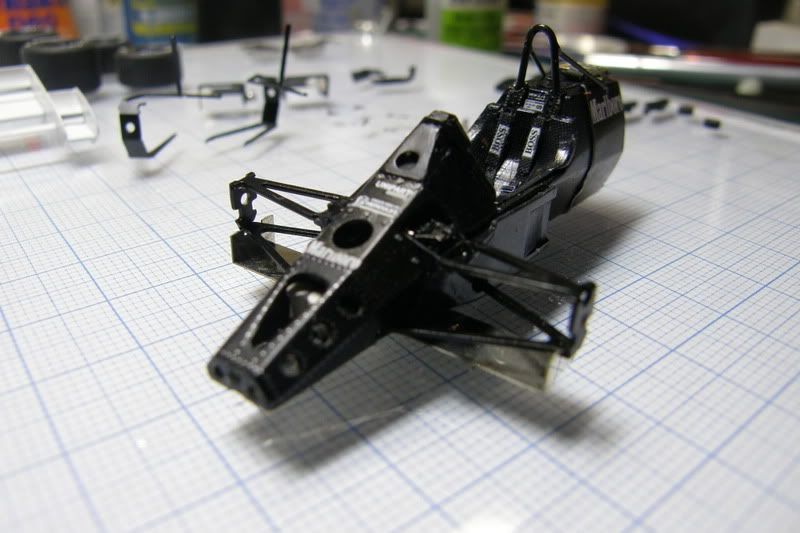
The monocoque is made out of a white metal part and photoetch wich you have to bend into shape.
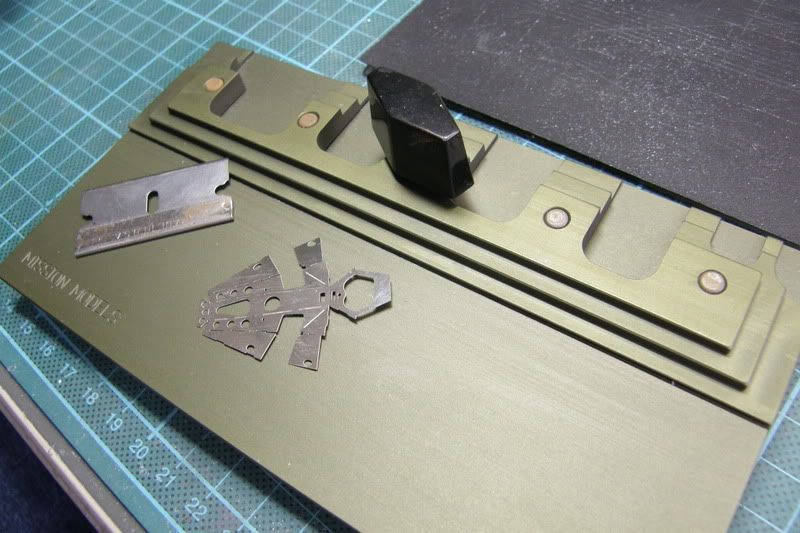
To achive sharp foldlines I make use of the "hold and fold", it's a great help.
Nearly there
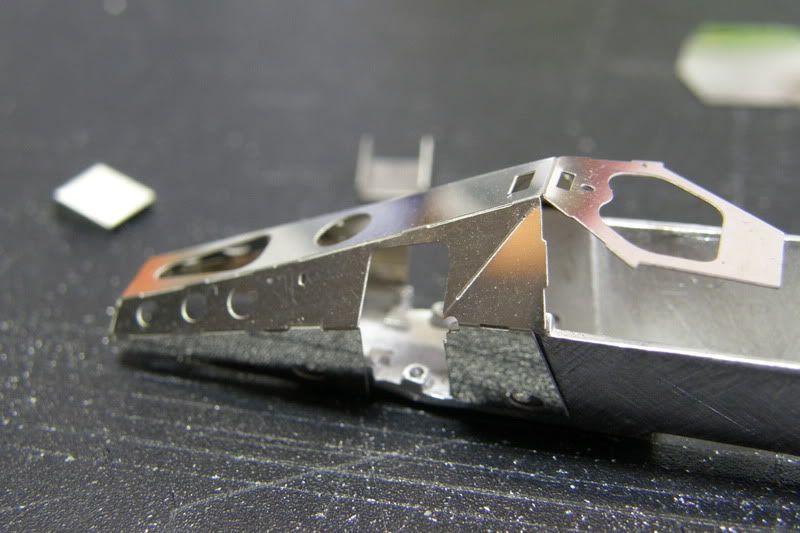
Dryfitting the photoetch part.
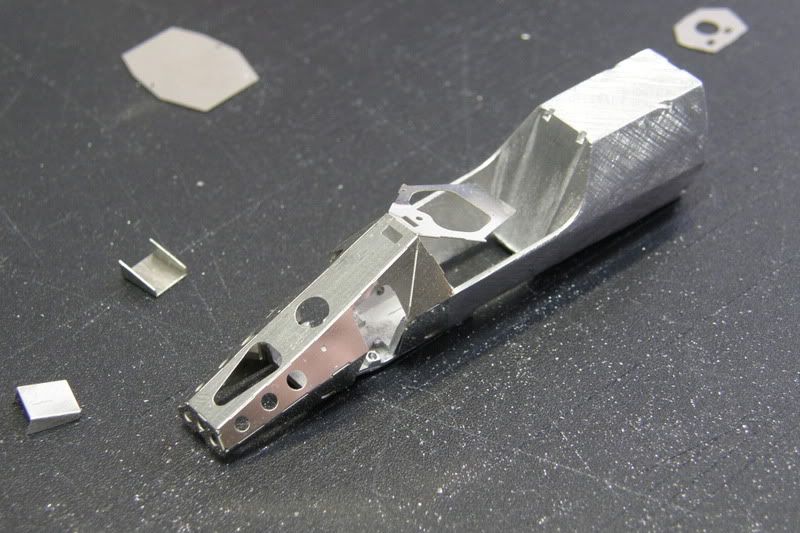
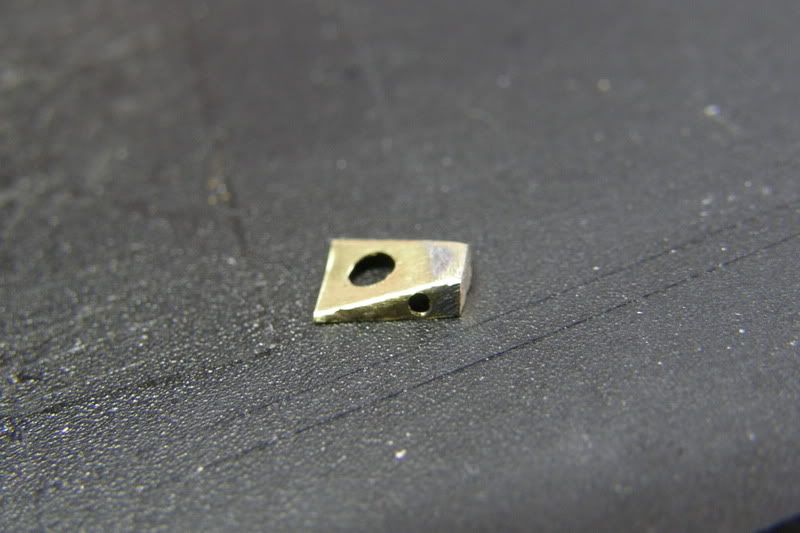
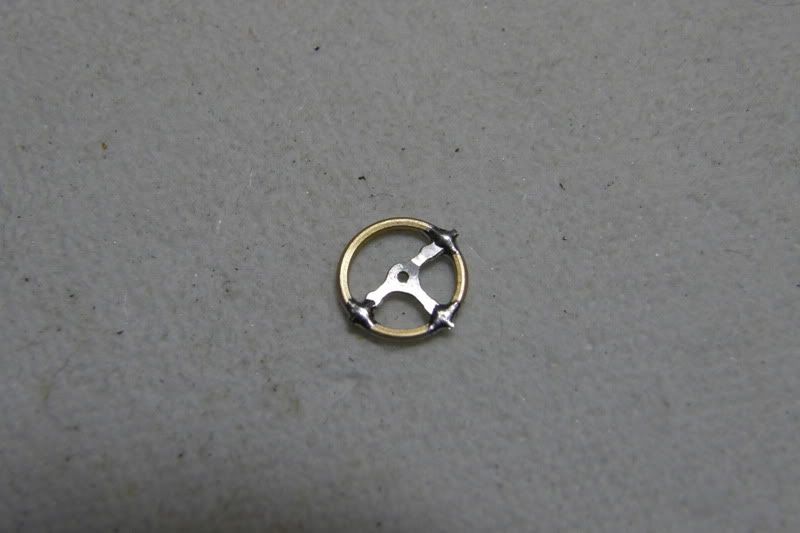
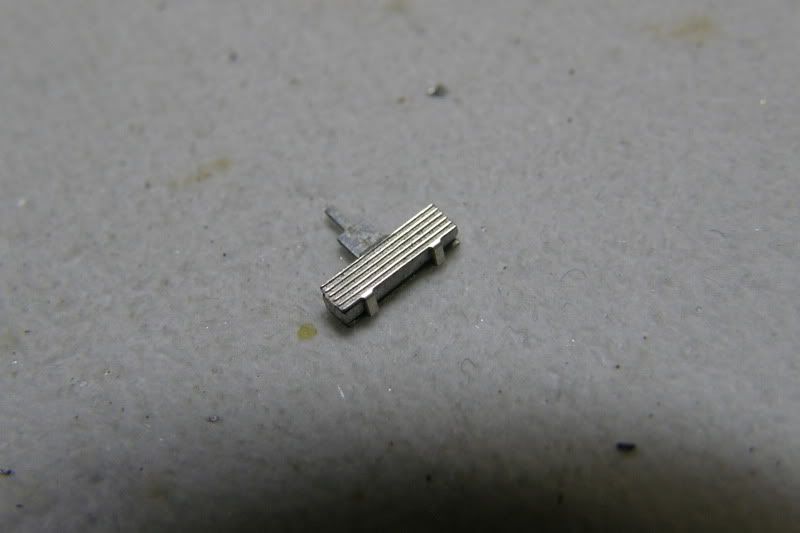
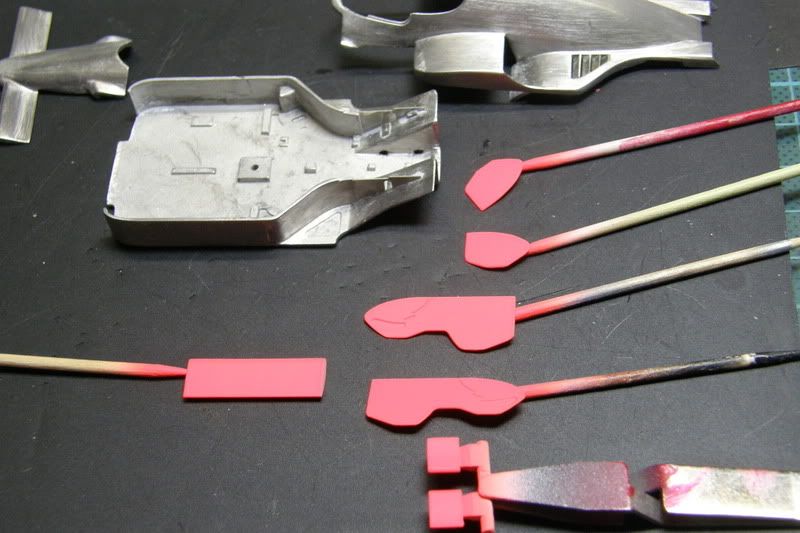
Other parts made for the monocoque
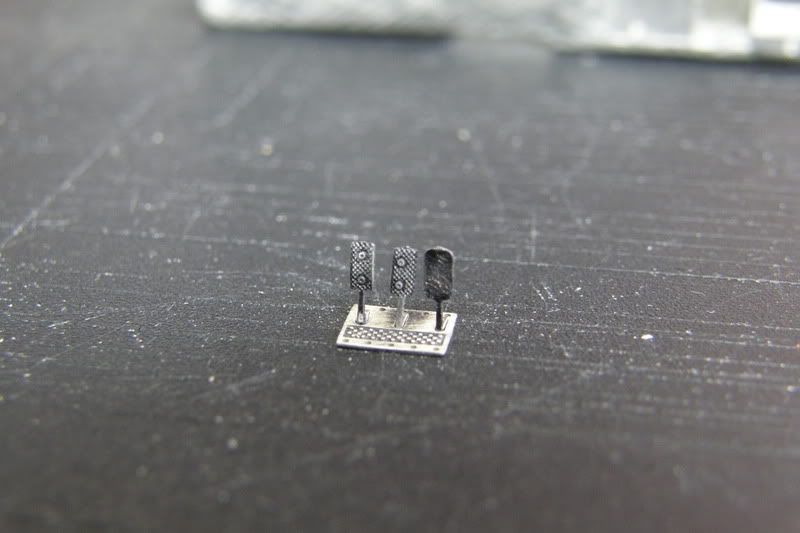
Some nice pedals
Inside of the monocoque
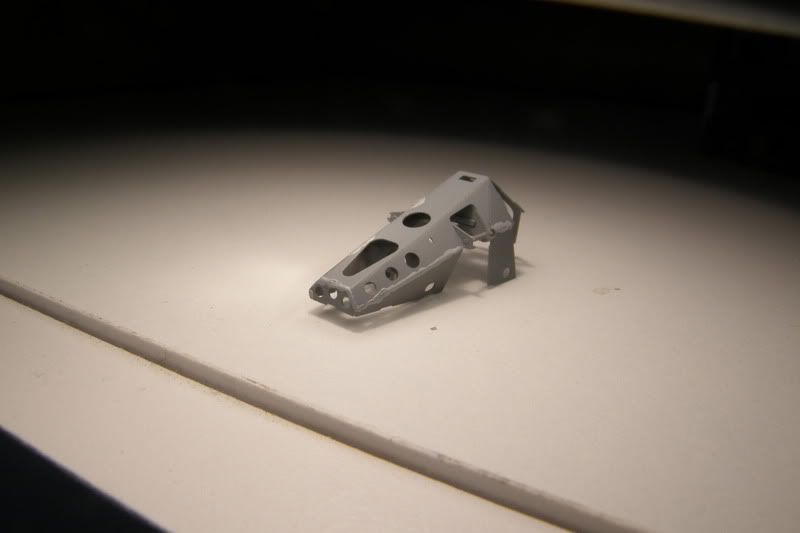
Monocoque primed and put under a lamp for some heat to make it dry quicker
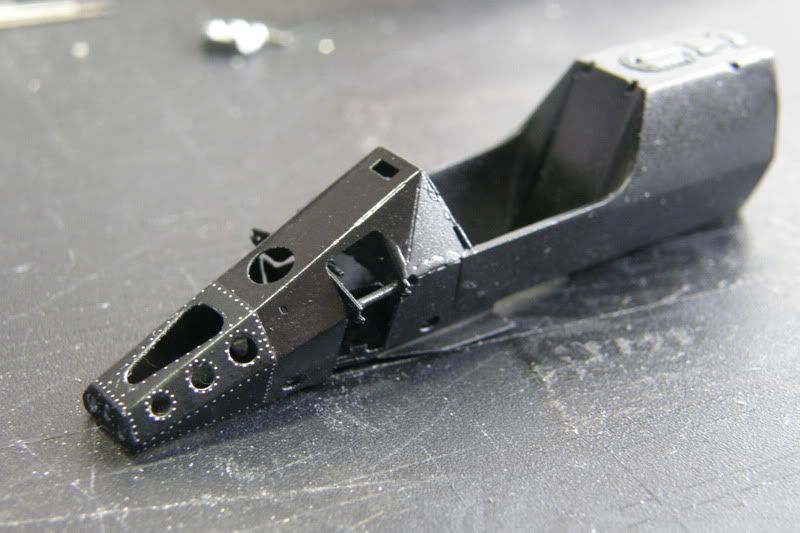
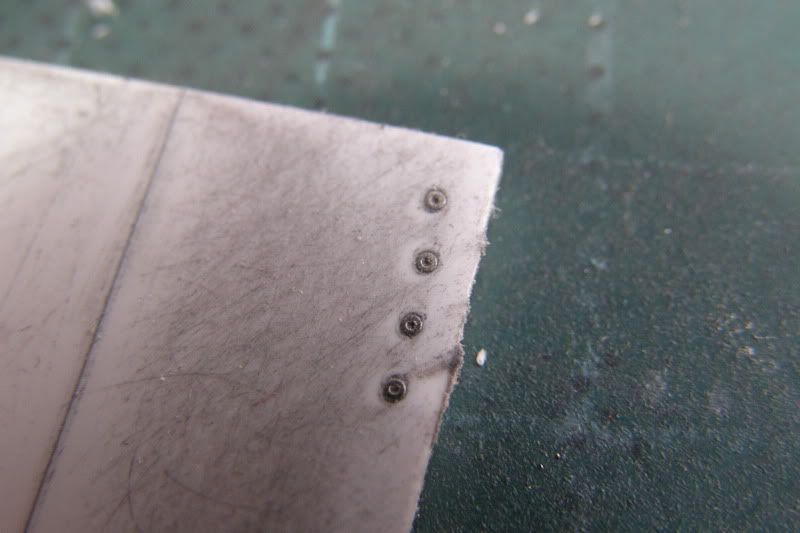
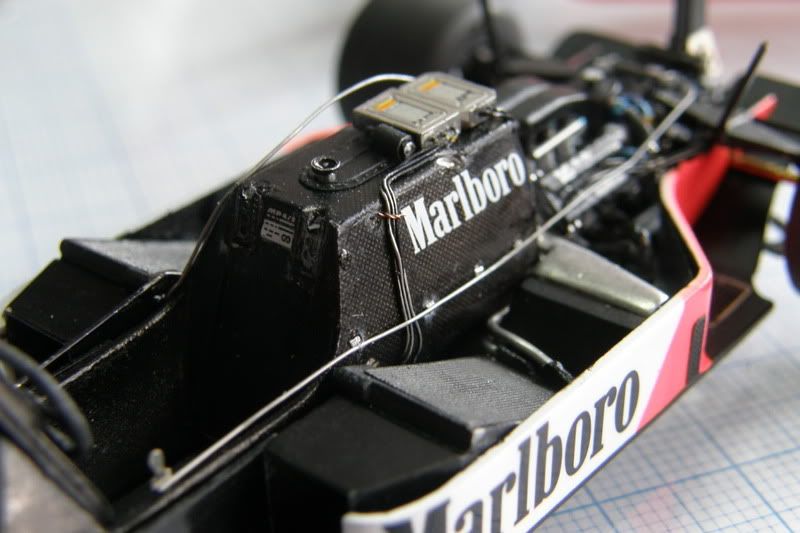
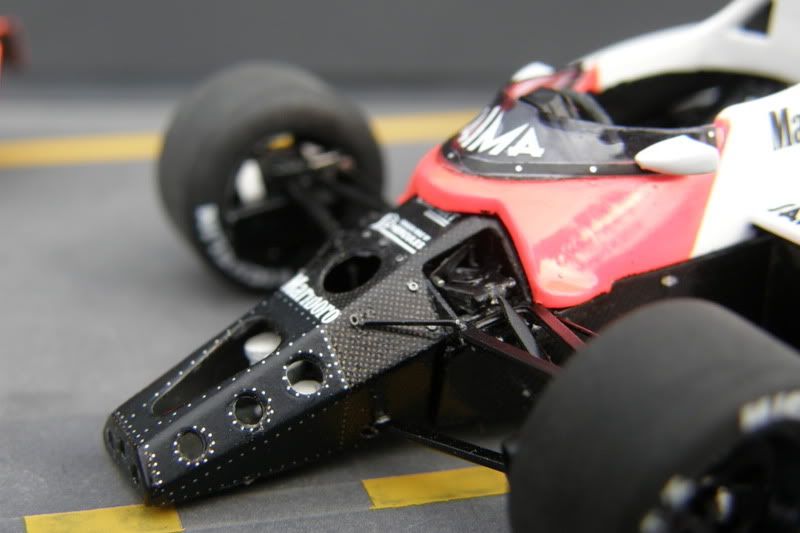
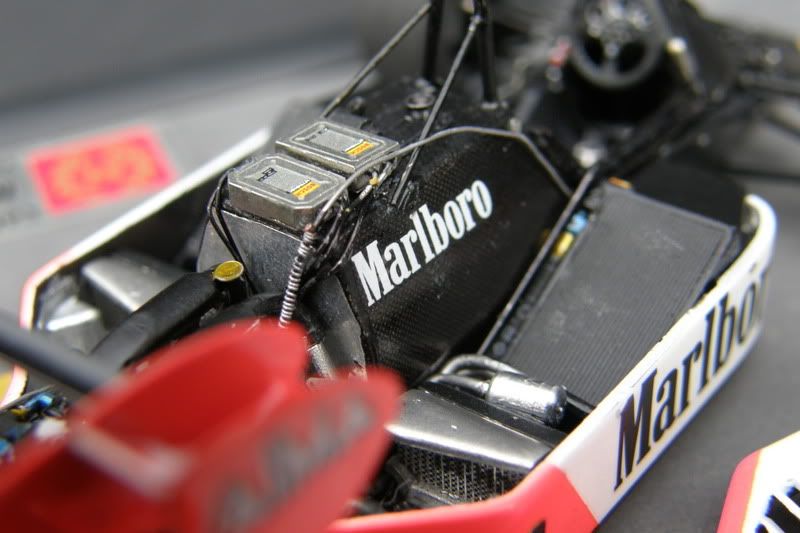
Monocoque partly sprayed black and put the decal (Tameo) with the images of the rivets.
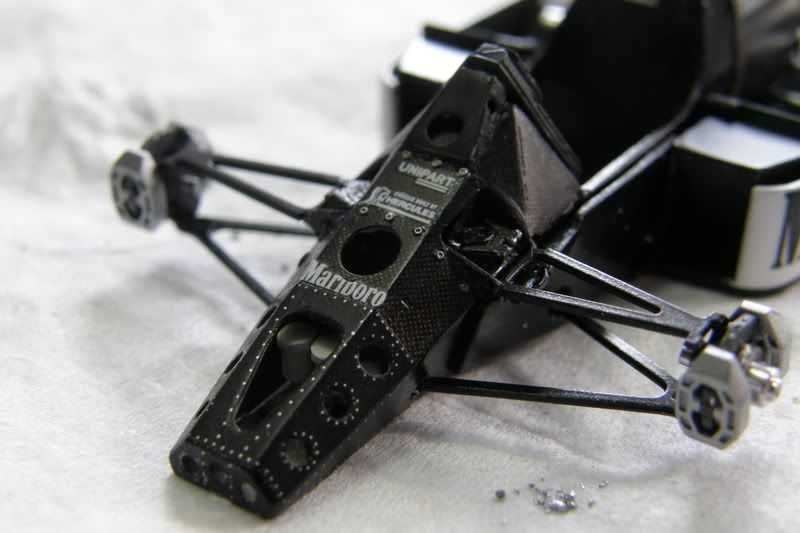
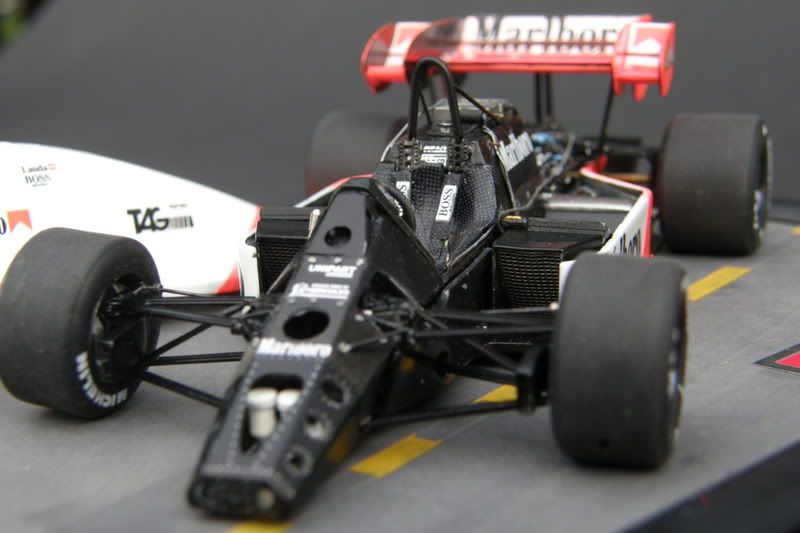
Since the rolloverbar was moulded in I shaved it of and build a new one from coppersheet.
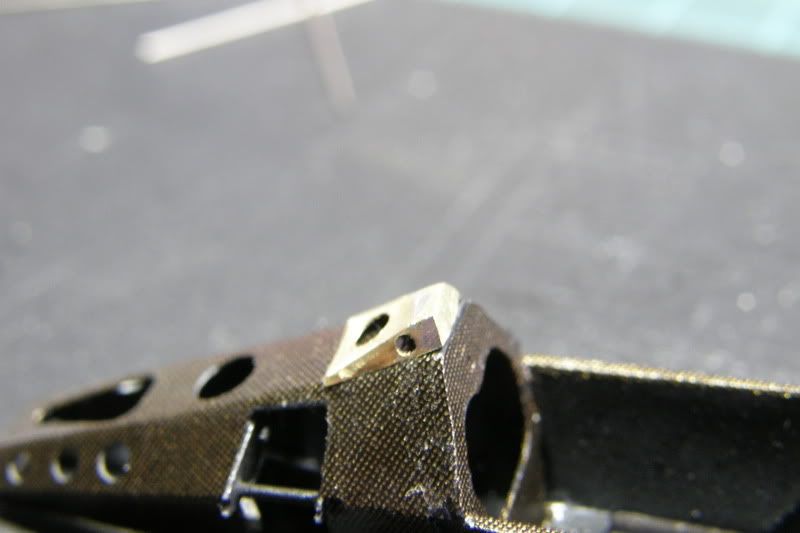
Much nicer I think
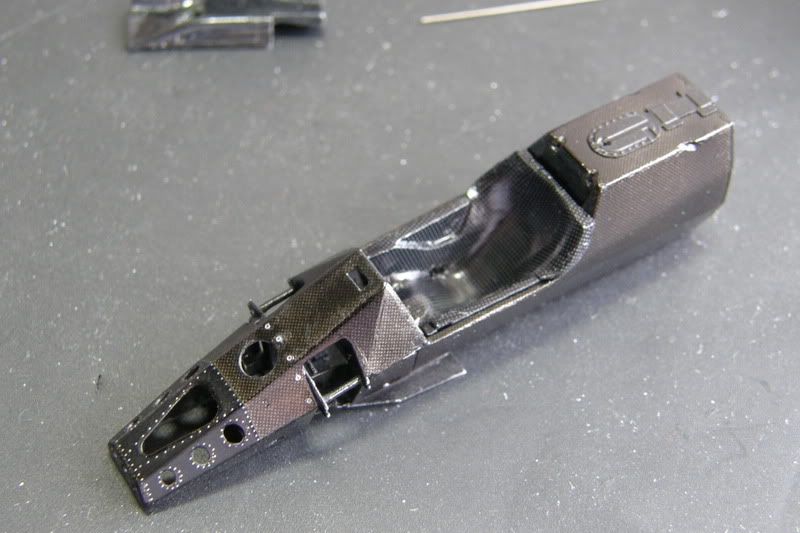
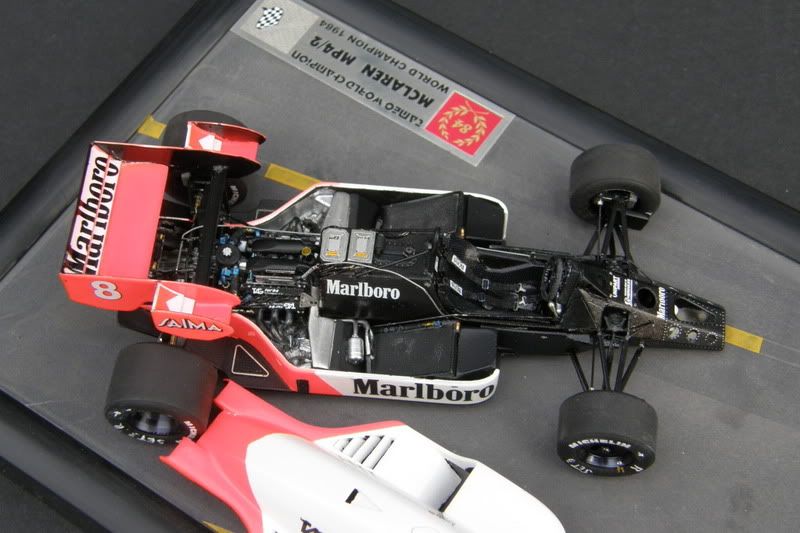
I wanted to replicate the carbon survace. This was the correct one. I also wanted the goldish glow.

After spraying smoke I got what I was looking for.
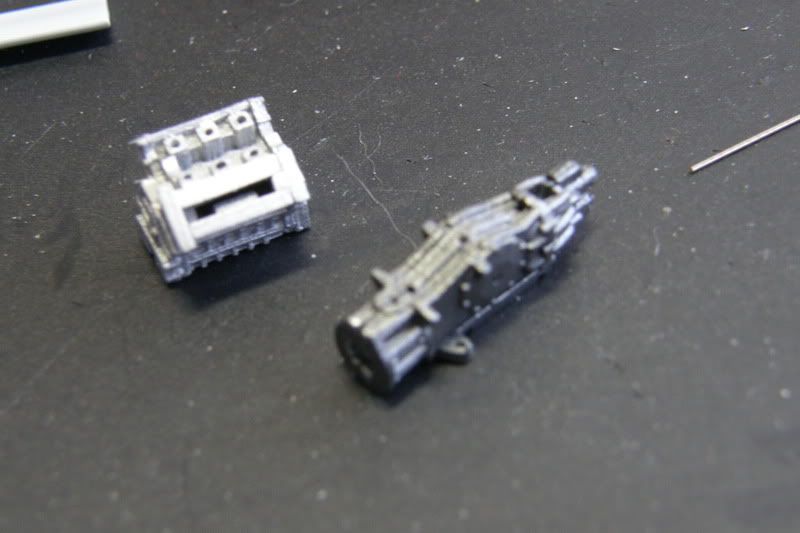
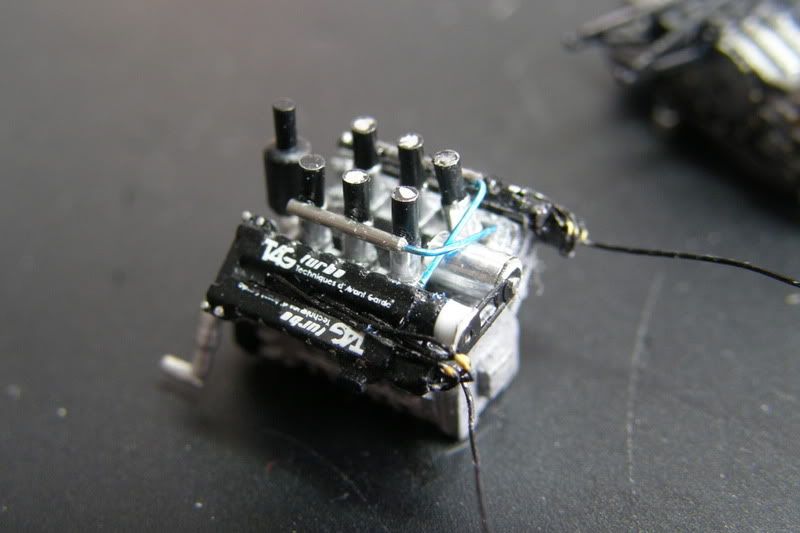
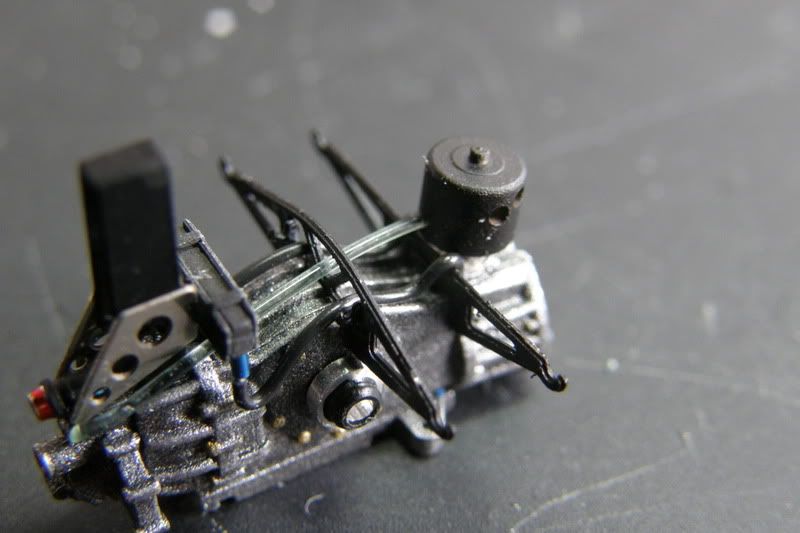
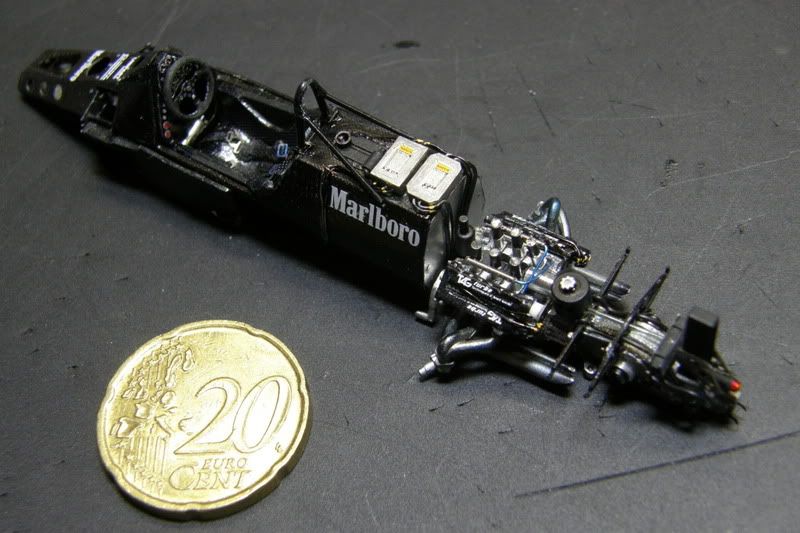
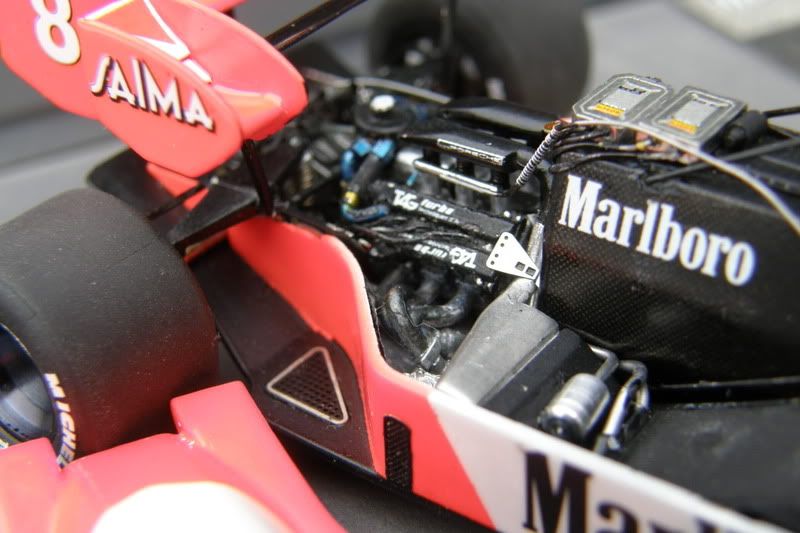
Started with the engine and gearbox
Decalled the seat.
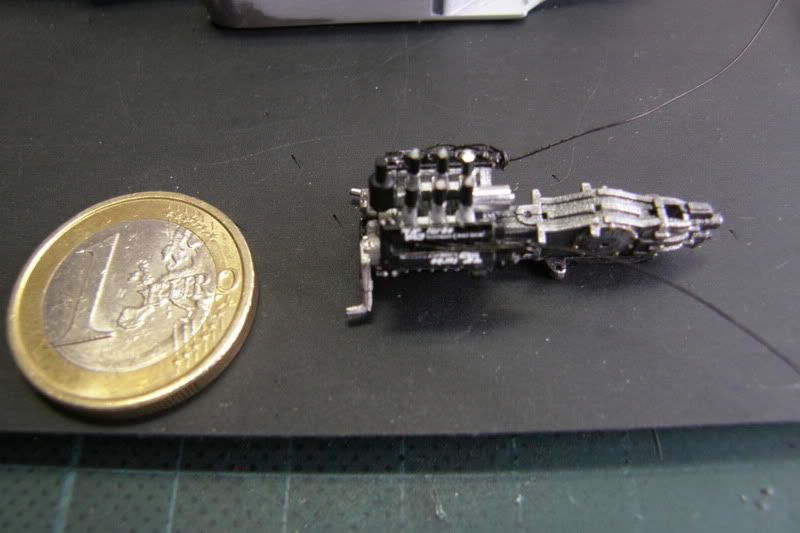
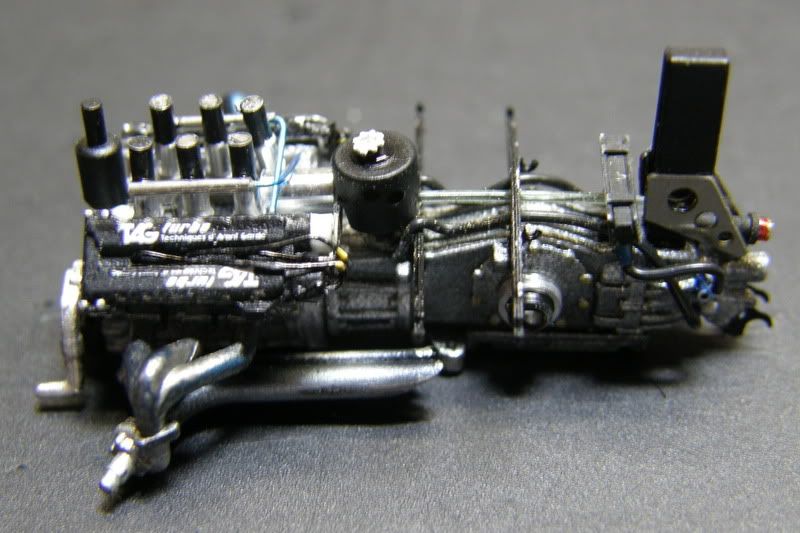
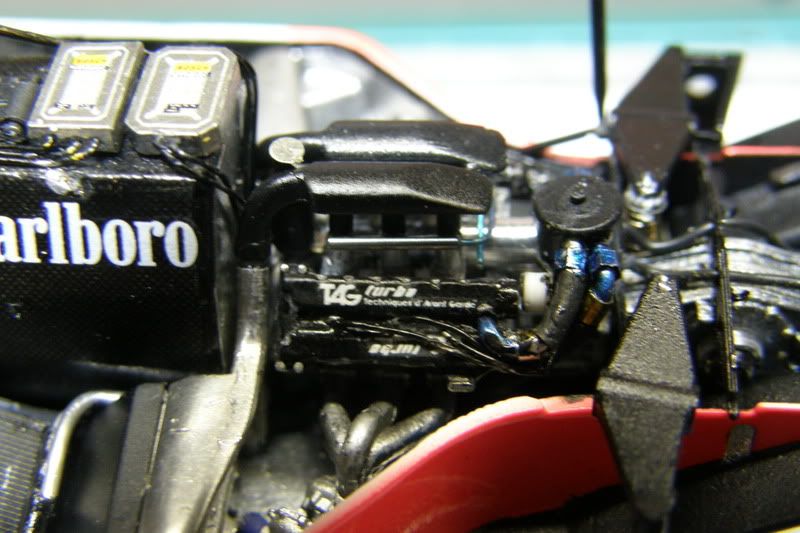
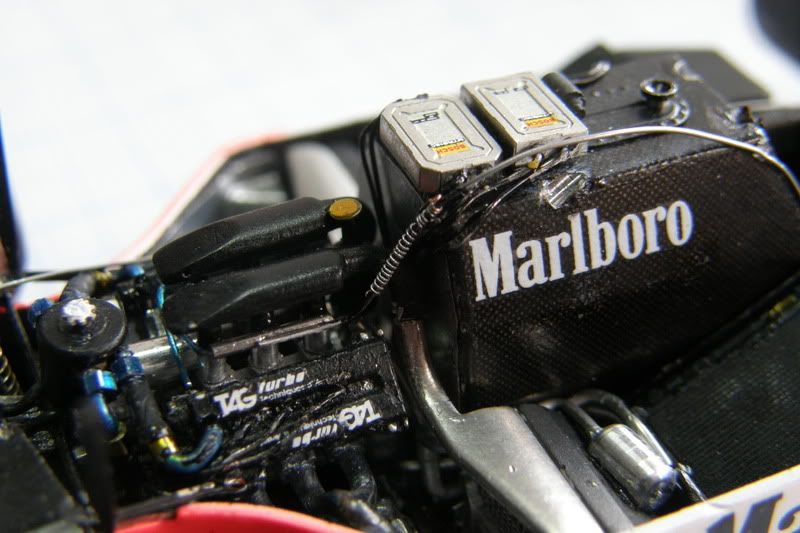
Engine painted and wired
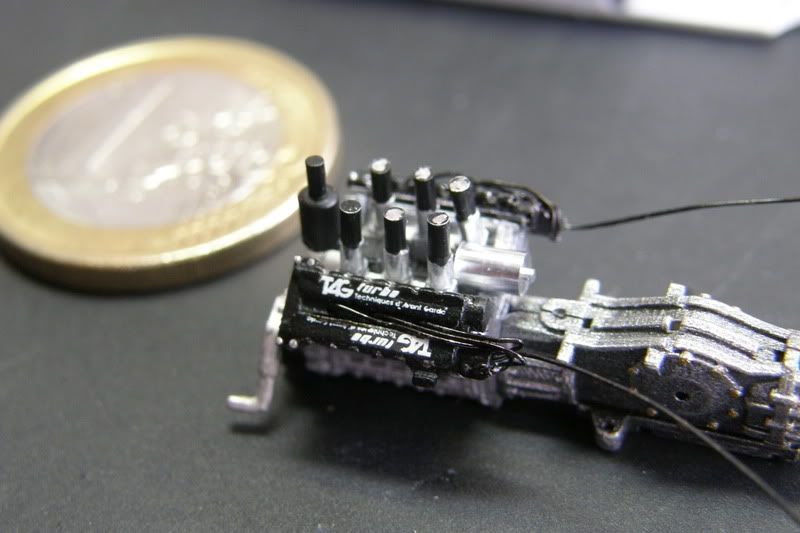
More closer
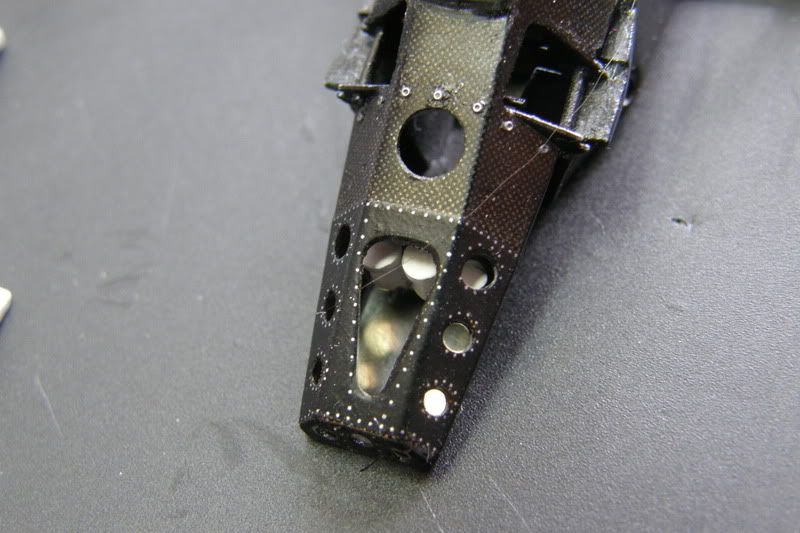
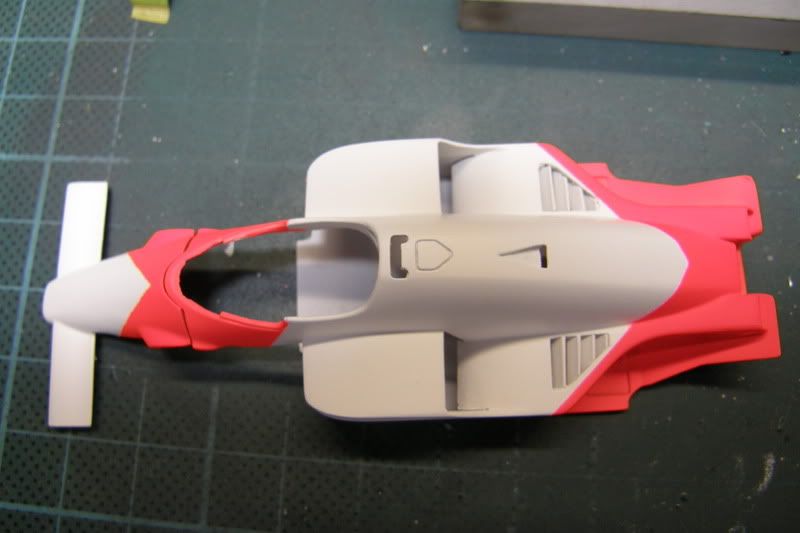
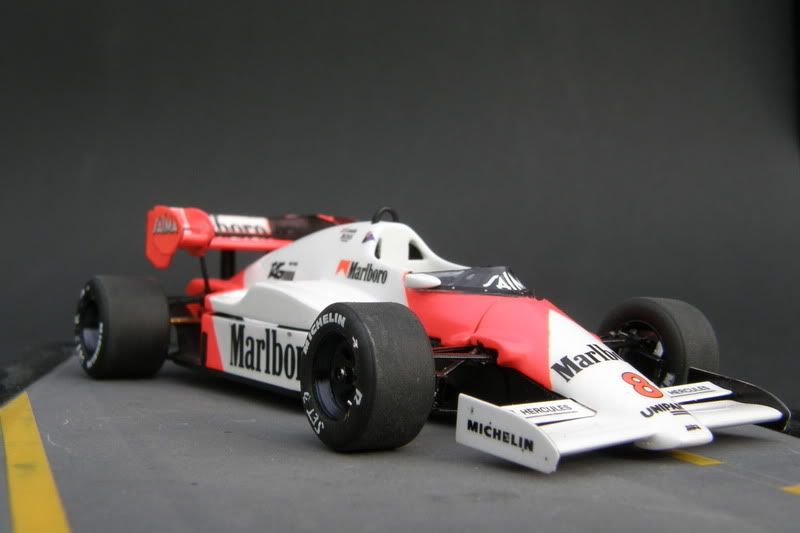
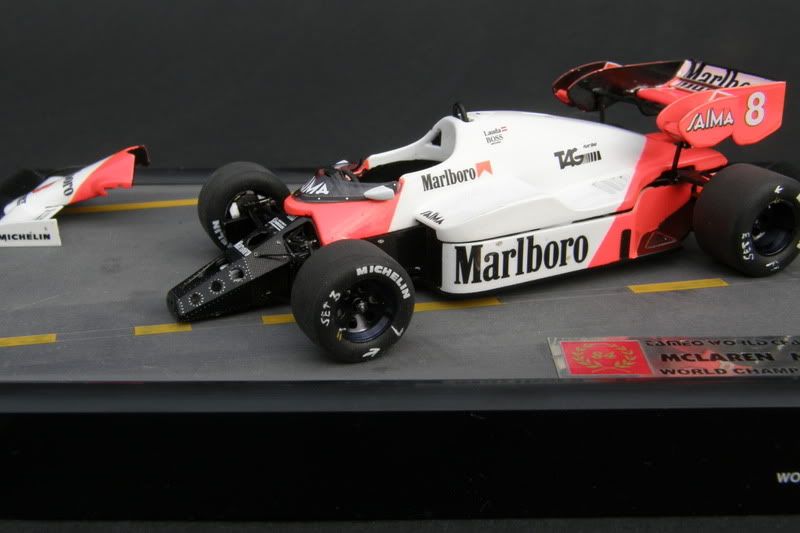
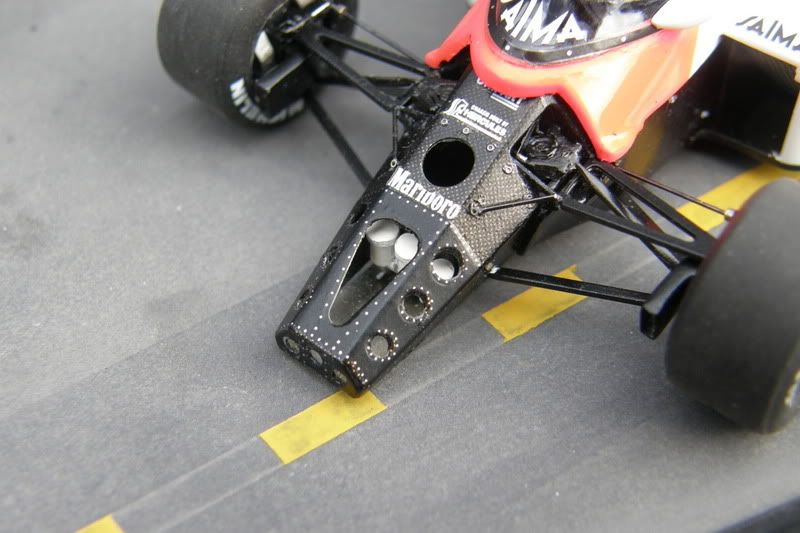
I left the bottom of the nose alu, like in the real car.

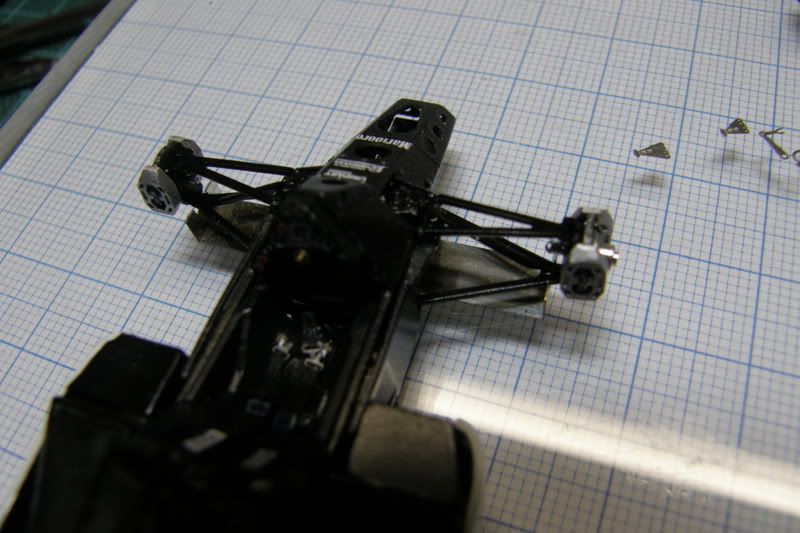
Monocoque dryfitted to the chassis
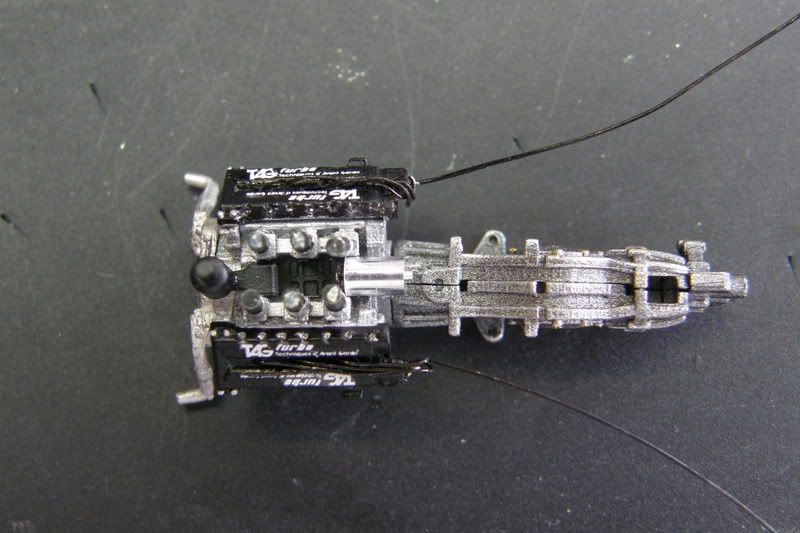
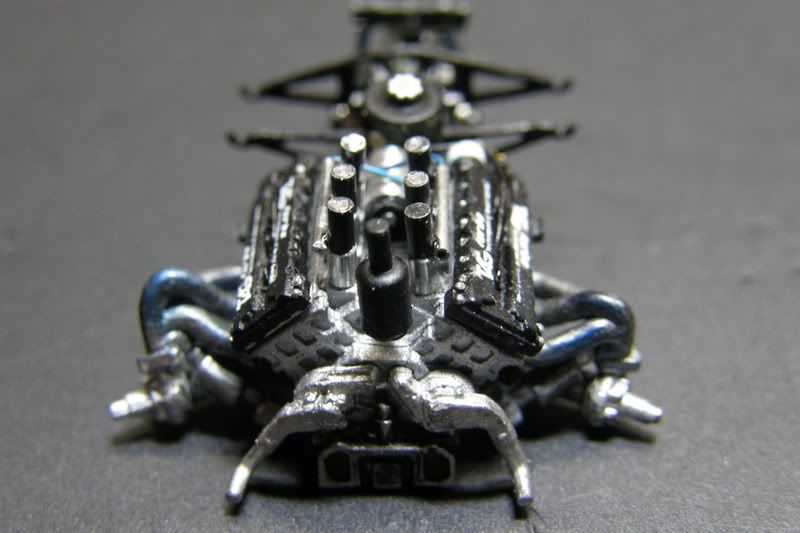
Engine from above
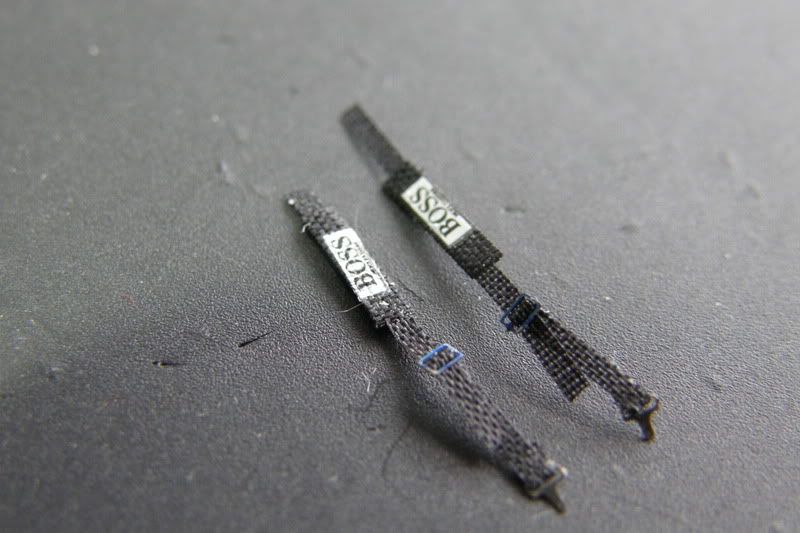
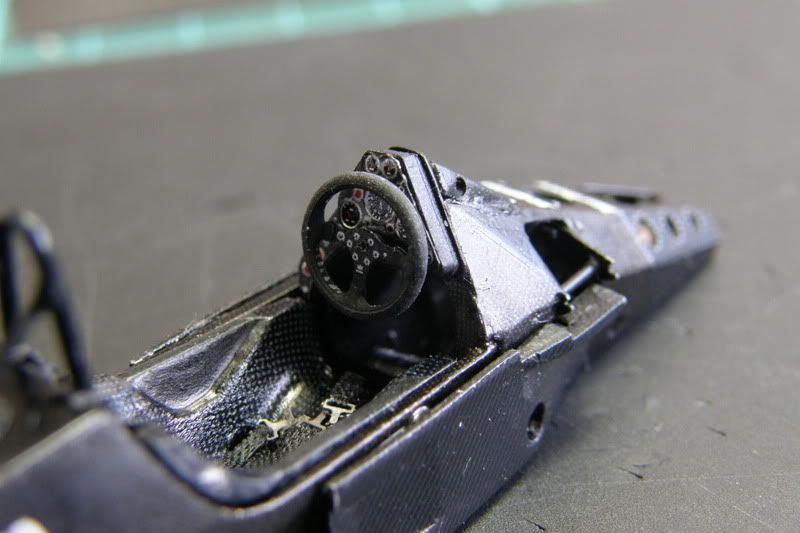
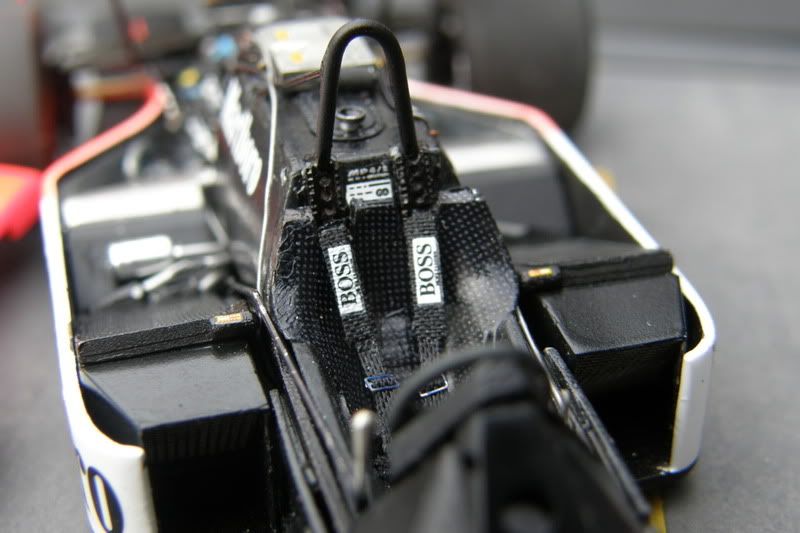
Made seatbelts from aftermarket Make-Up. They're so nice.

Work for the "hold and fold" again for the airboxes for the radiators
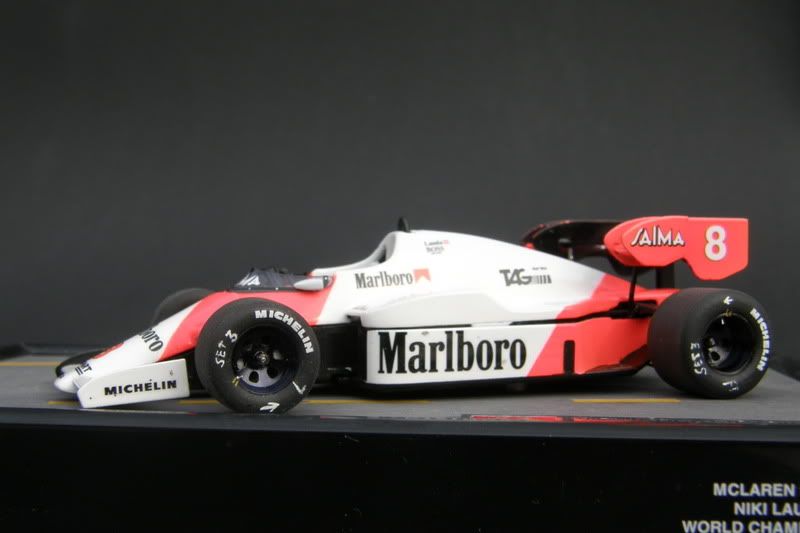
Done!
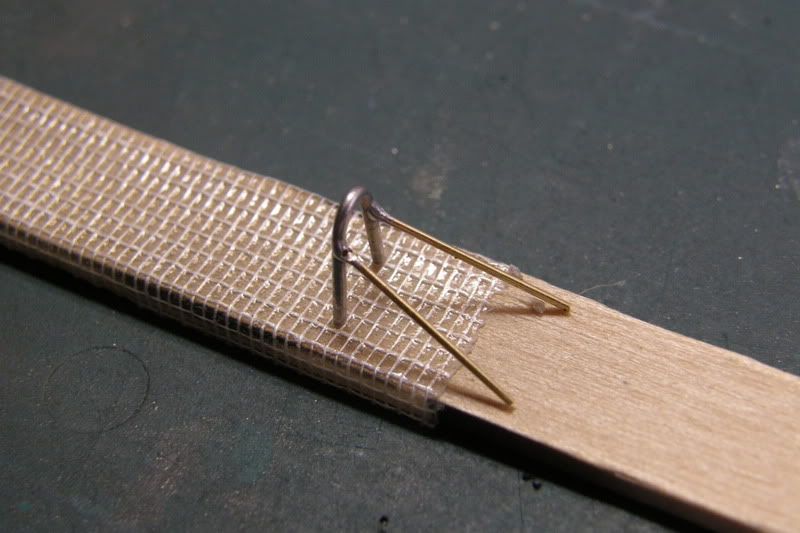
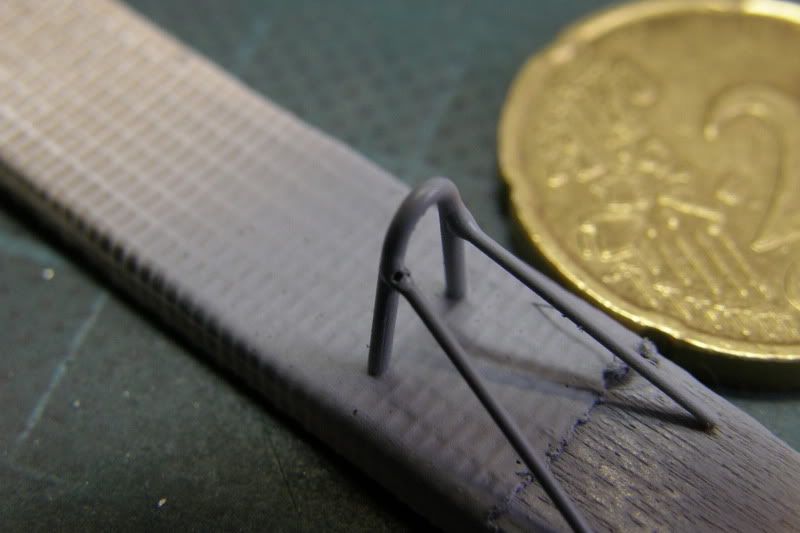
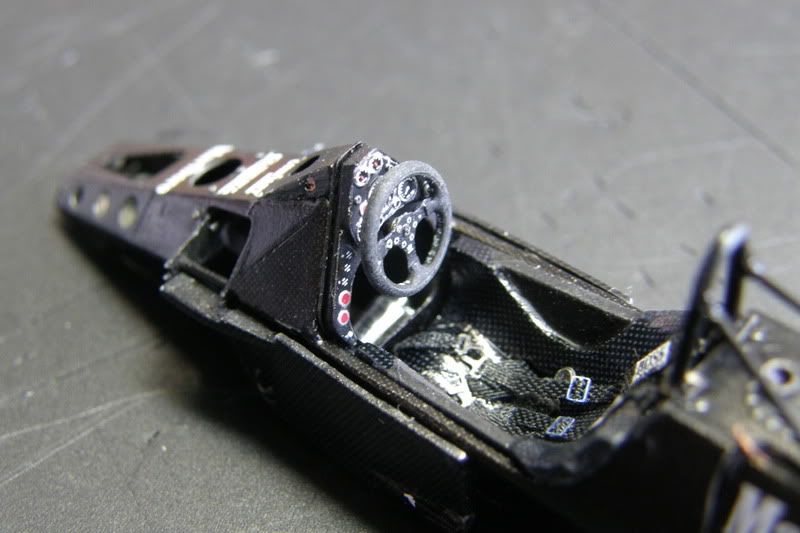
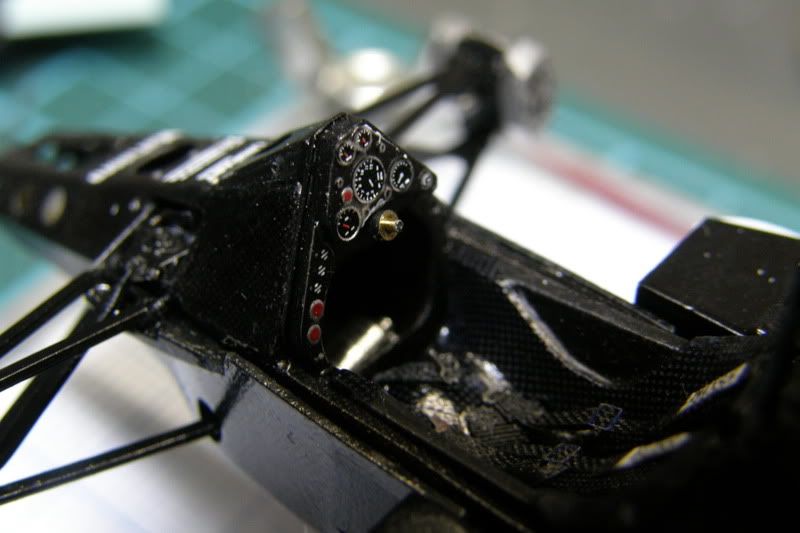
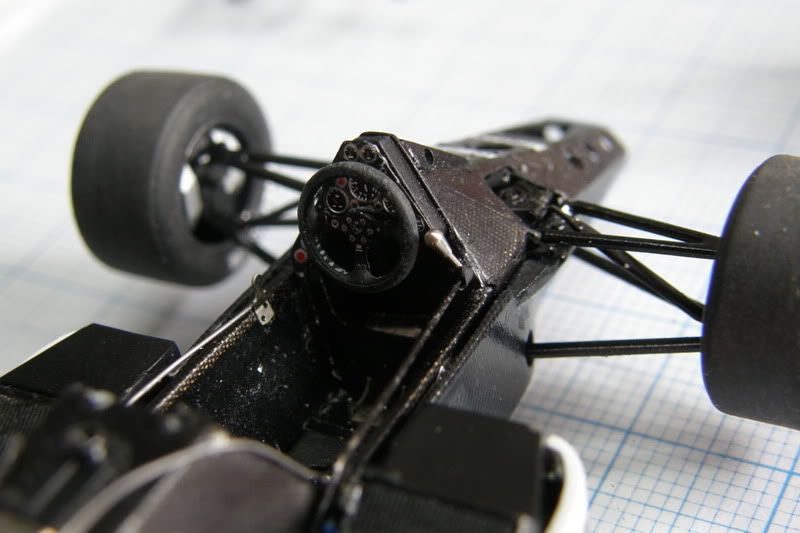
The steeringwheel was soldered together.
Made the gearbox oil cooler
Made a new rolloverbar from scratch. I used copperrod and soldered together
All the parts primed and painted
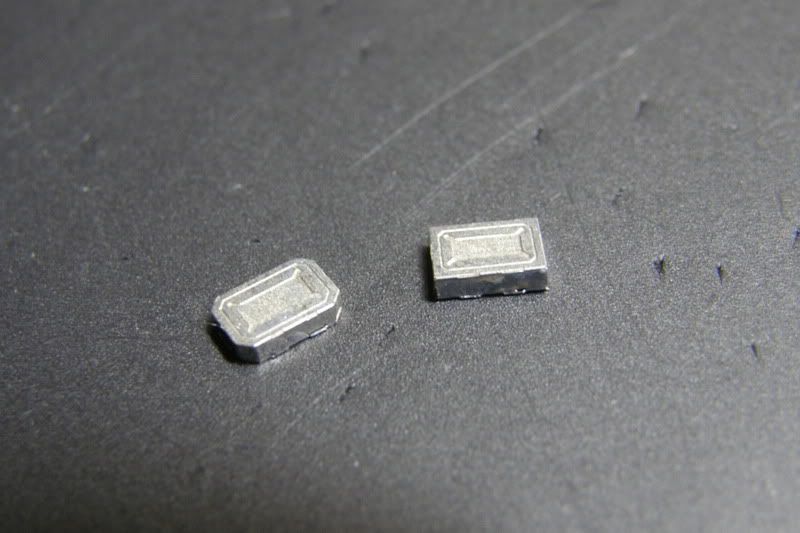
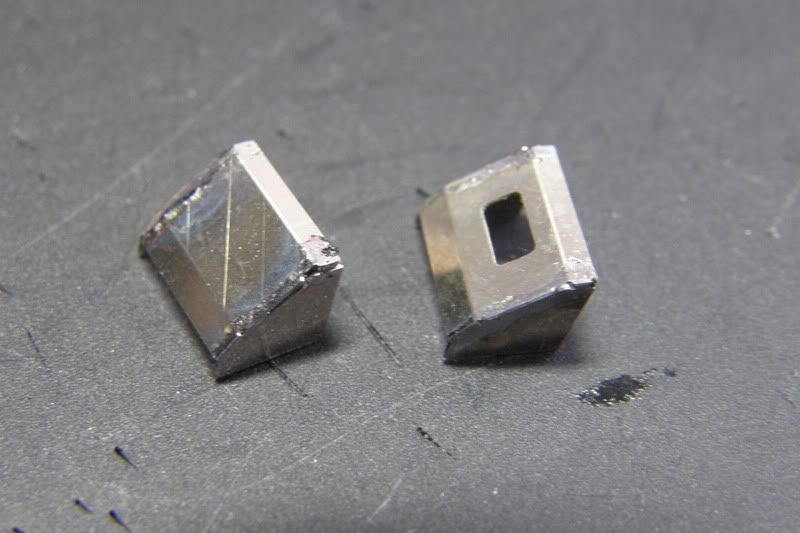
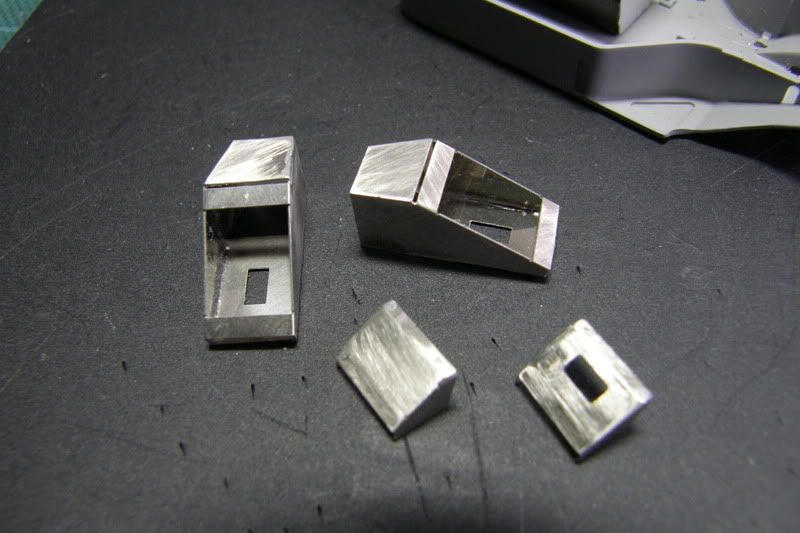
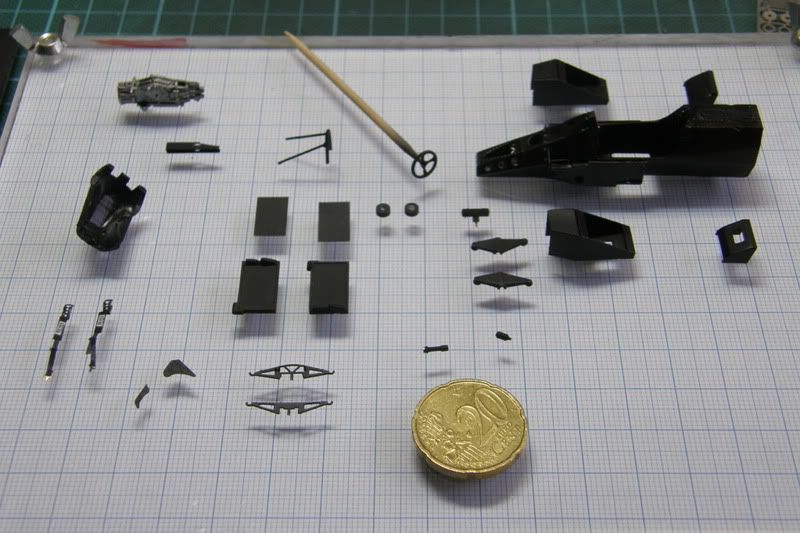
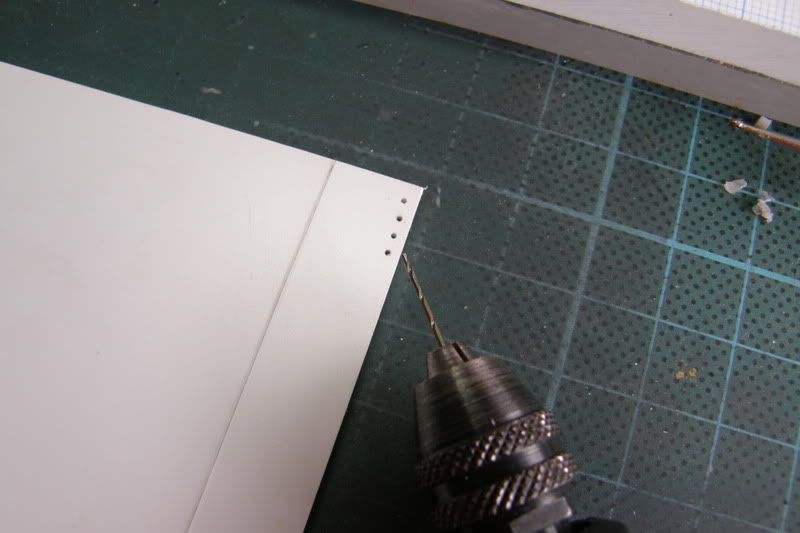
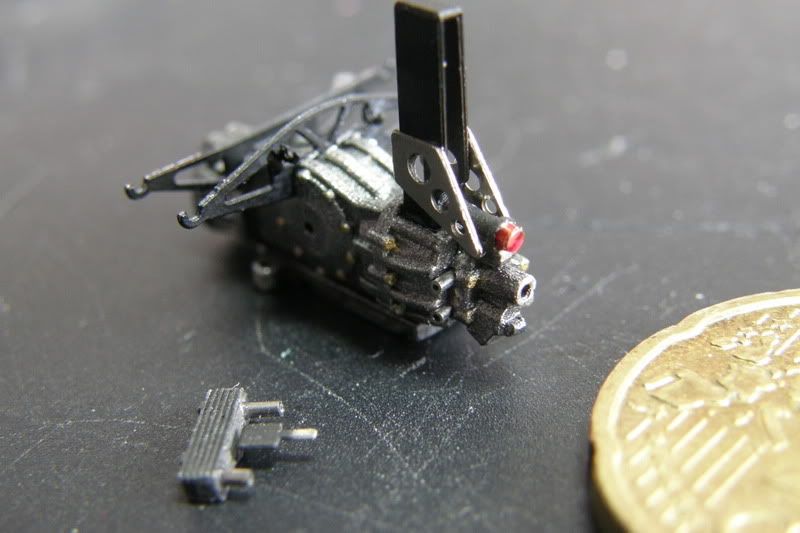
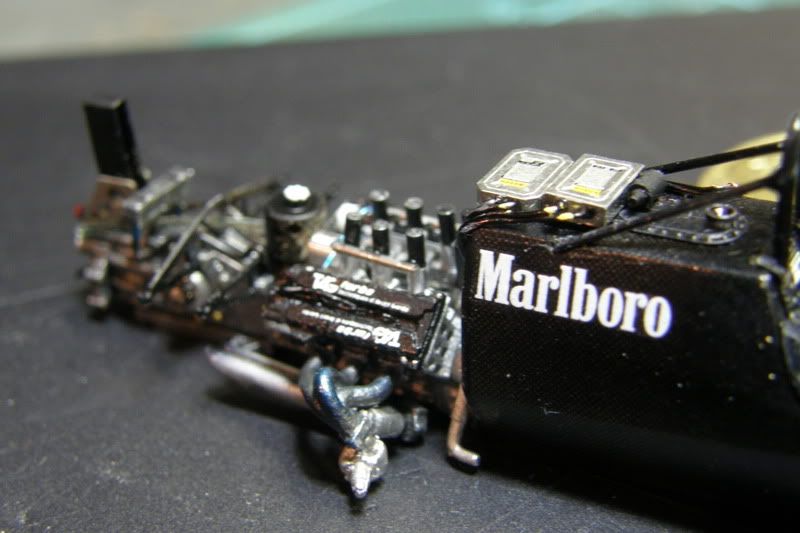
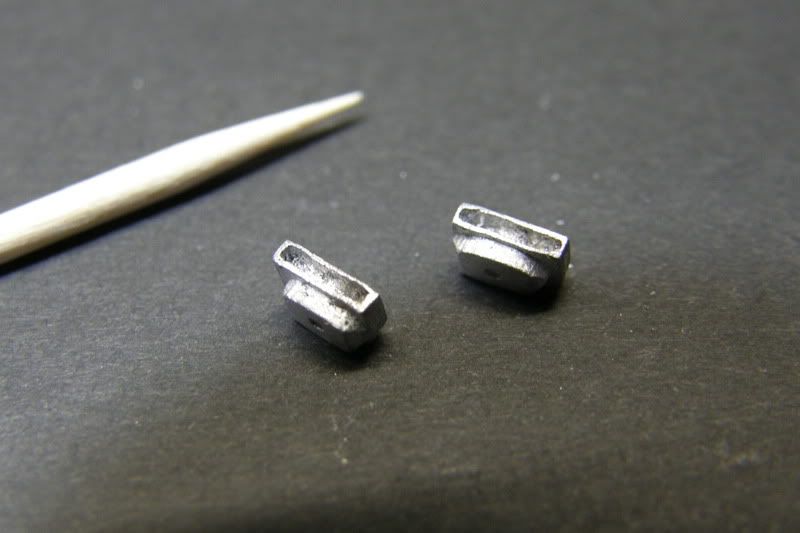
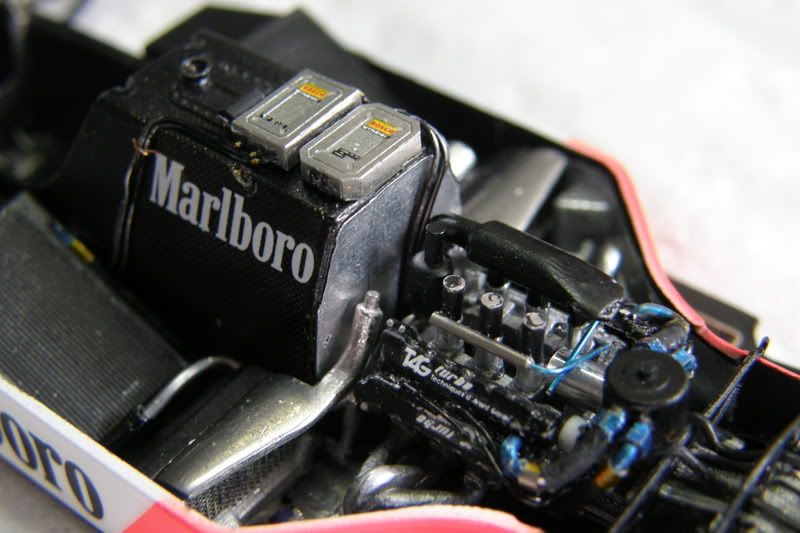
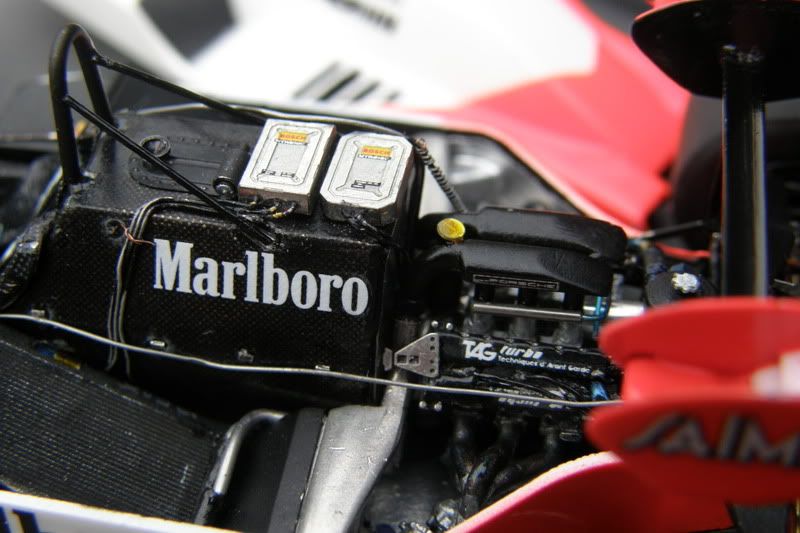
Folded the ecu-boxes
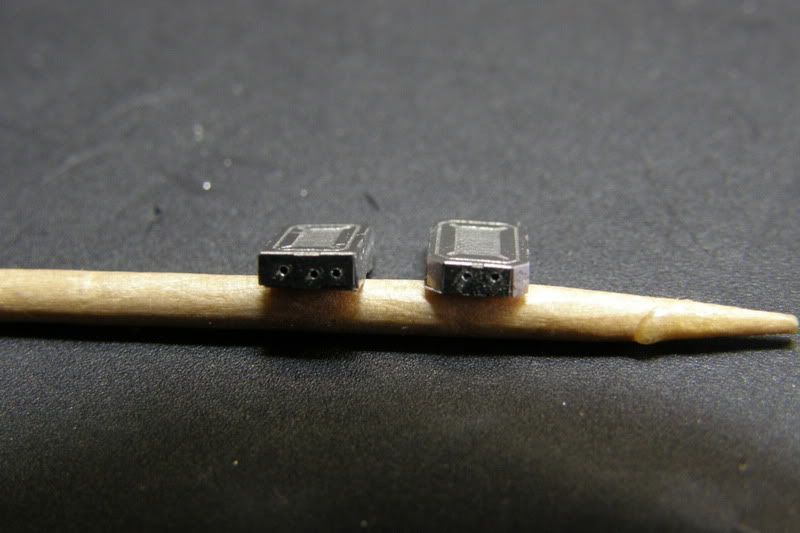
It was not easy to drill some small holes in the boxes, but I did it.
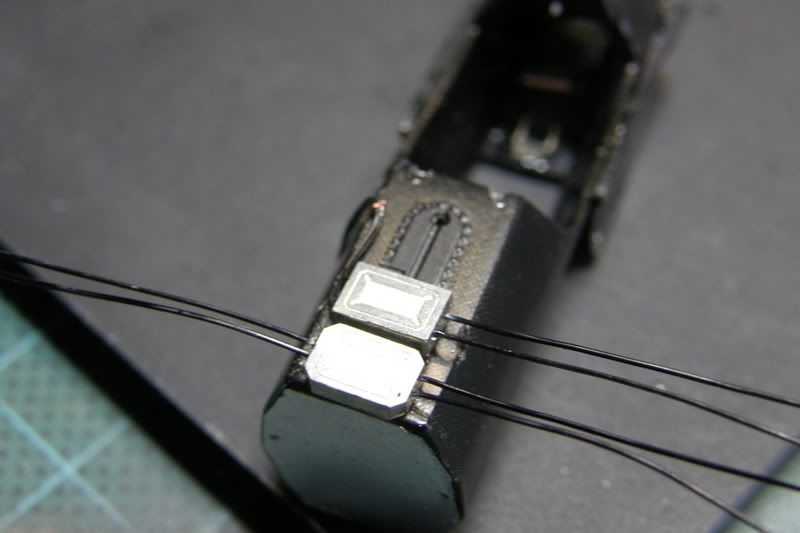
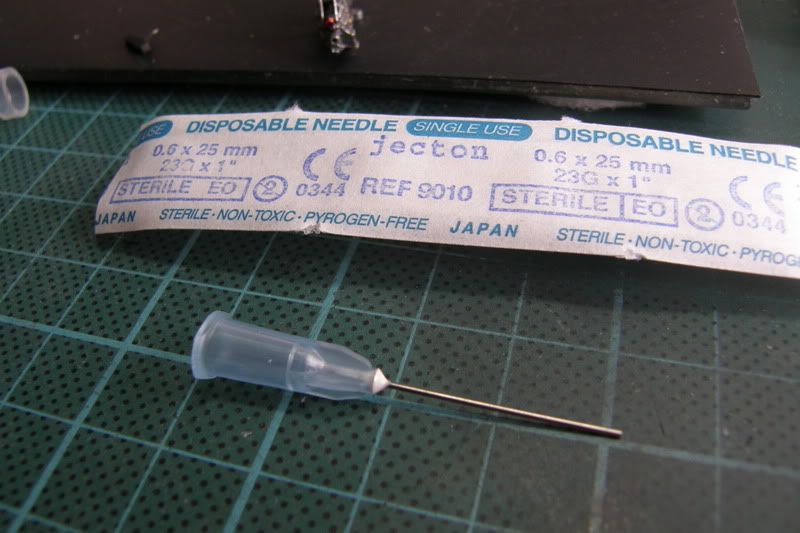
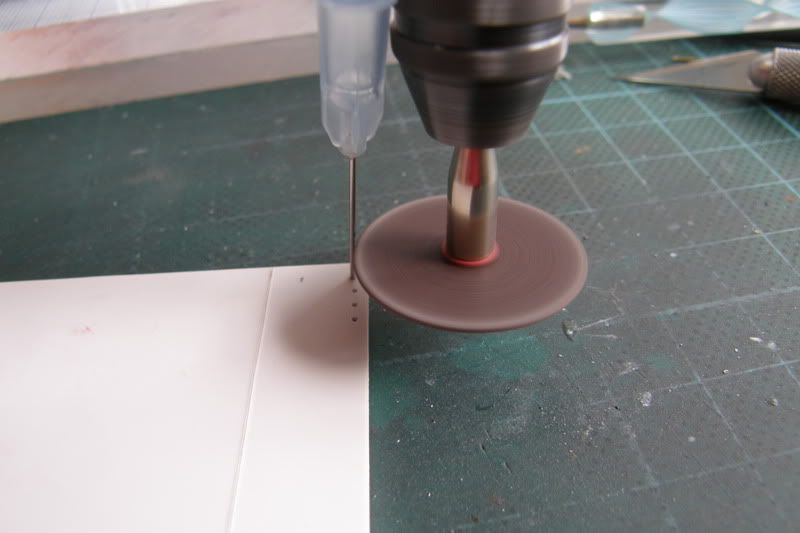
The boxes recieved some wiring.

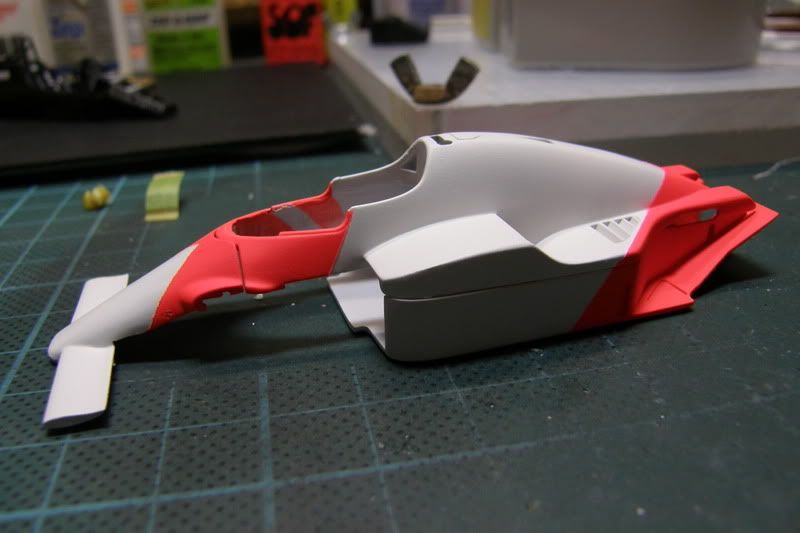
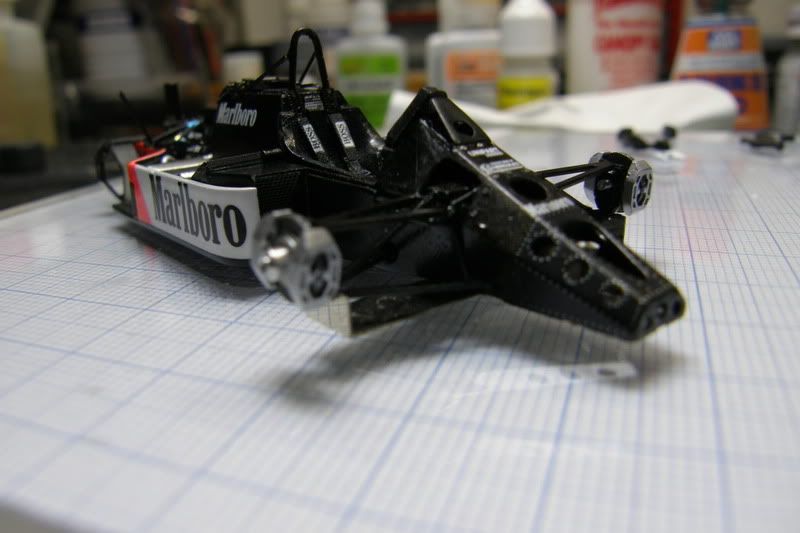
Dryfitted the bodywork.
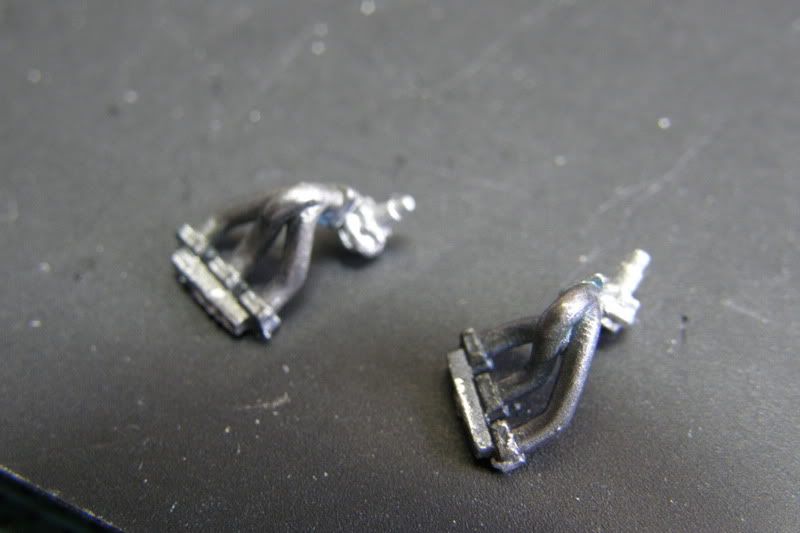
Exhausts made with some heateffect
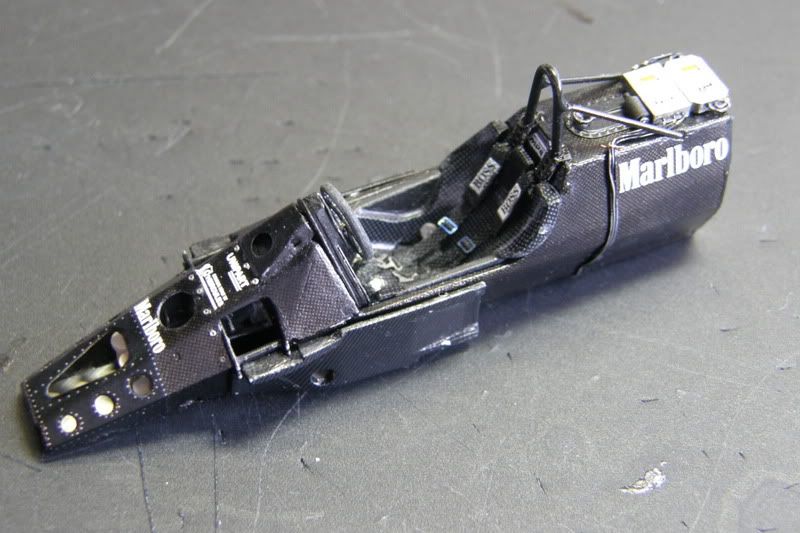
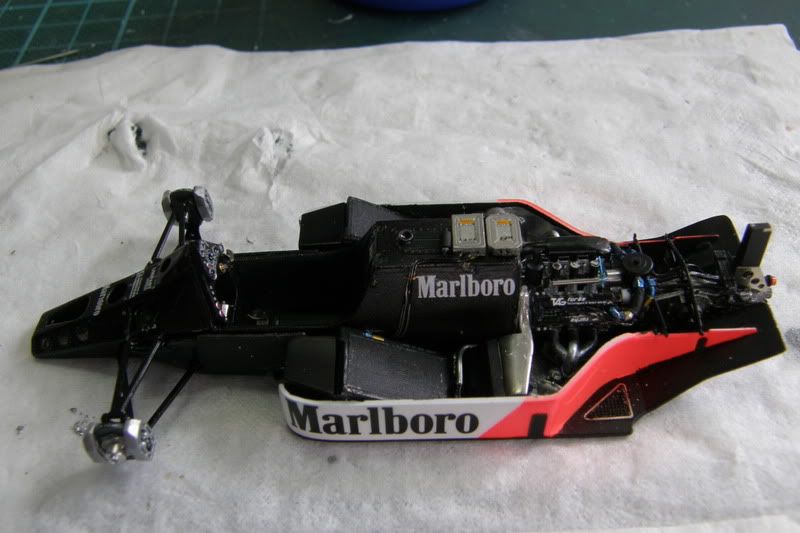
Monocoque finished
I didn't want to use the decals in the kit. Instead I sprayed fluo-red from Zero paints. Excellent paint.

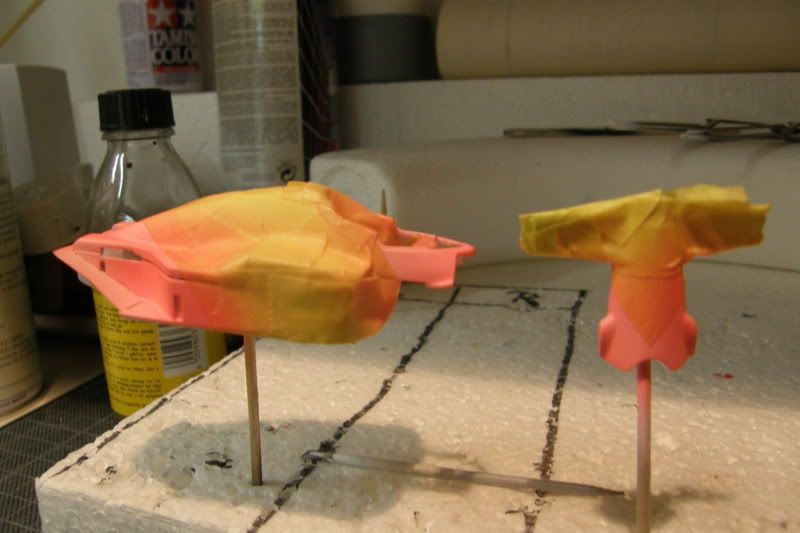
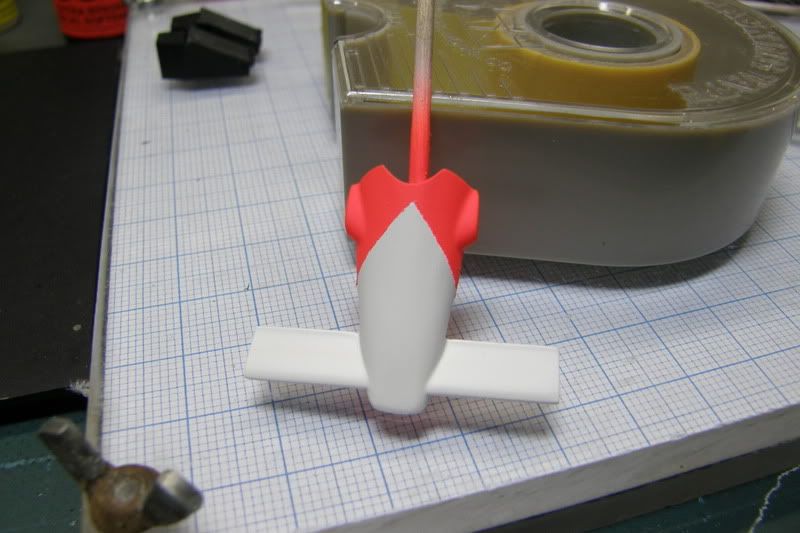
Painting proces.
Made some extra detail for the oilradiator.
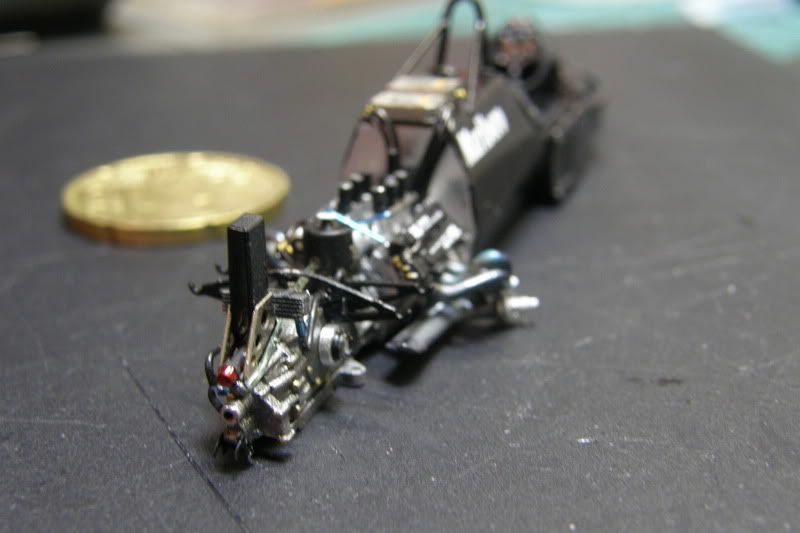
Engine and gearbox detailed and glued to the monocoque.
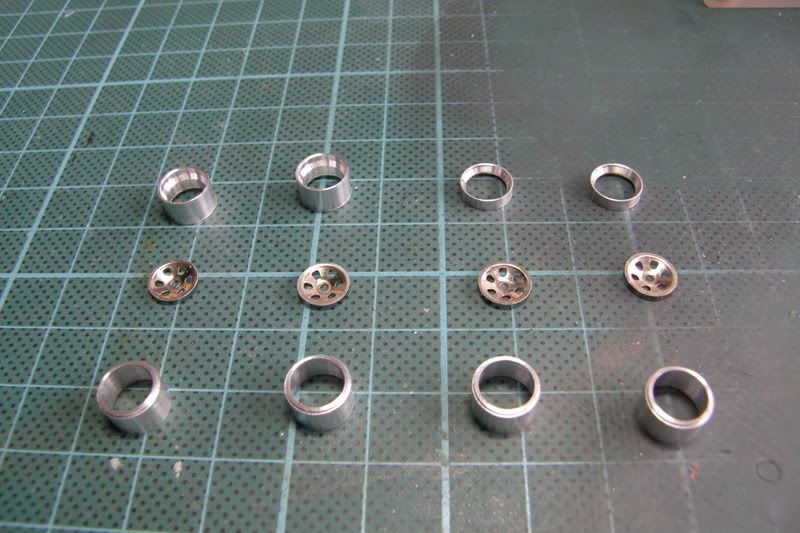
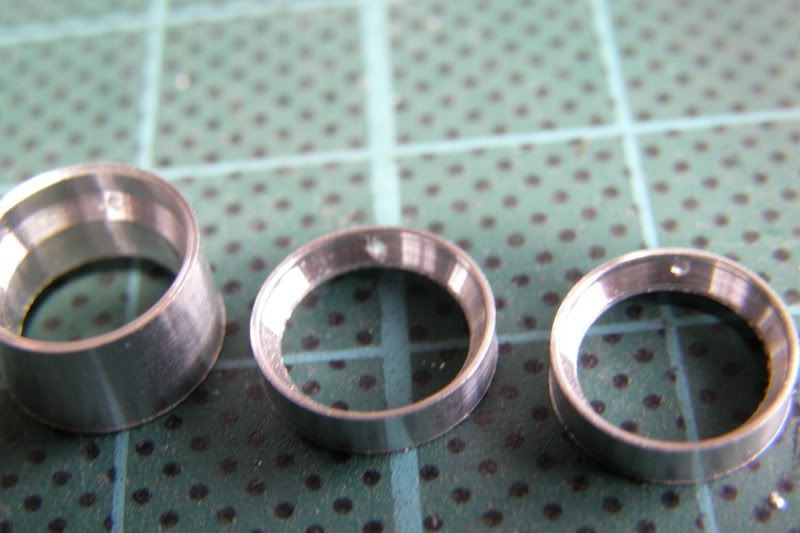
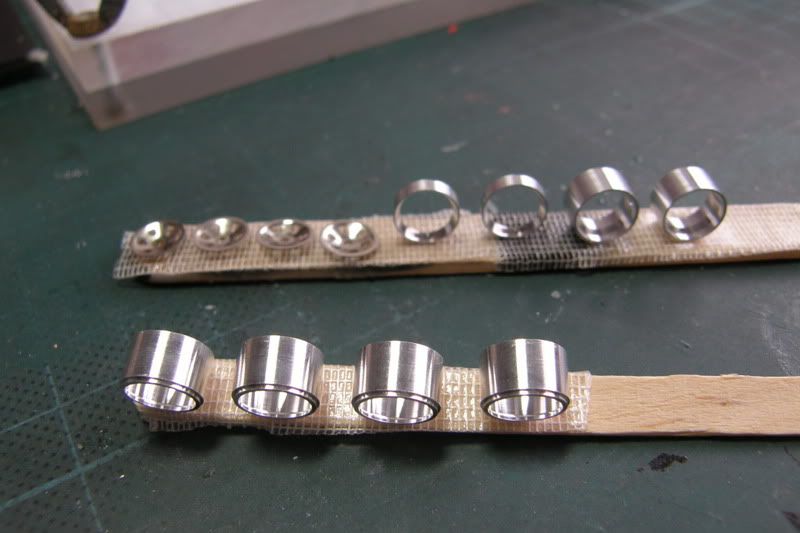
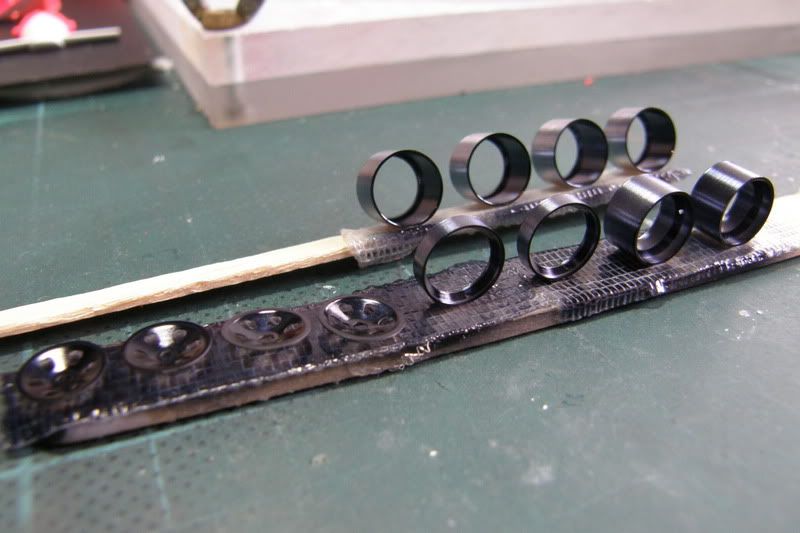
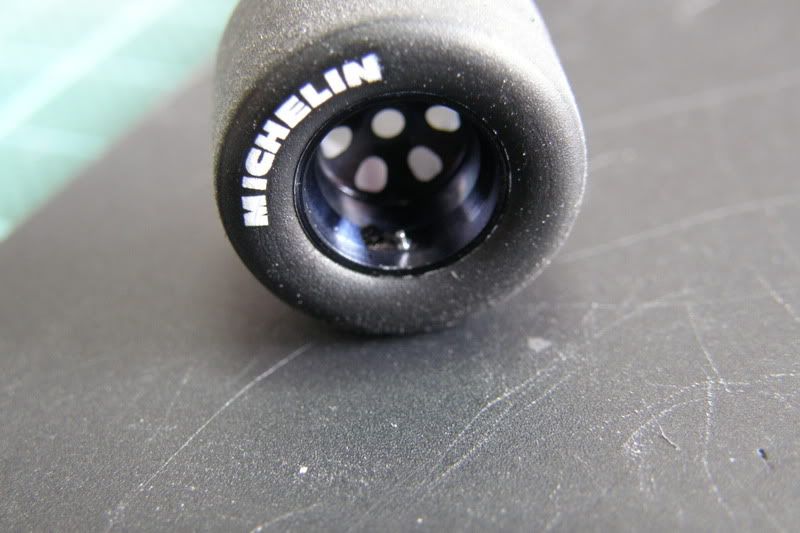
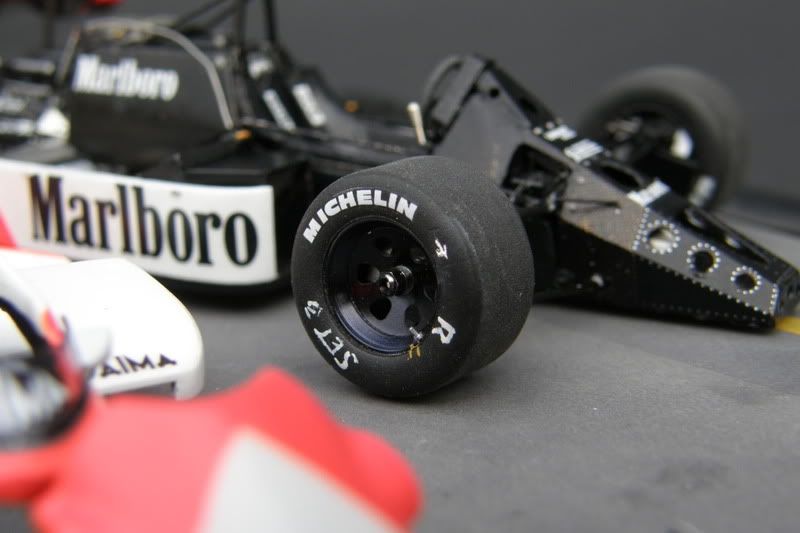
To get the anodised look of the wheels I sprayed smoke over the bear metal.
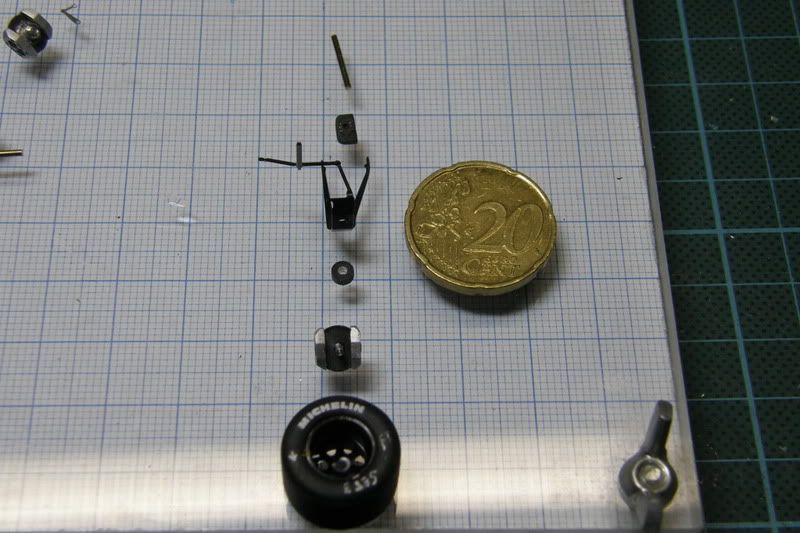
Sanded the tires.
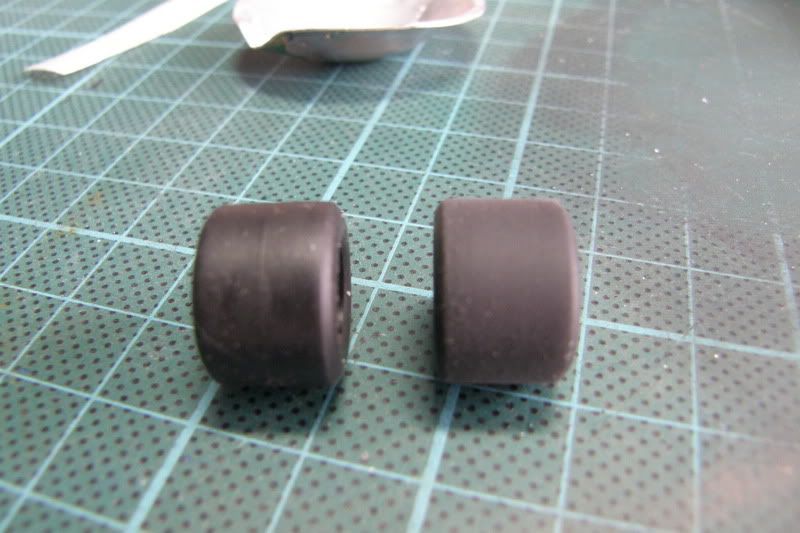
Tires before and after.
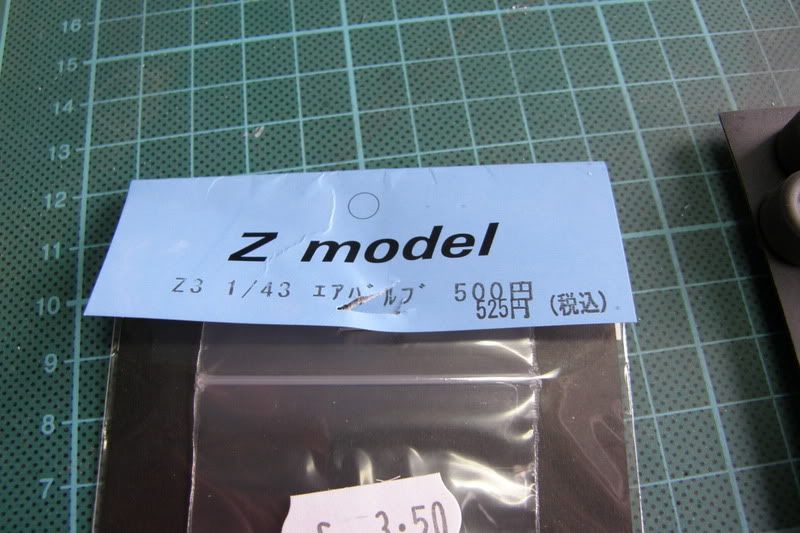
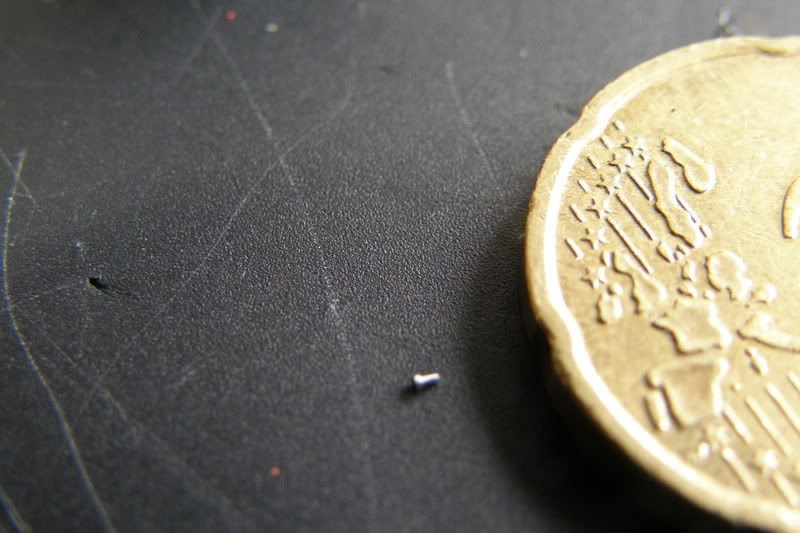
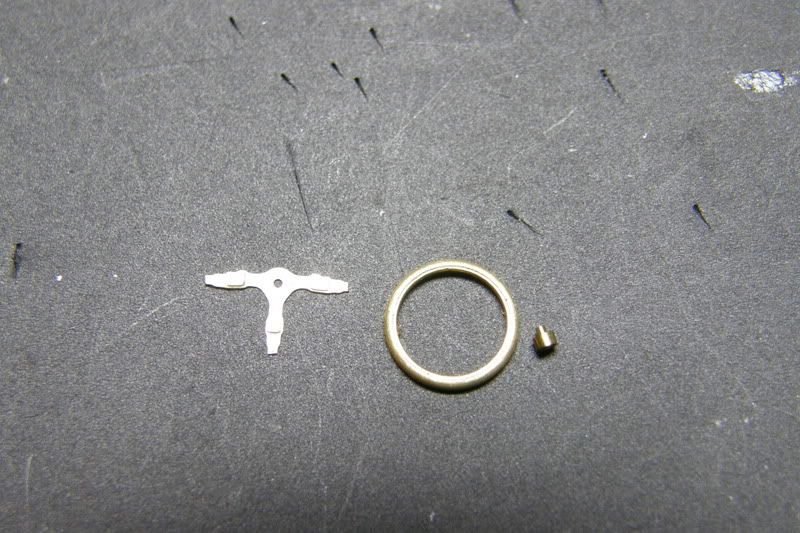
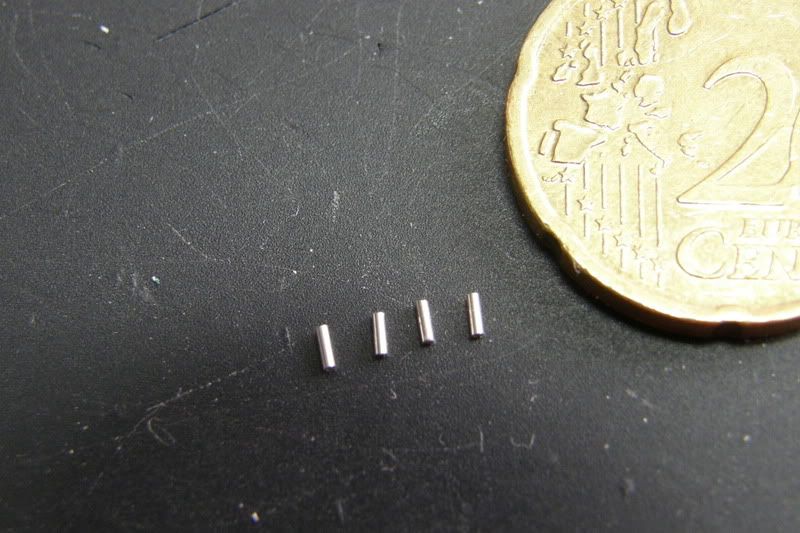
For the tirevalves I used aftermarket ones from Z-Model. They look like dust.
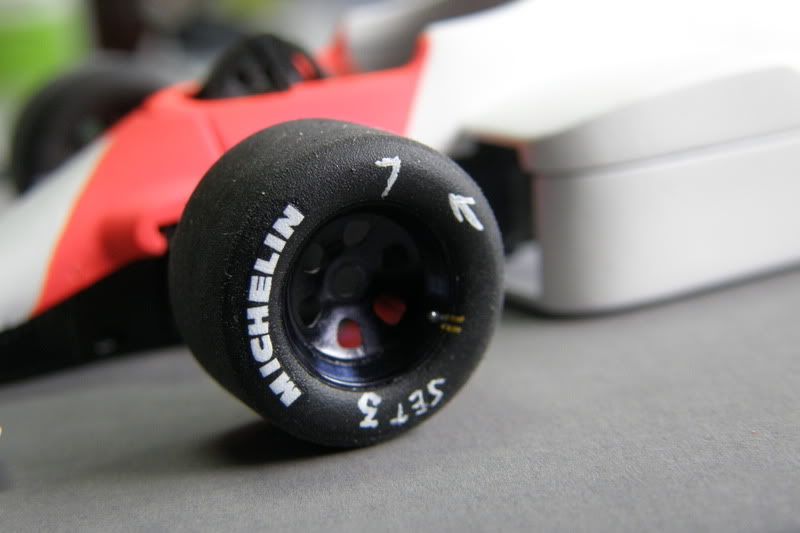
Painted extra detail on the tire.
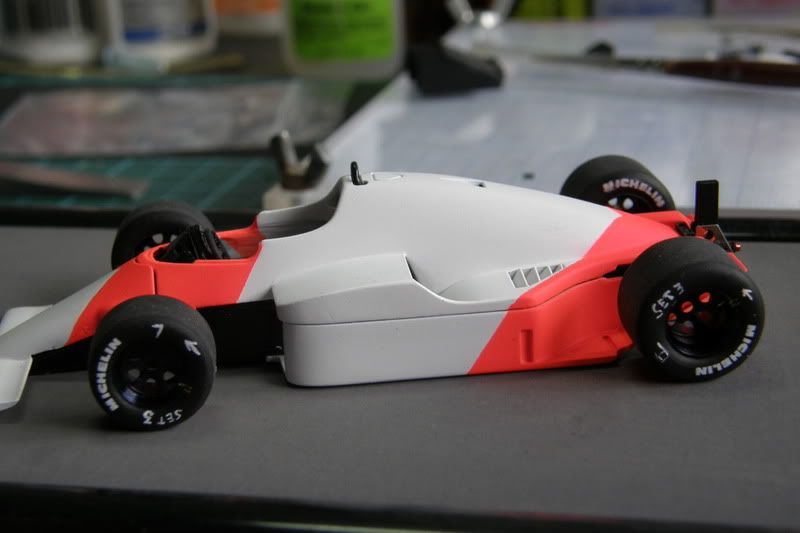
Dryfitting the body. Everything still looks fine. But I was in to some fitting problems towards the end.
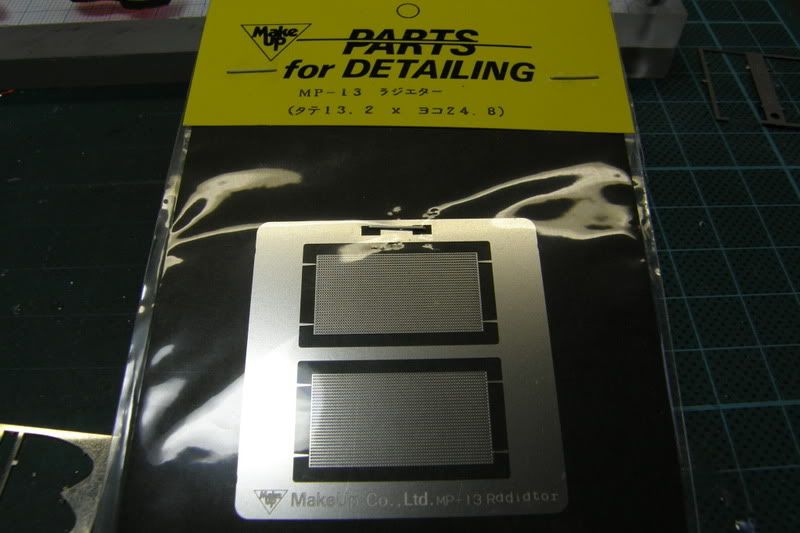
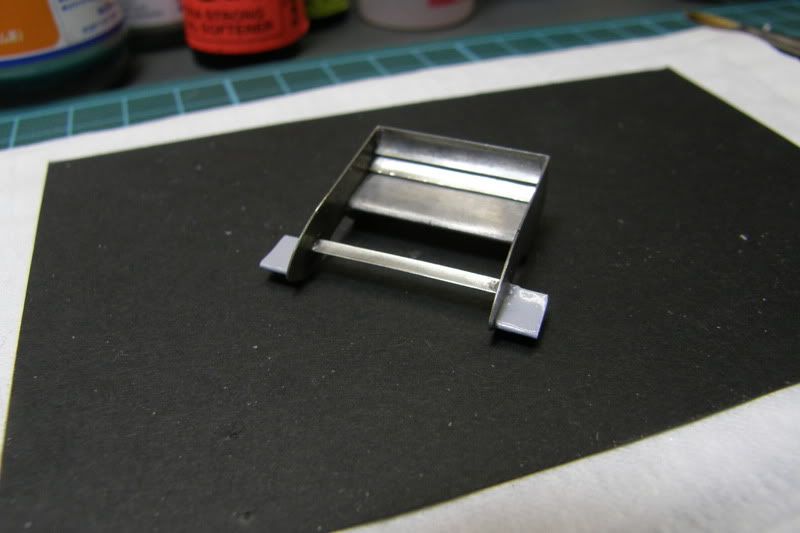
For radiator I used aftermarket from Make-Up.
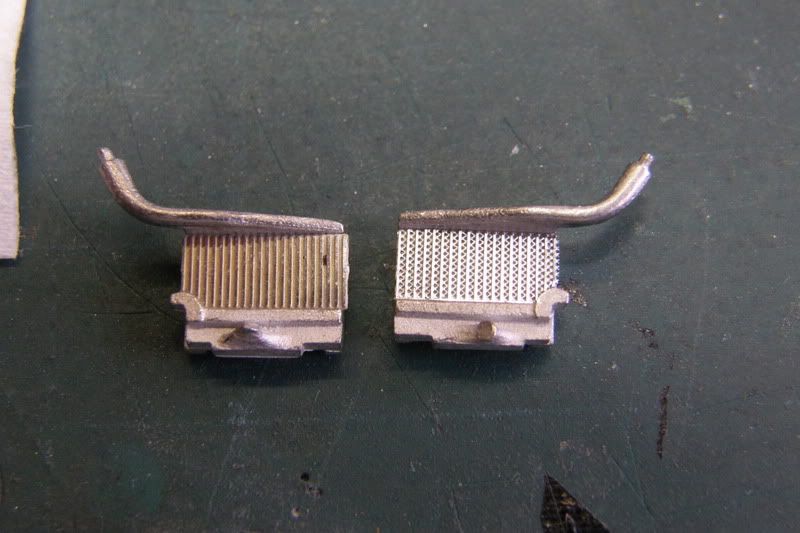
Left is Tameo and on the right is Make-Up
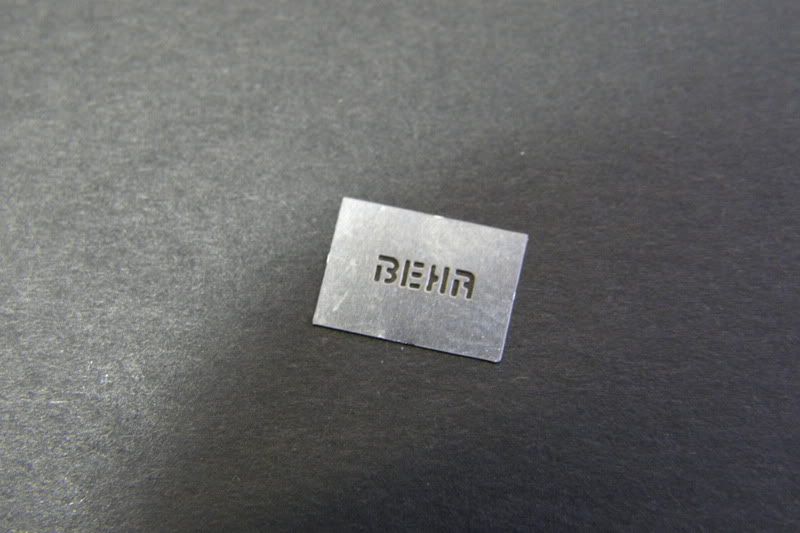
Used template for radiator markings

"Behr" sprayed on
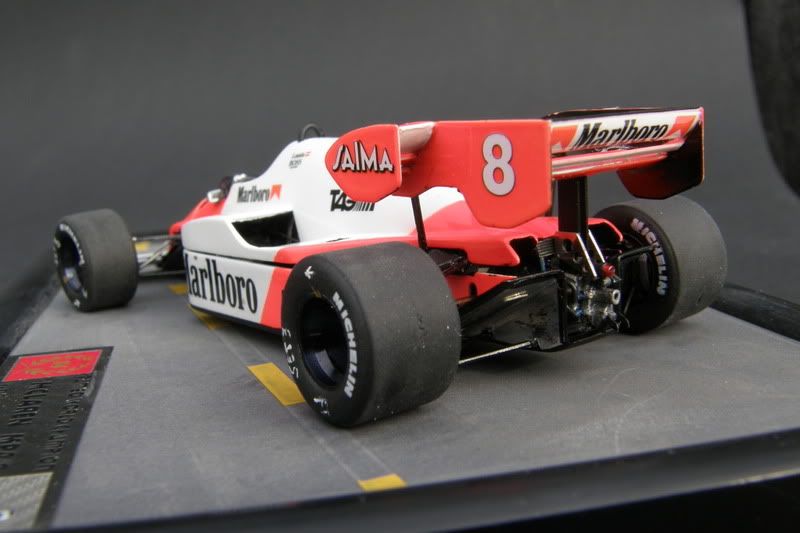
Rearwing soldered
Scooped out the airintakes
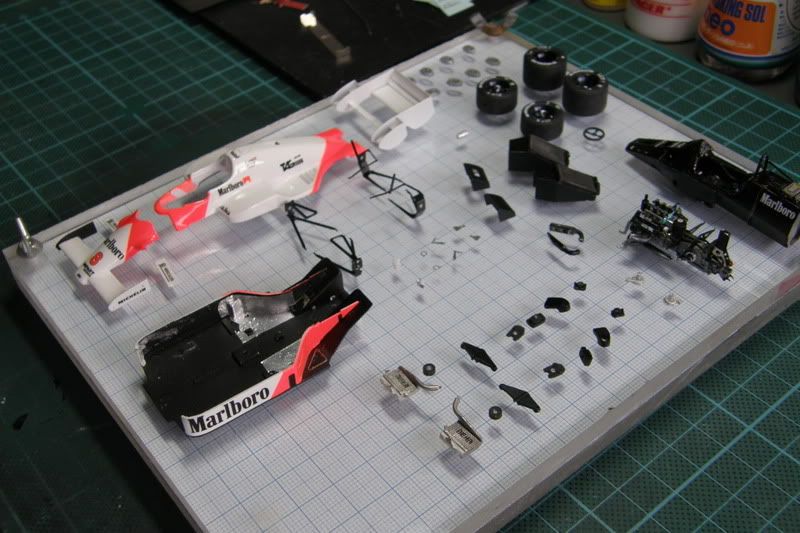
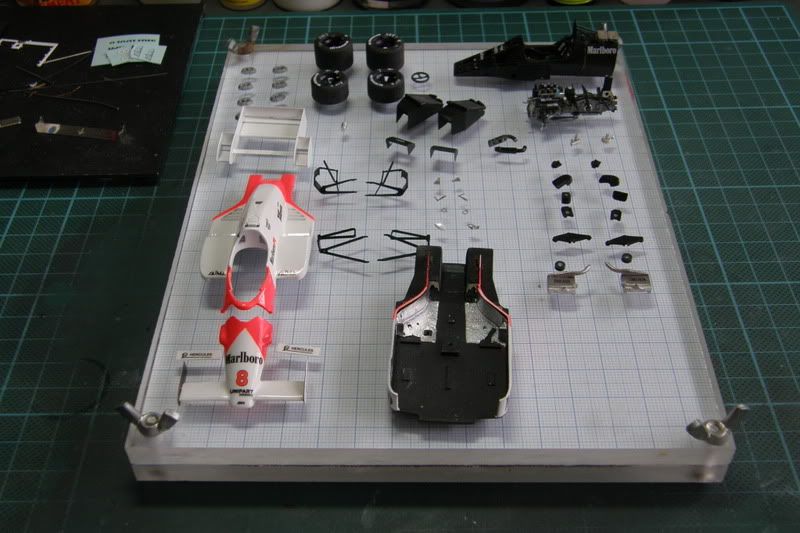
All parts ready for assembly
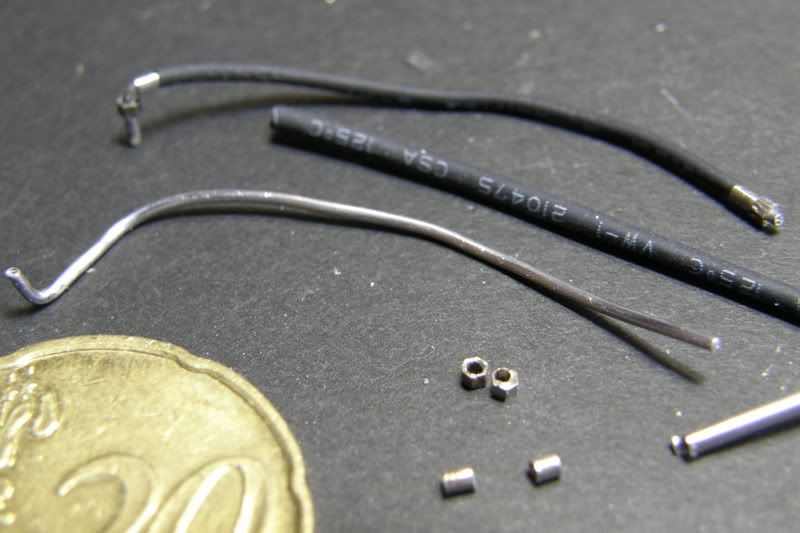
Made waterhoses out of solder and shrinktube
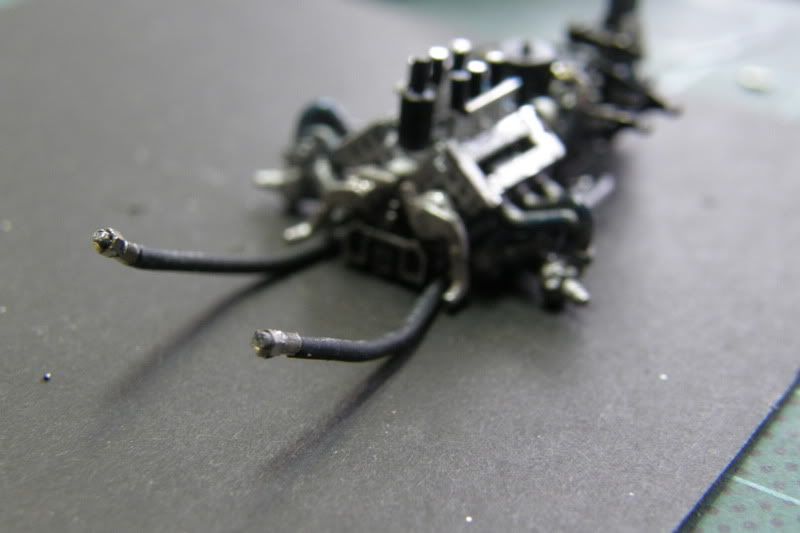
...and connected them to the engine.
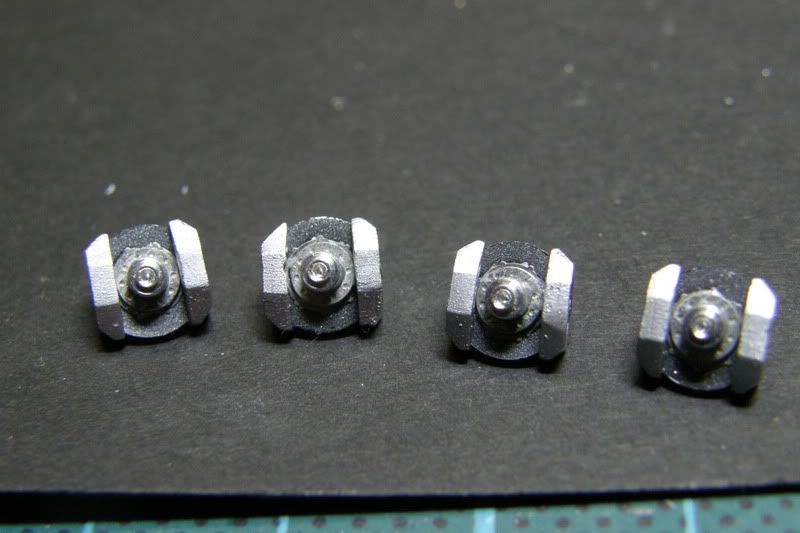
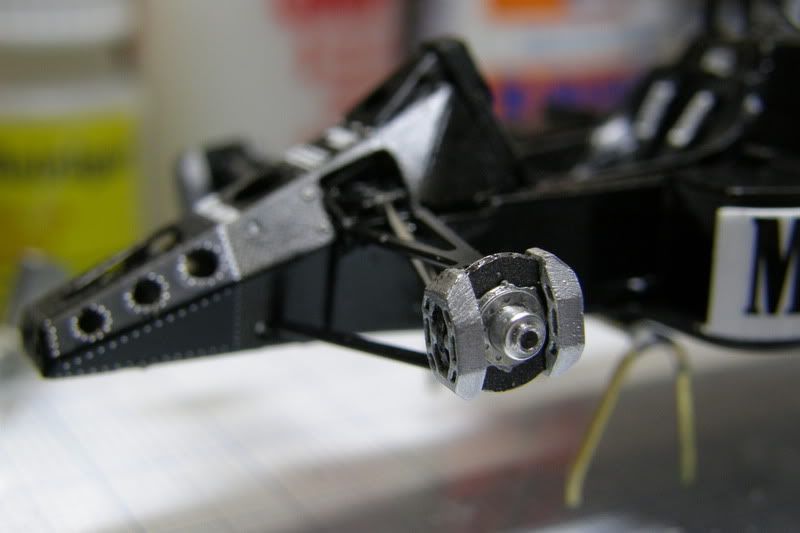
Brakes assembled
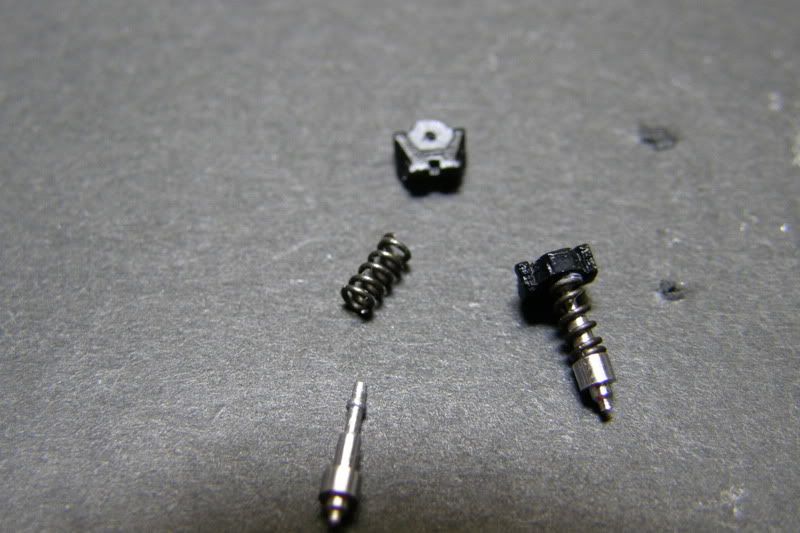
The springs in the kit are realy awesome
Suspension is on.
Build up the different parts.
Rear-suspension parts.
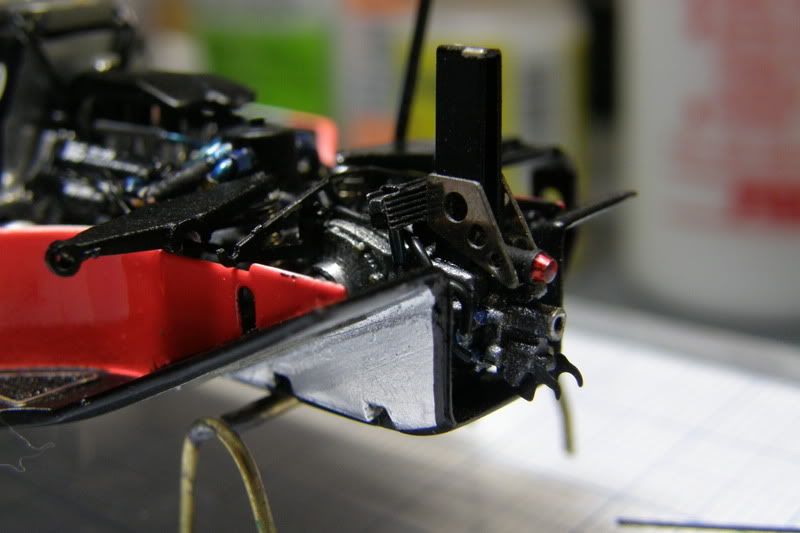
More parts put together.
More and more detail is put in this model.
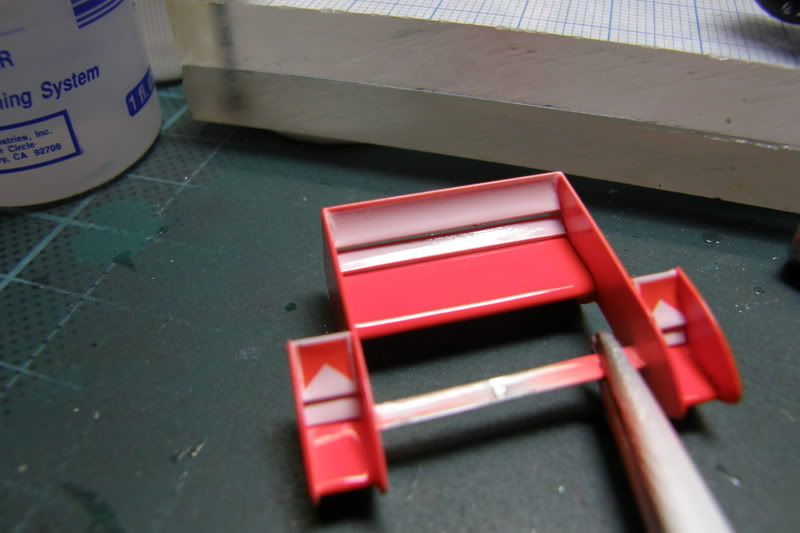
Rearwing painted and decalled
Like I said before. The fitting of the cowl left me troubled. I didn't shave anymore whitematel from the bodycowl since I was afraid to go through the metal and ruin my paintjob. So this is the only downsice from what was a wonderfull build.
Thanks for watching.
Regards,
Eric Westra |
| 5 L A T E S T R E P L I E S (Newest First) |
| ewestra |
Posted - 04/01/2011 : 13:21:56
Thanks for your comment.
@Paul, the rivets on the nose is a decal. You can see the nose decal on the first photo.
Eric. |
| GO-figureit |
Posted - 04/01/2011 : 01:33:02
Wonderful build - great photos - fantastic to see the progress steps in such detail. You've ended up with a stunning piece - Can I ask if the rivet detail on the carbon nose area is painted on or done with decals?
Many Thanks once again,
Cheers,
Paul
"Never let accuracy prevent the making of a good image - strive for the Happy Medium - more than too little and less than too much"! |
| Eagle |
Posted - 03/28/2011 : 12:41:06
Beautiful job, very compliments. |
| ramapao69 |
Posted - 03/28/2011 : 10:47:50
Nice job!! It's a really difficult kit to build....thank you for sharing this beautiful wip. |
| 43builder |
Posted - 03/28/2011 : 09:06:37
i always love to see the progress of how the models are made! This is no different. very nice build, and pictures. I always work in 1/43 and it still amazes me as i see the size comparisons!
Thanks for showing
Patick Lewis |
|
|
|