|
Note: You must be registered in order to post a reply.
To register, click here. Registration is FREE!
|
| T O P I C R E V I E W |
| pg265 |
Posted - 01/02/2016 : 08:45:18
Hi,
I'm new on the forum but long time lurker...
For my first post, I would like to present you a Ferrari started a long time ago, but still in progress...
This is the Ferrari 312F1 1967 from Model Factory Hiro, 1/20.
This is one of the greatest kits I've worked on.
Here are few pics:
First, test fit. No glue on the parts... nice fit :wink:
14 first engine parts:
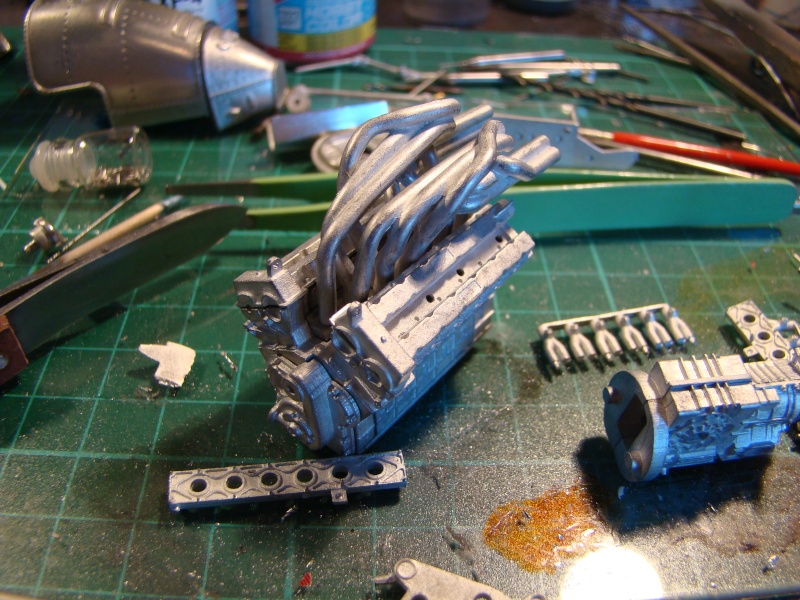
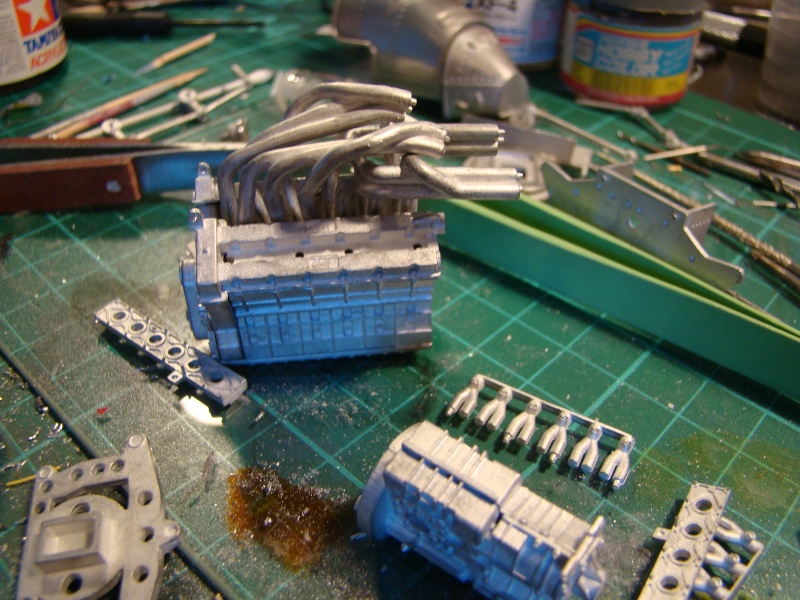
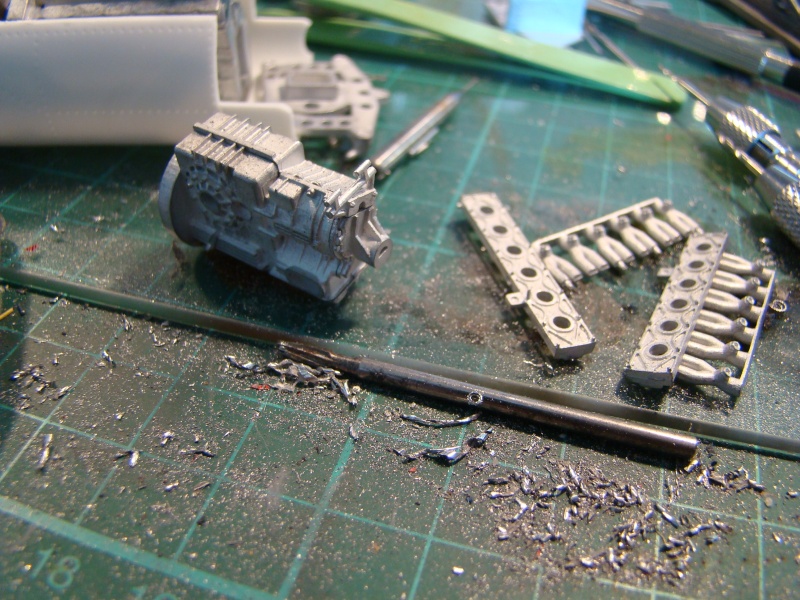
few parts of the gearbox:
some of the cockpit parts:
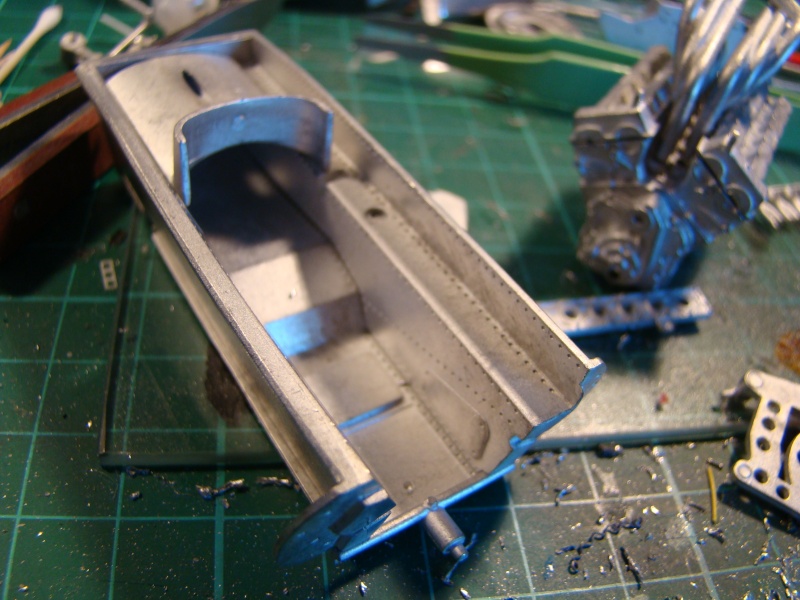
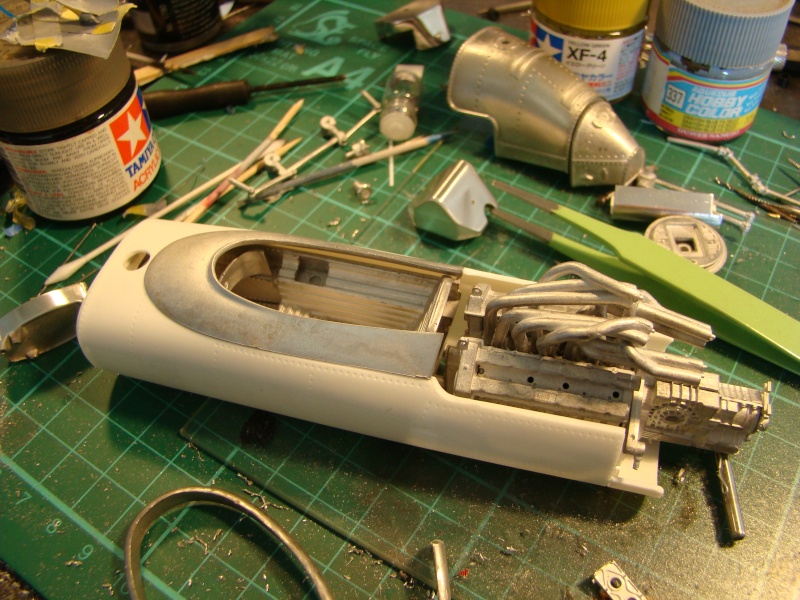
assembly of oil tank by welding:
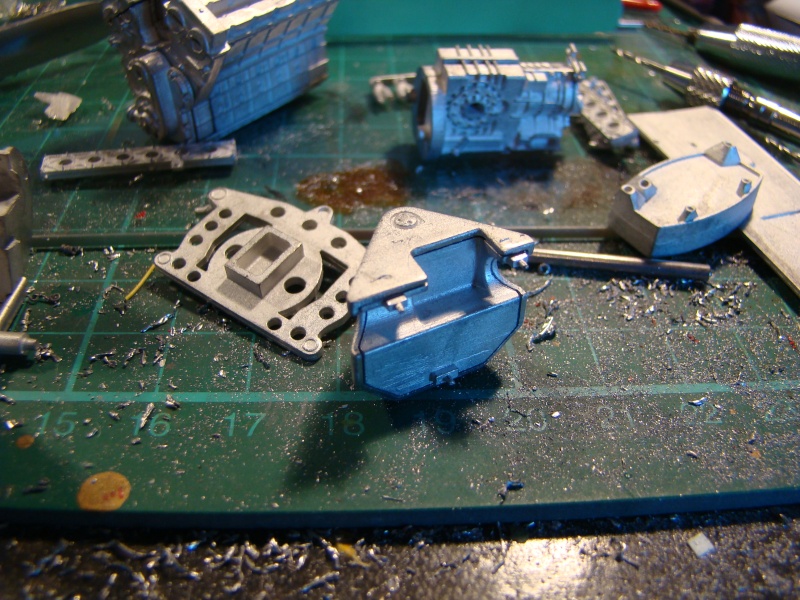
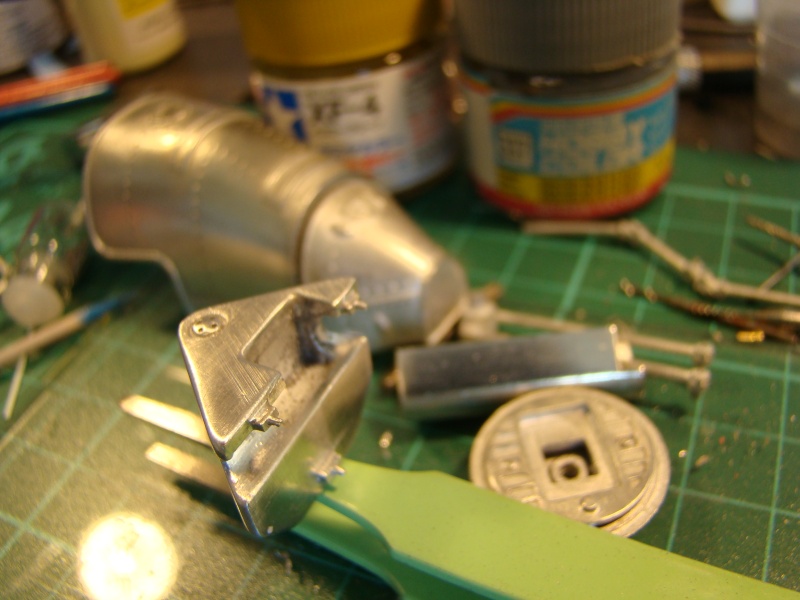
preparing front cooler for welding:
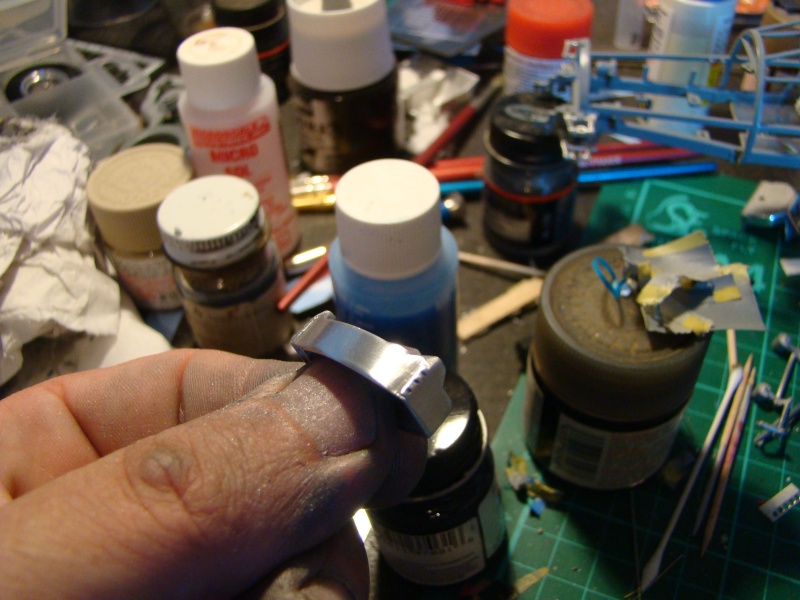
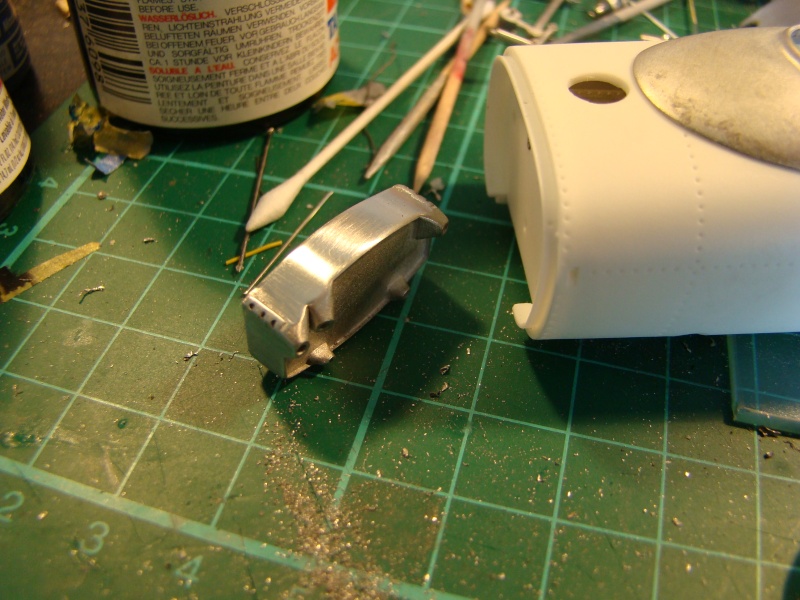
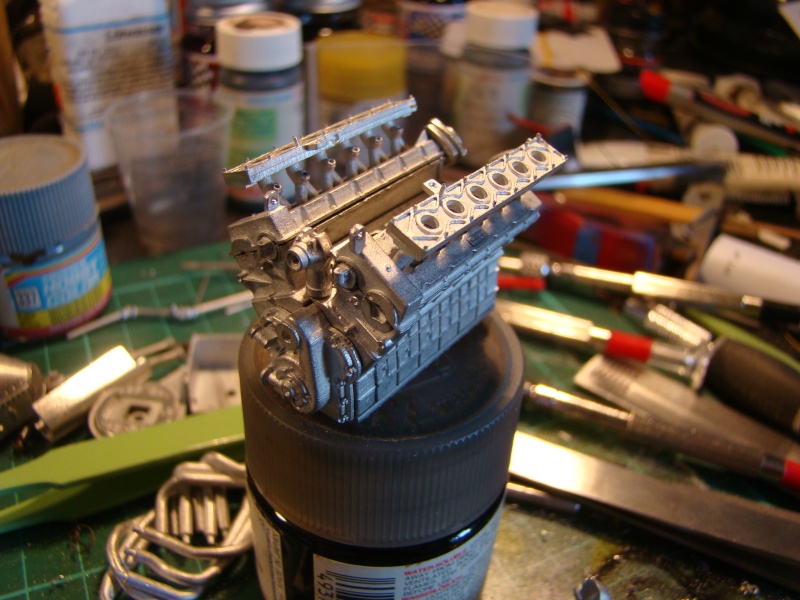
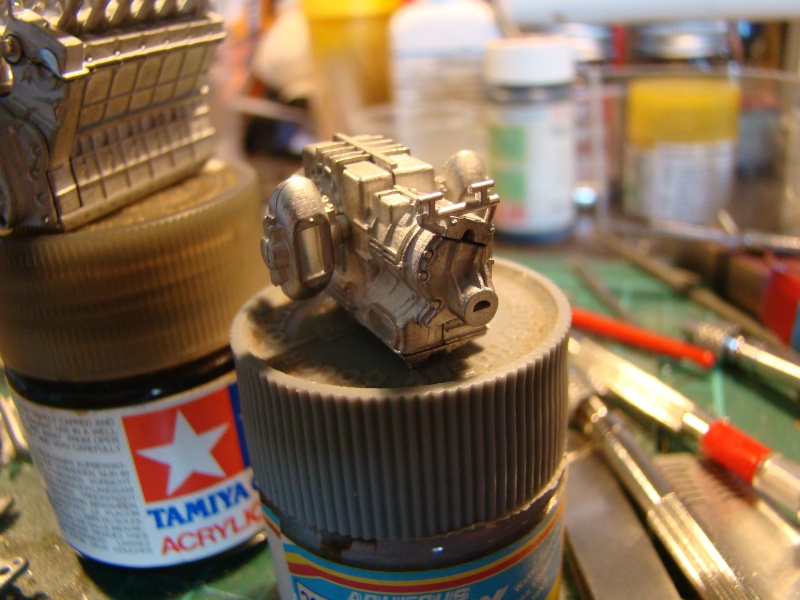
Small progress on engine, some of the parts glued together...
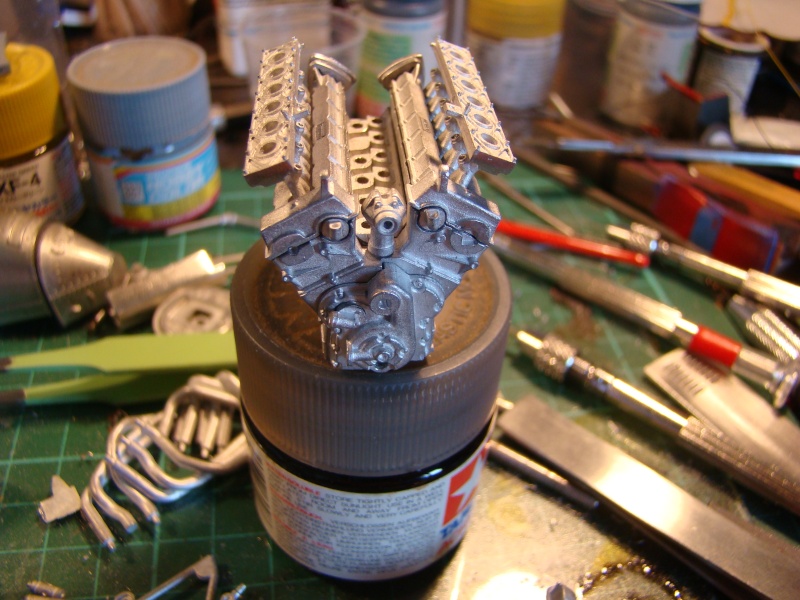
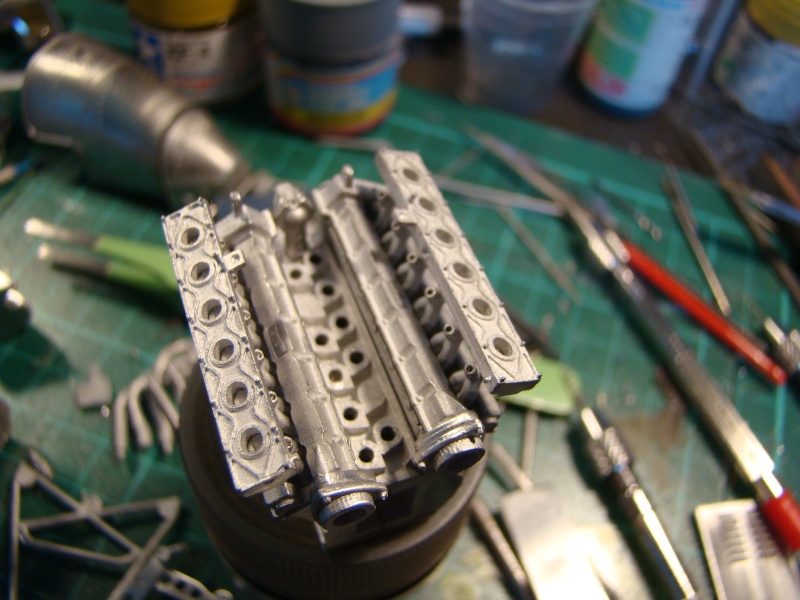
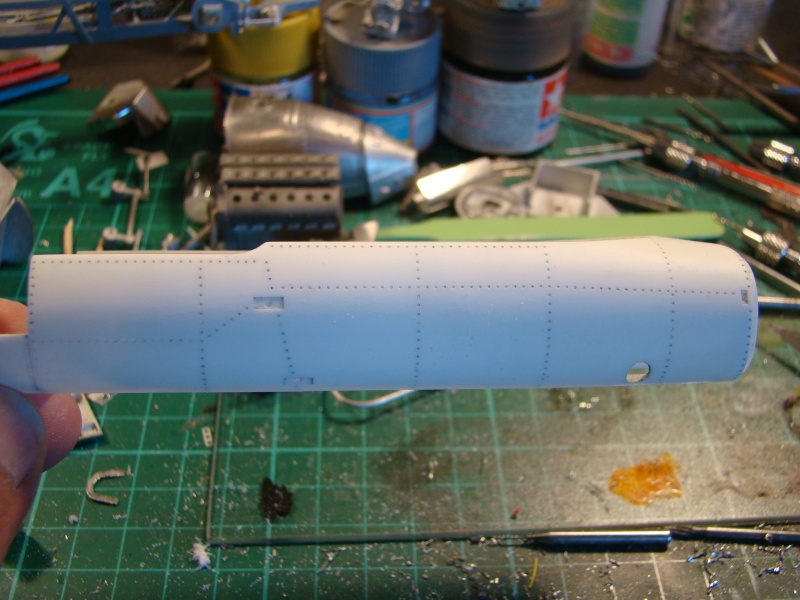
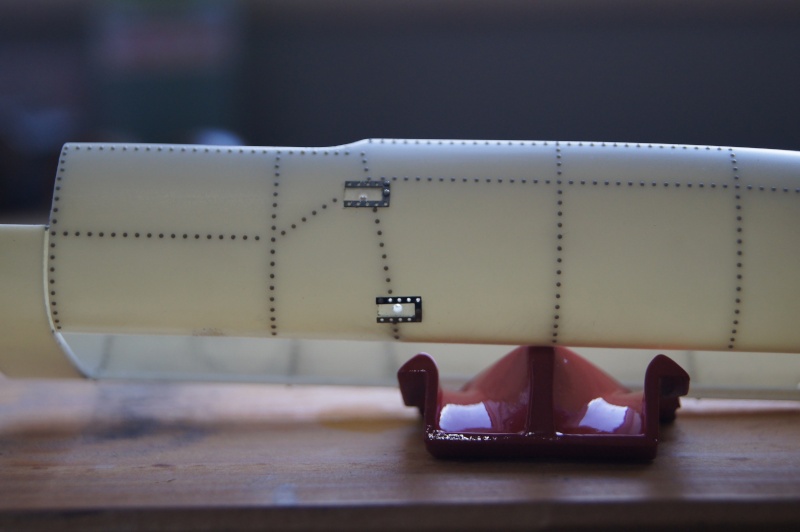
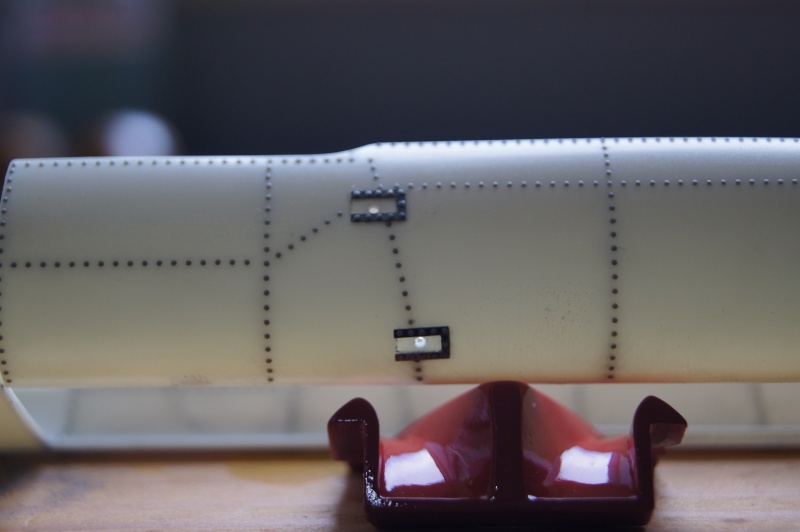
Few holes and...few rivets:
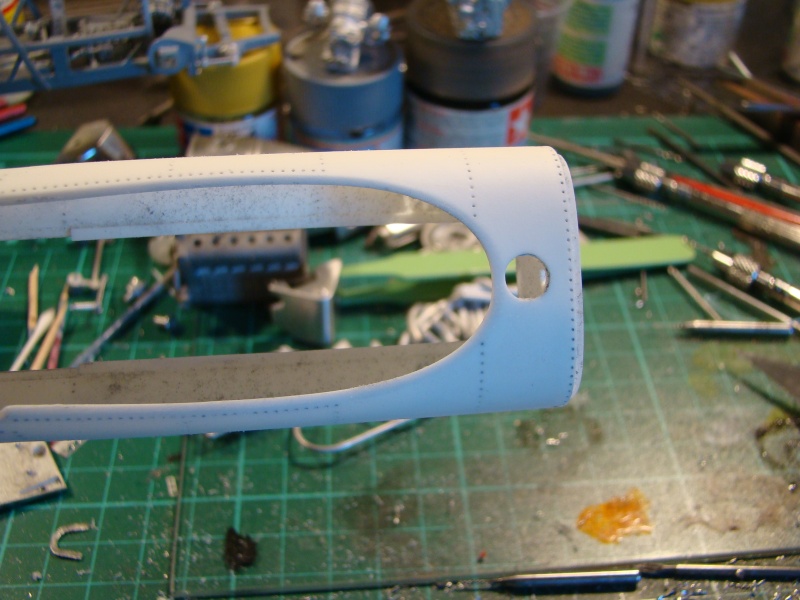
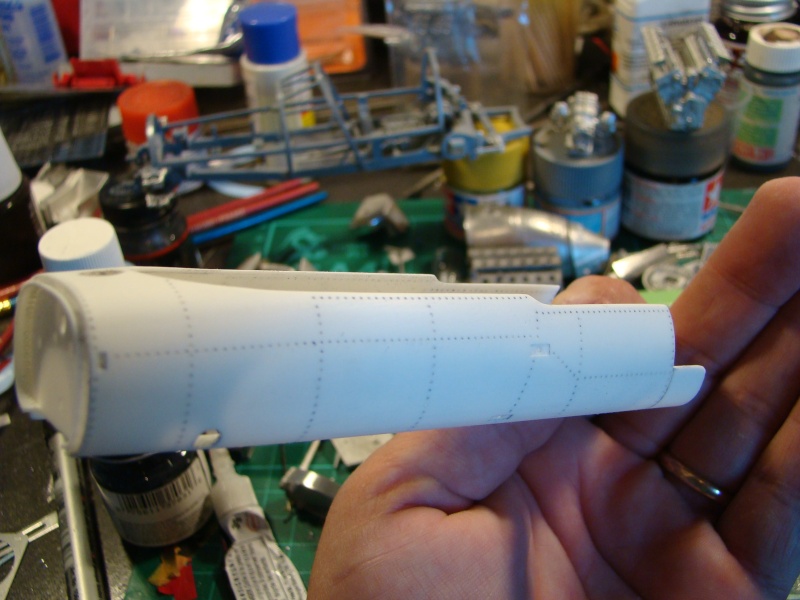
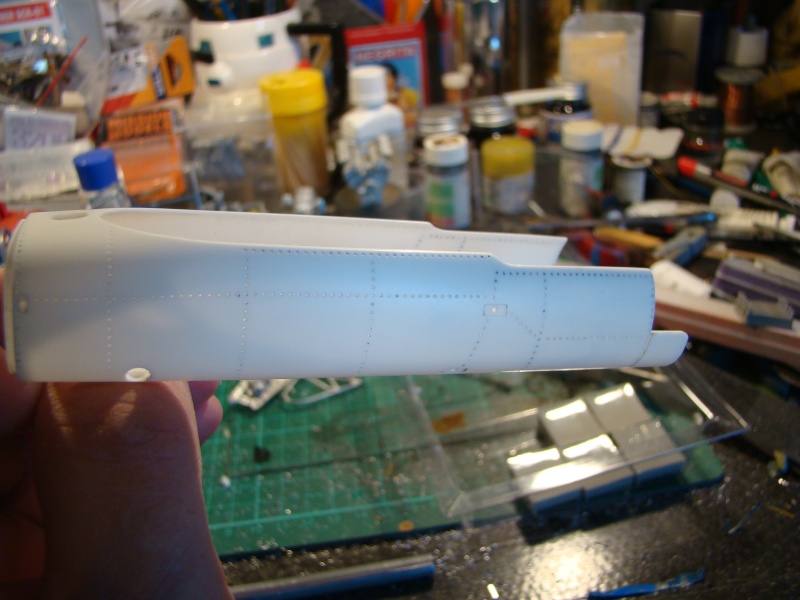
Resin rivets:
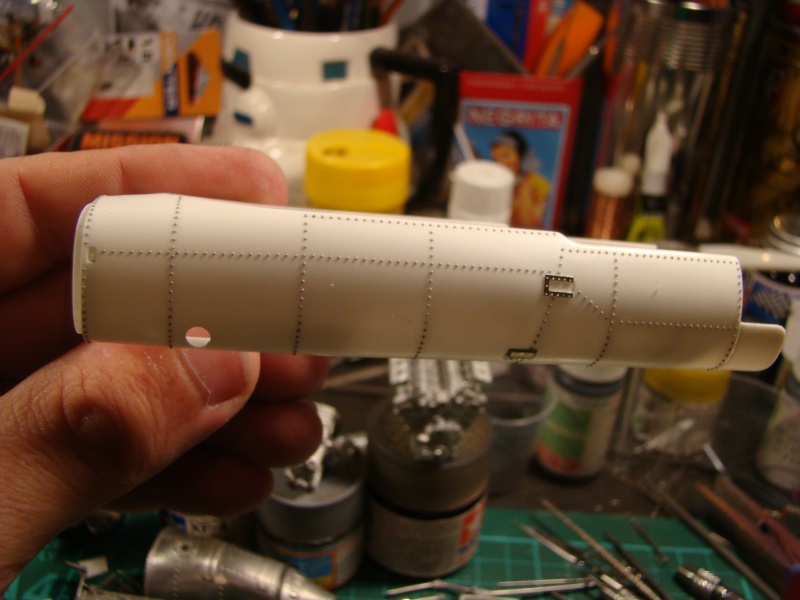
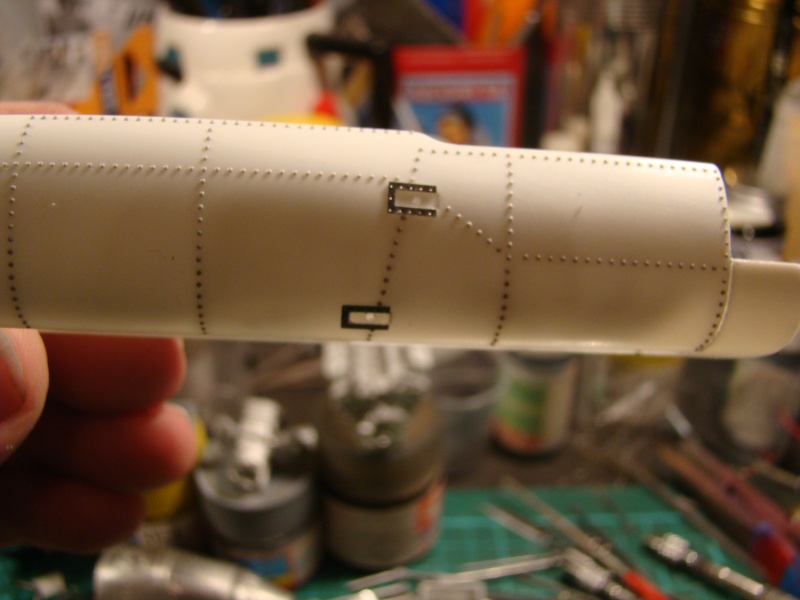
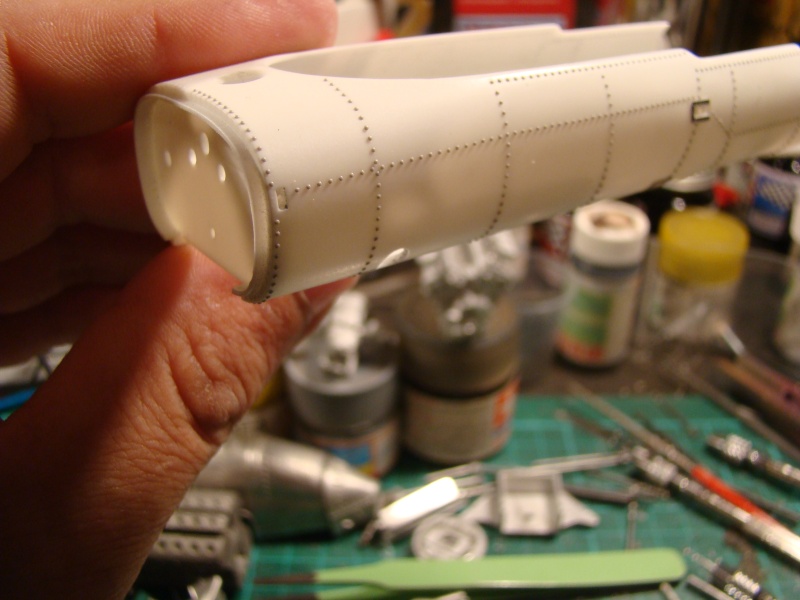
Backside view :
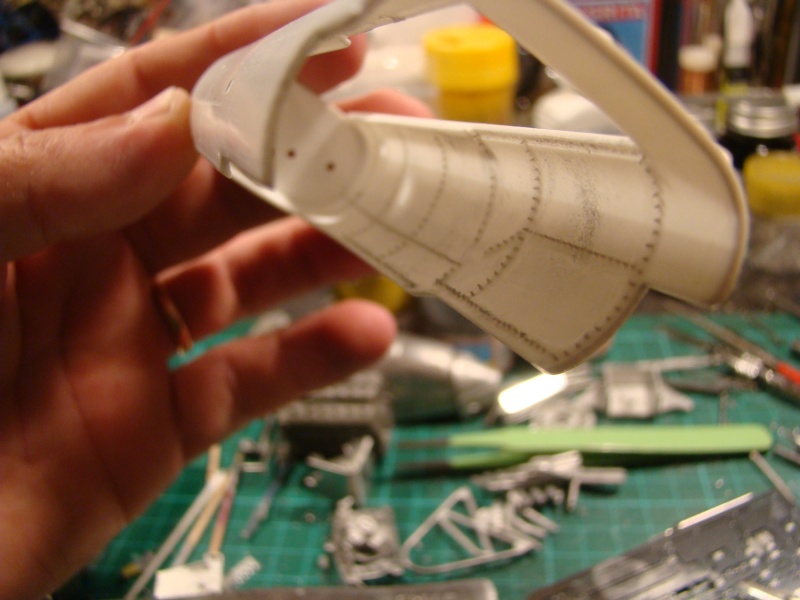
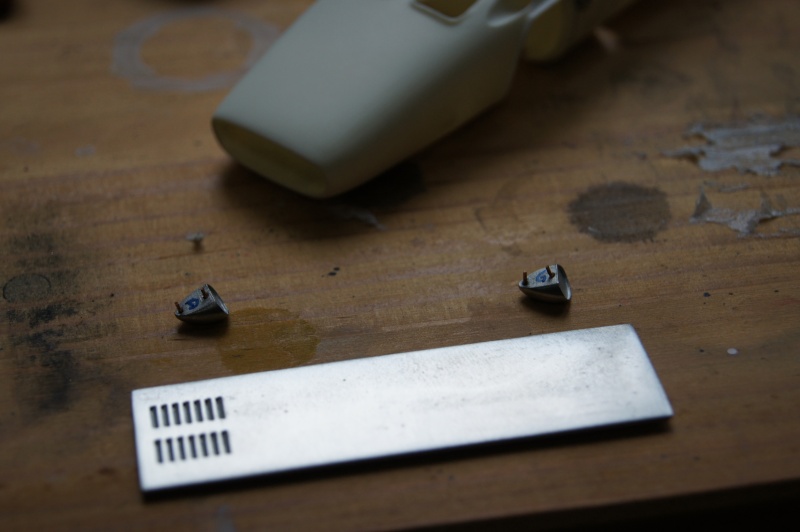
I set about installing mirrors on the body ... not so easy!
I noted the dimensions depending pictures of the car and decorating instructions for positioning.
Drilled two holes to be able to insert copper wire in each mirror, and drilled the upper body including one hole slightly larger on the front for adjustment.
I let a bit length for inserting two bolts on the inside face of the bodywork part.
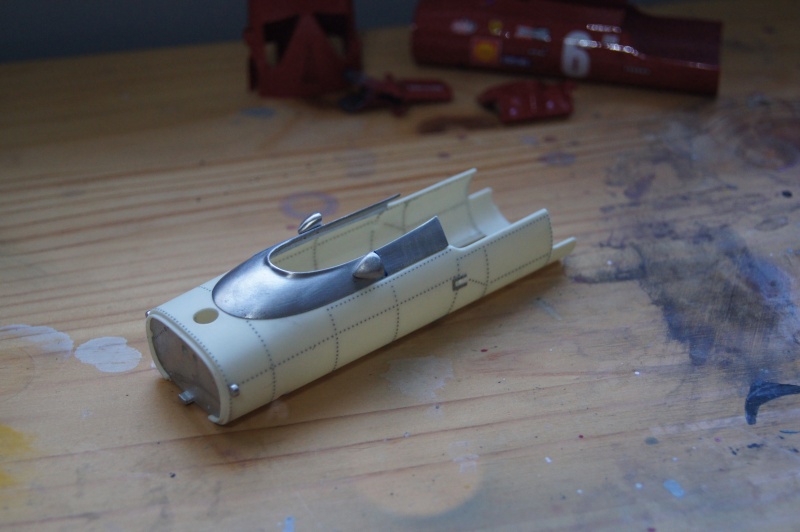
Few things were done on the engine and you can see the comparison with his little brother from 1969...
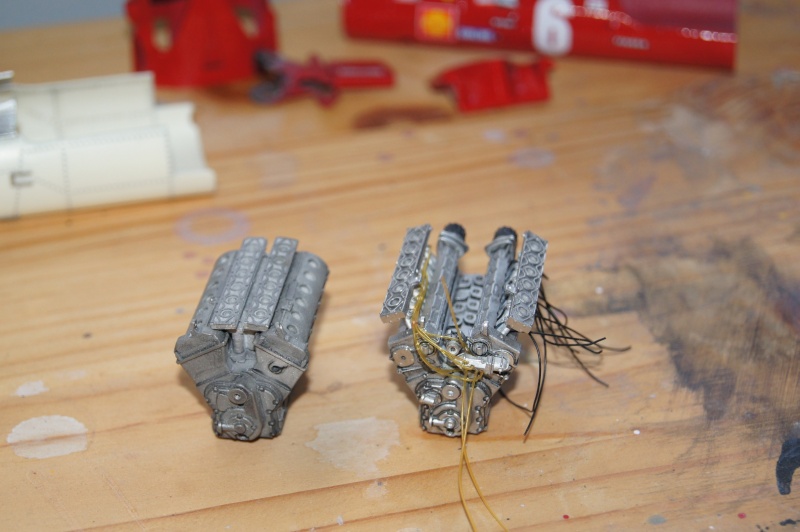
Wheels painted gold:
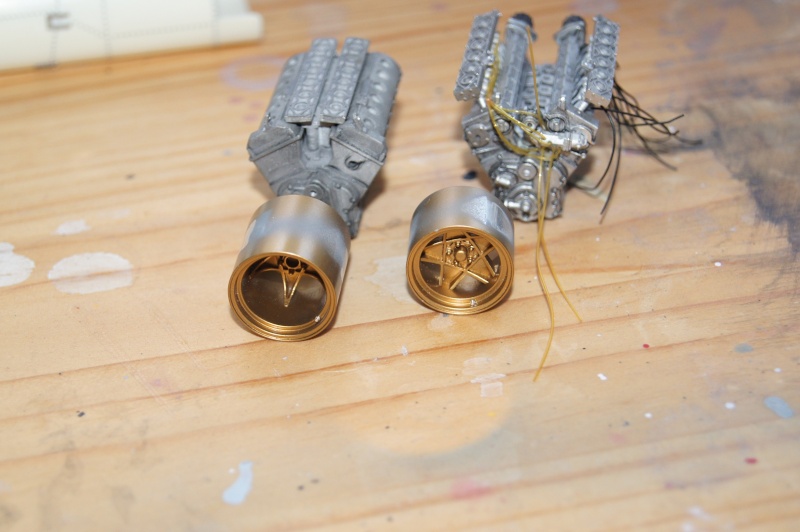
Onc again 67 & 69:
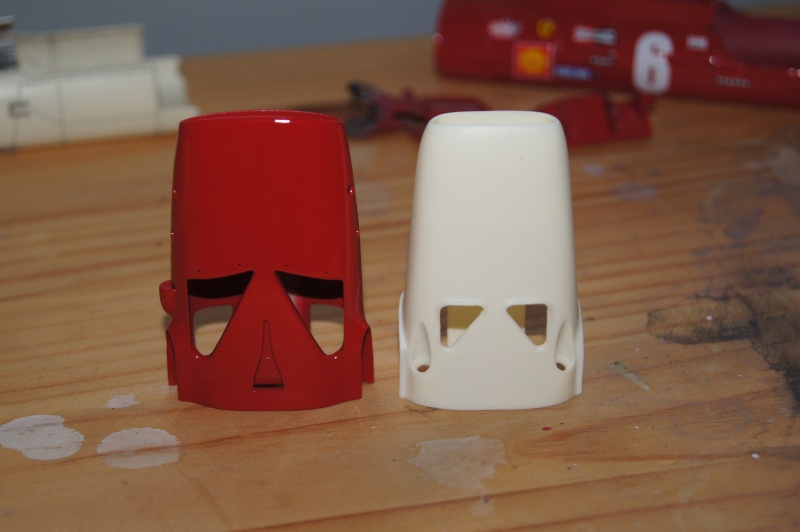
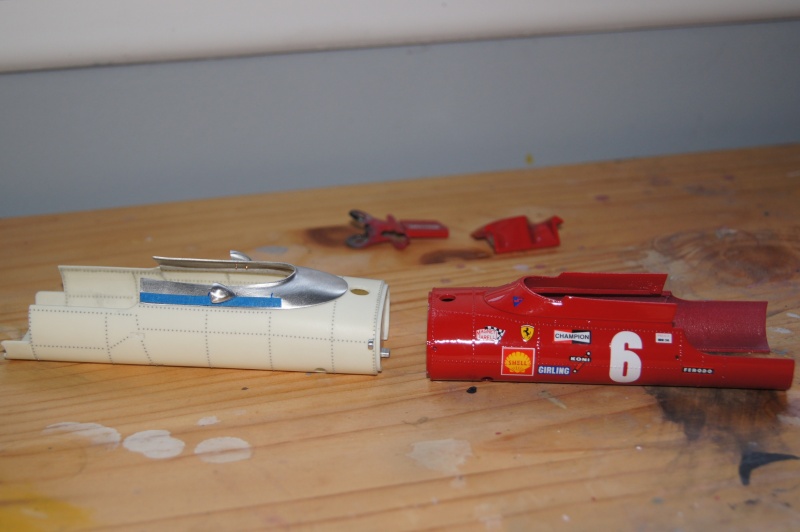
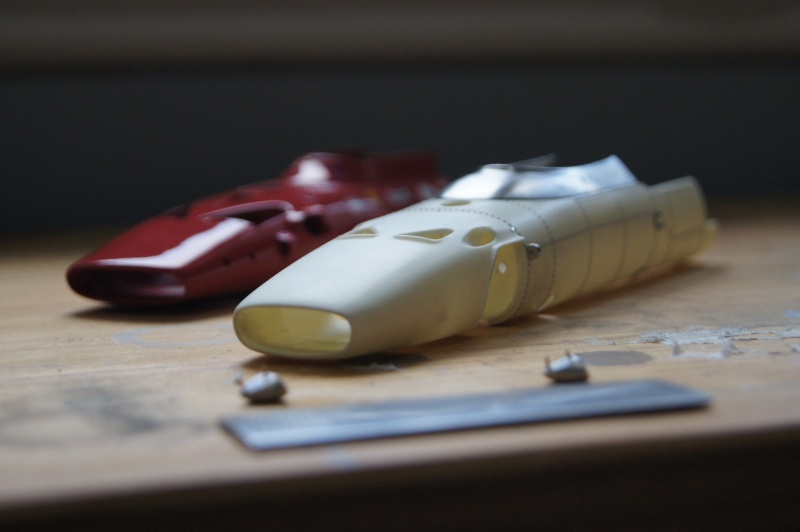
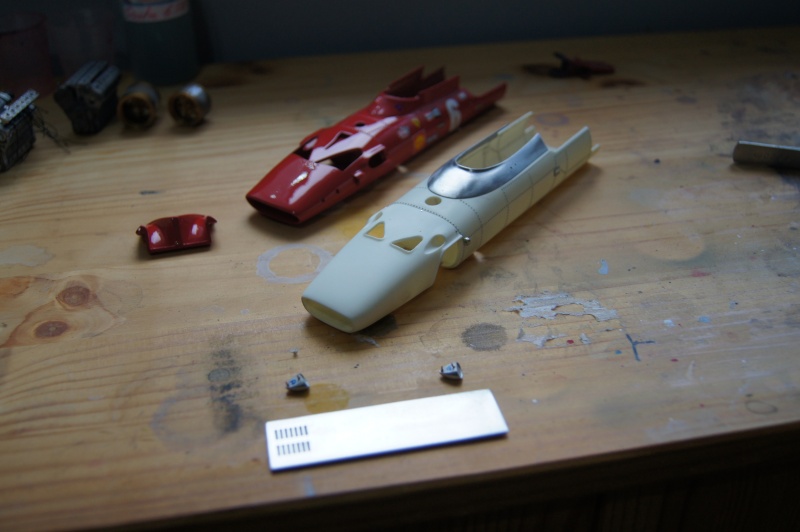
Time to test the "Surface Primer" from GRAVITY COLORS.
the good point is that it works upon resin, metal and plastic.
First of all some parts need to be prepared or finished before painting process.
... And holes need to be done once again!
But it seems I like rivets :roll:
1st, drilling the PE:
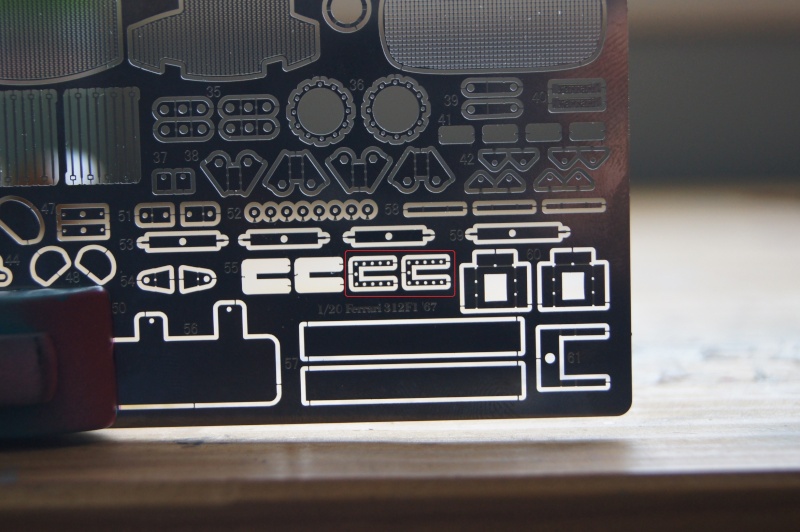
In position:
holes drilled in the resin tub :
another test fitting next to the 1969 little sister.
Mirrors details:
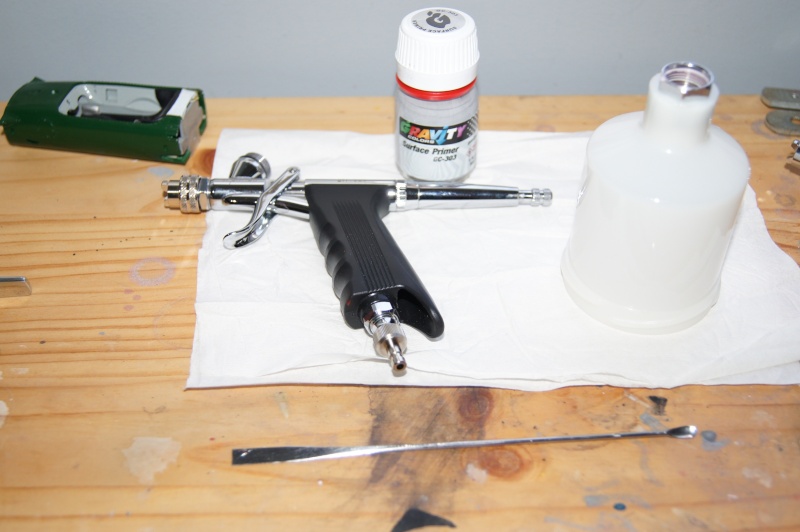
Time to play with the gun
Mr Sparmax Flat Pattern & the Primer from GRAVITY COLORS
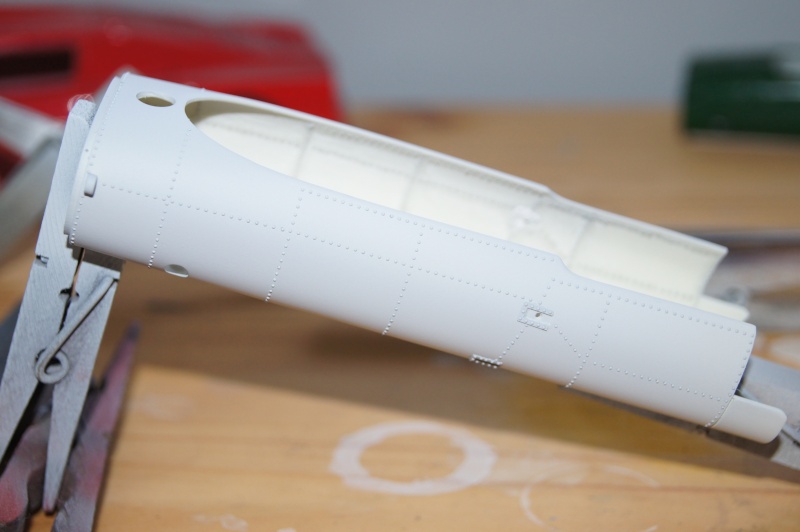
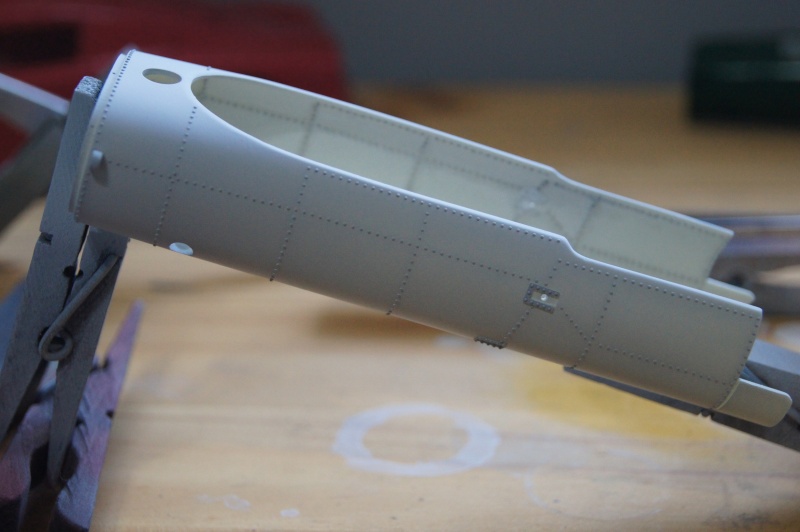
Pics with and without the camera flash:
Surprising 1st almost transparent coat, then miracle and a real pleasure to work with!
The nose
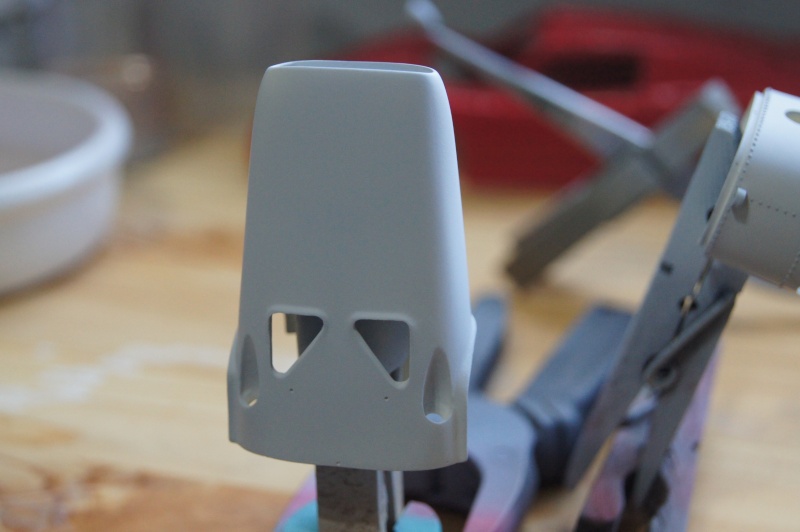
Still little work to do on the nose
Top results:
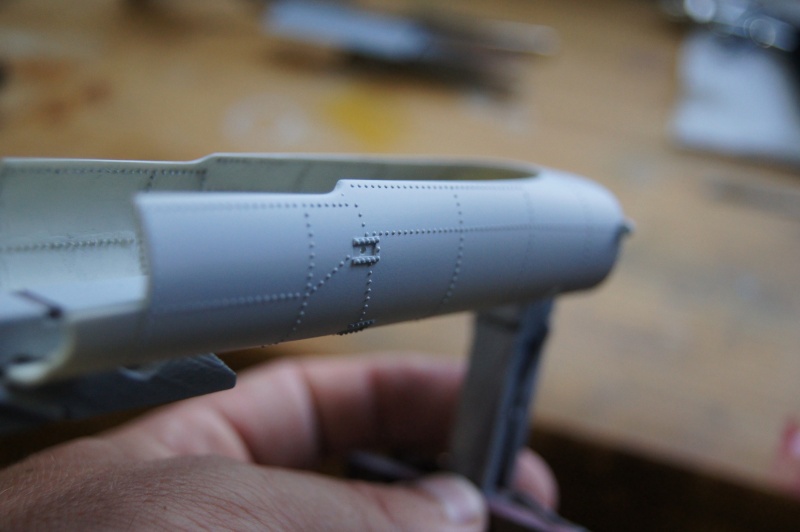
Slight problem on the nose and upper body part due to Staedtler permanent ink marker: still visible after primer...
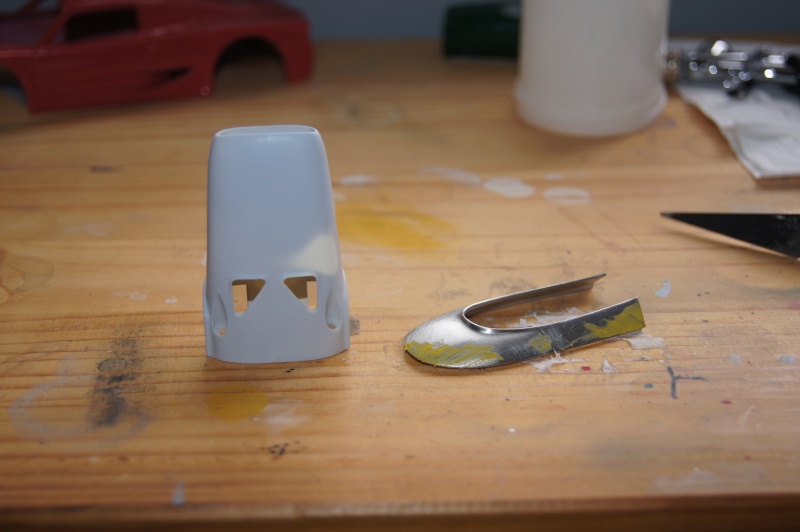
Wet sanding and putty
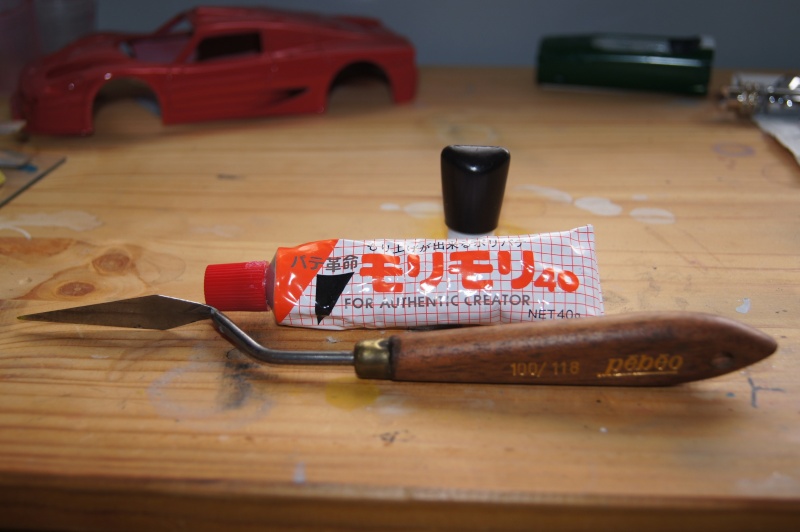
Mori Mori
Next step of the painting process.
A light color coat is done over the grey primer.
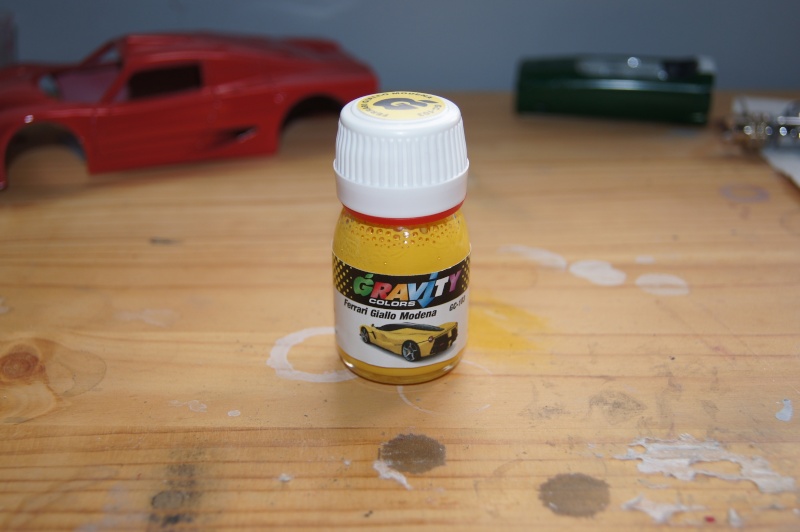
That will be the Giallo Modena for a great and bright Rosso Corsa!
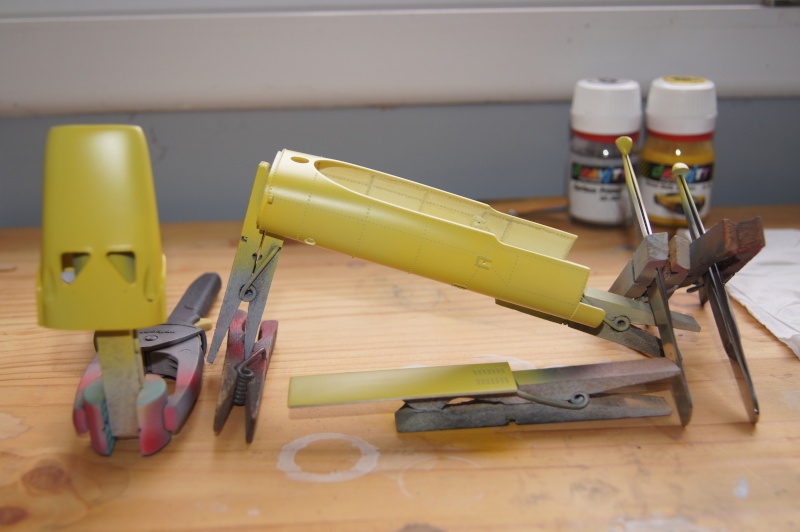
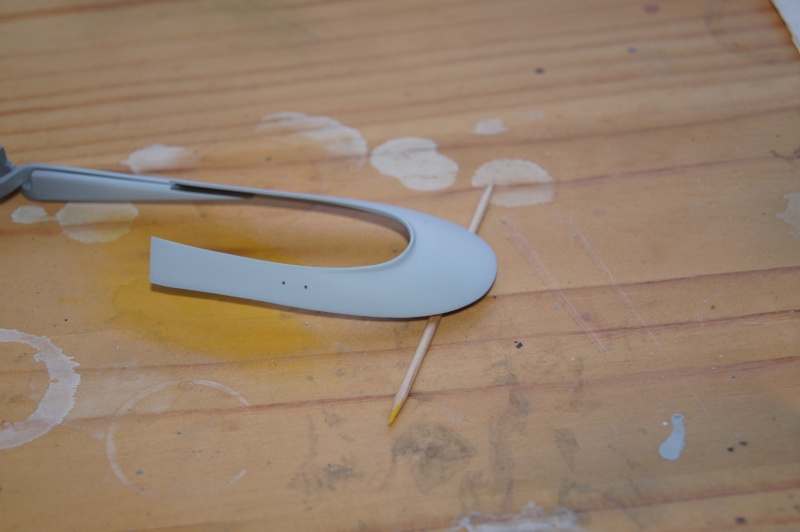
Sanding and primer...
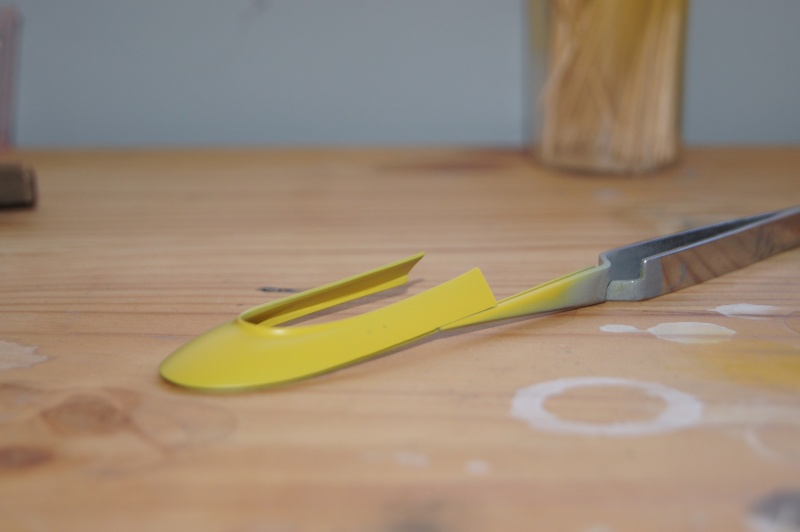
... Yellow:
Rosso:
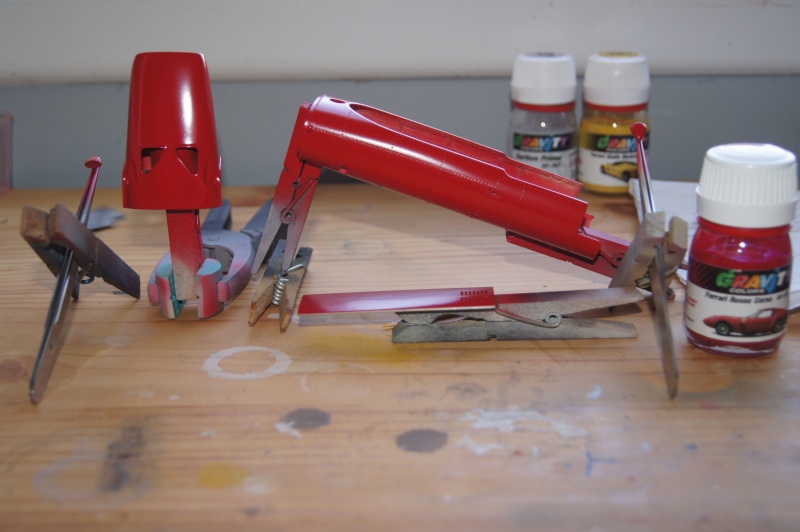
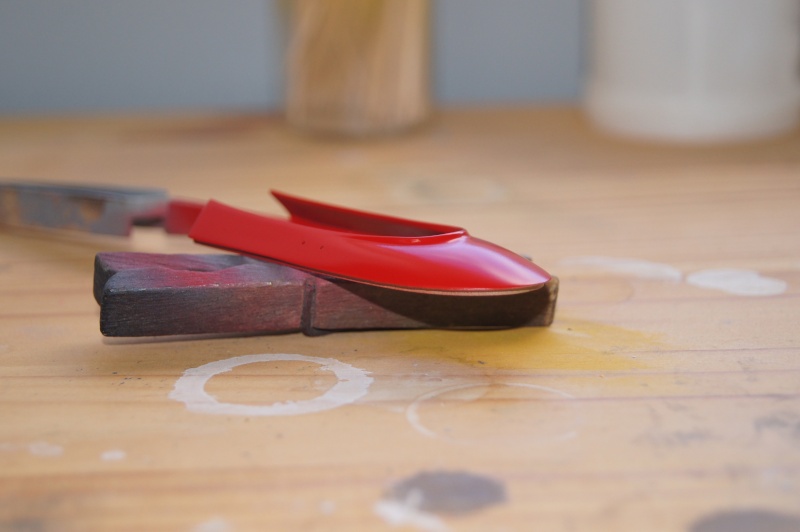
prepared and primed:
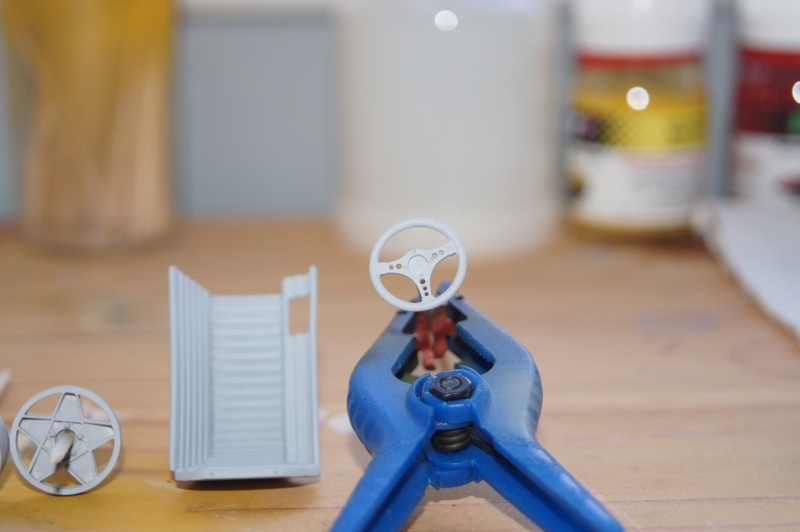
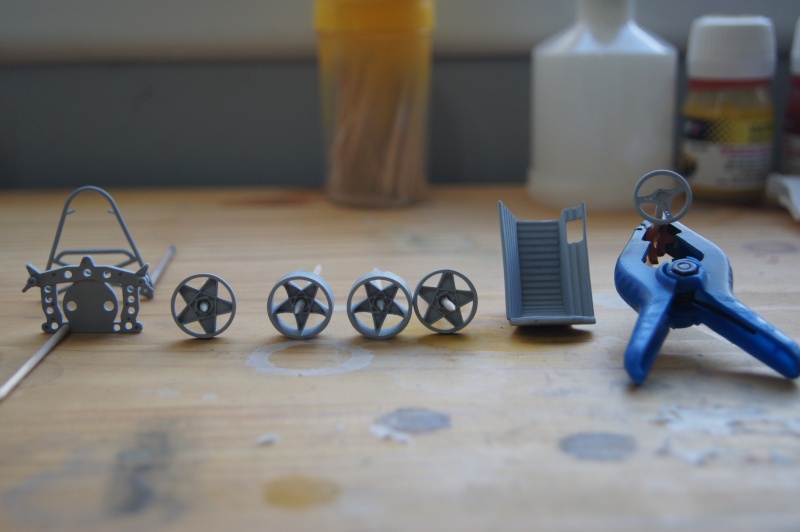
ZP Black
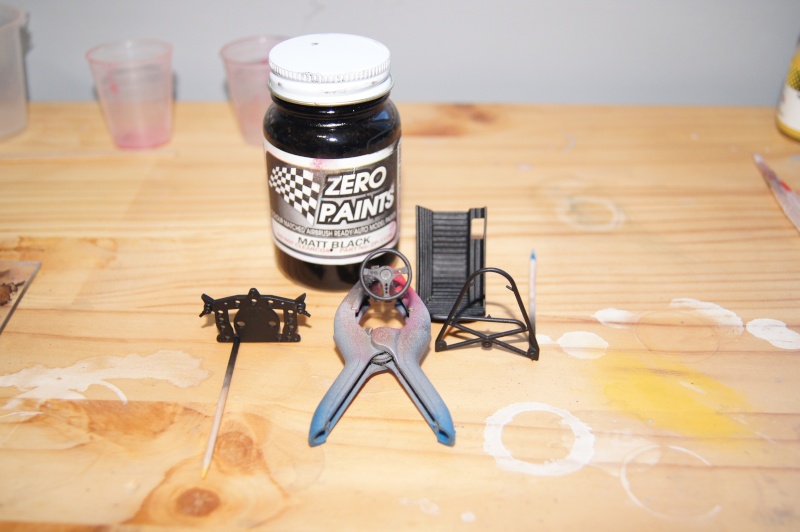
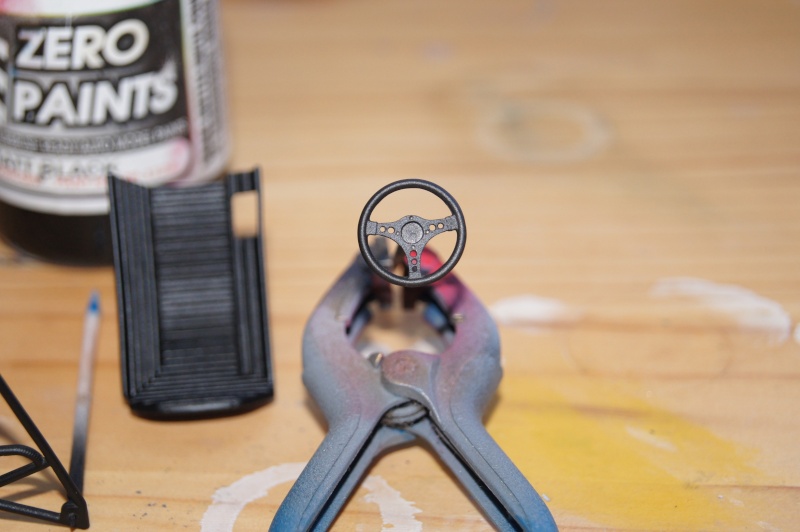
Here are the "wrongdoers"... :twisted:
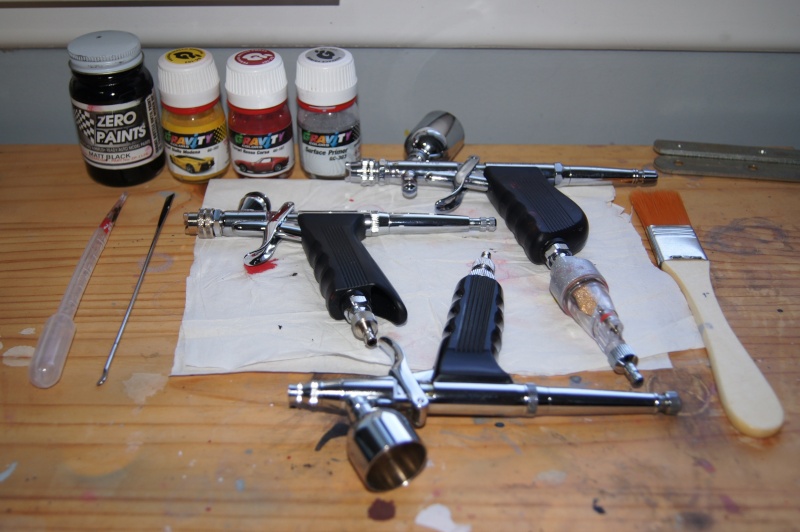
GRAVITY paints are AWESOME!!
Easy to work with, extremly thin coats can already give a beautiful result and a strong deep satin finish.
They also dry very quickly: perfect!!
Next step is the finnish coat that will be given by the Clear.
So let's go for the Gravity Colors clear coat test!
New gloves, stirrer and cup for the mix.
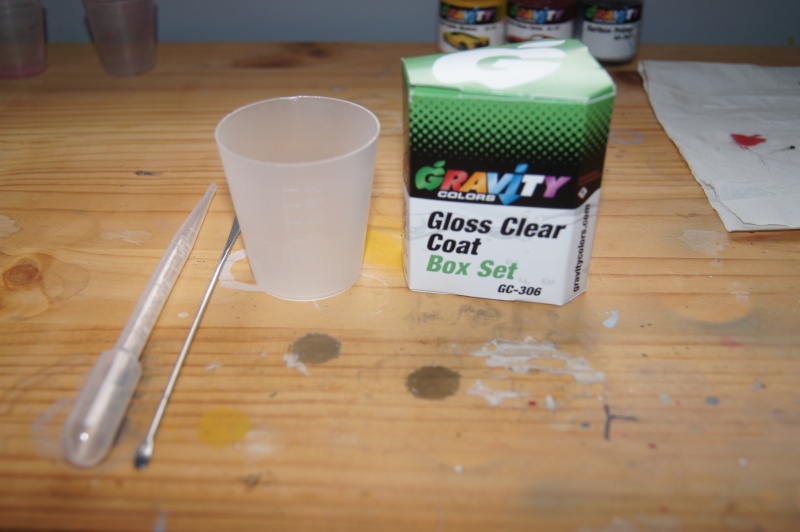
3 components: clear, activator and thinner with a 3:1:1 mix ratio.
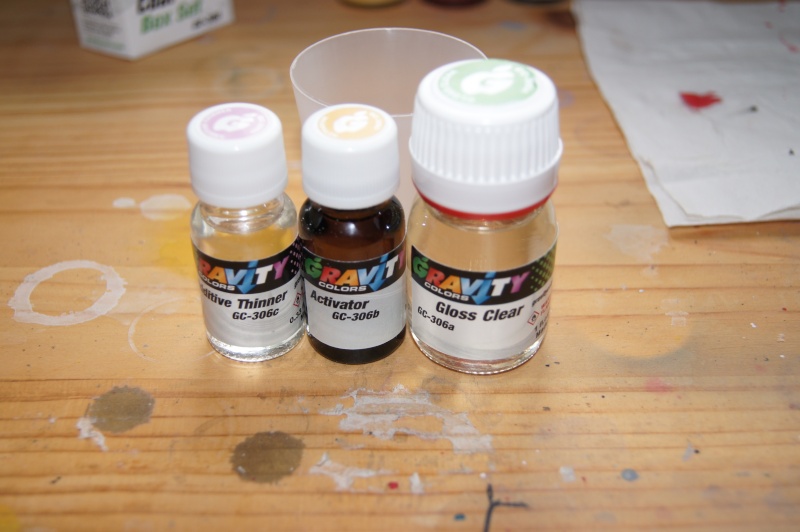
I always let the mix at rest for about 5 to 10 minutes in order to let allow to the chemical mix to degas.
You can add more thinner if necessary.
Then, one mist coat and, 5 to 10 mn later, a wet coat (or more): that's all!
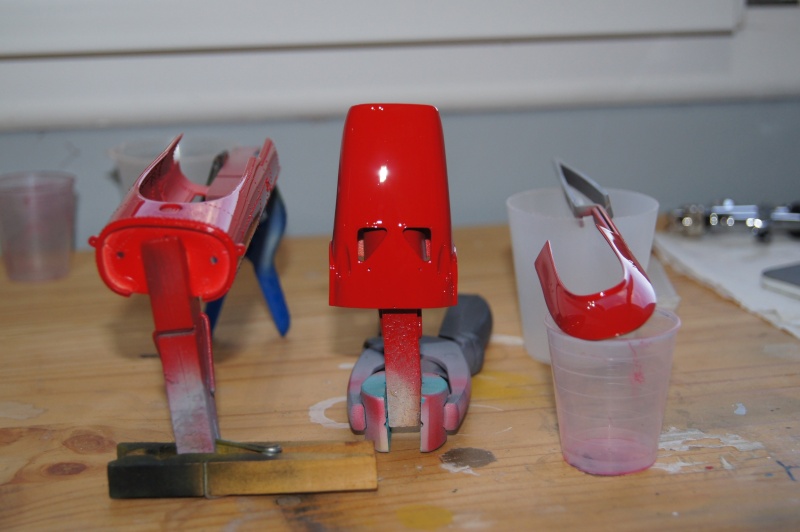
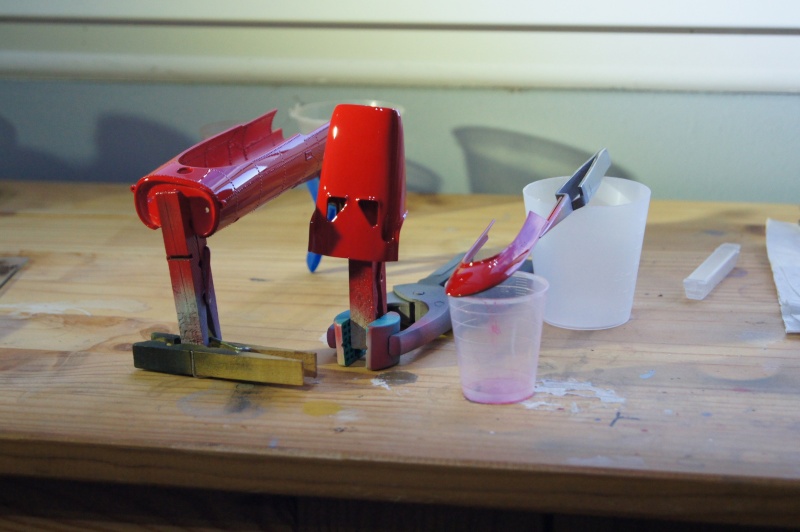
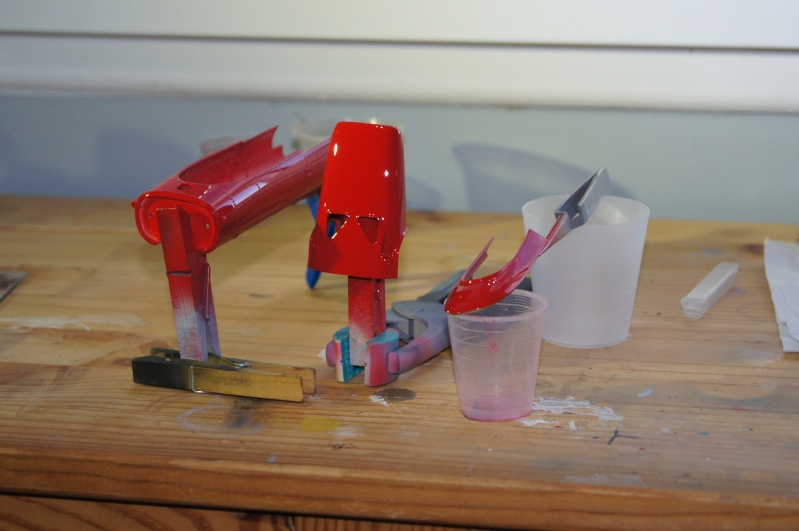
Parts drying in the "magic box":
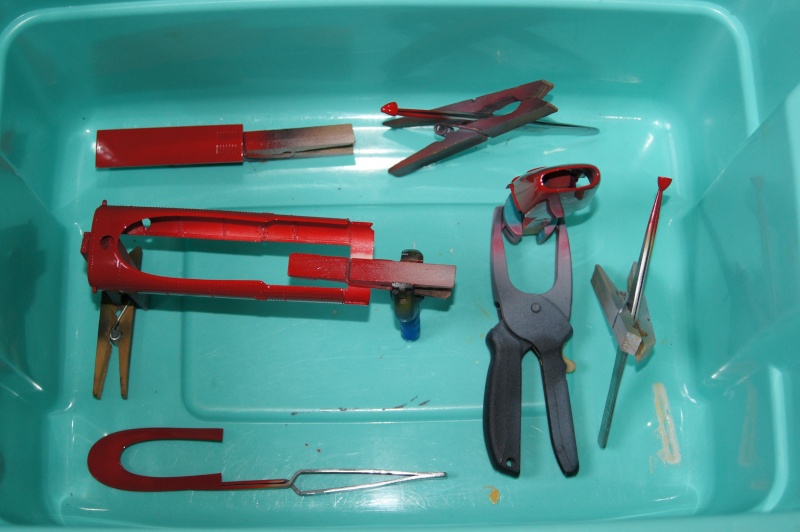
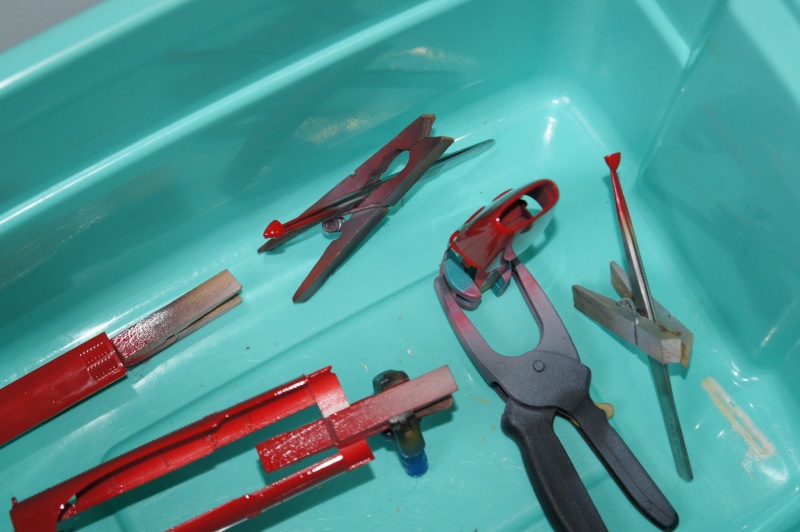
To sum up:
Great and pleasant product.
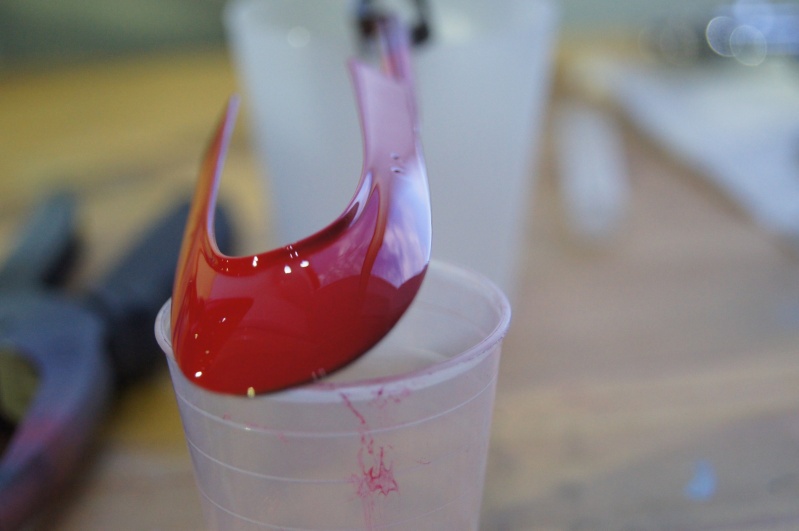
The gloss is... SHINNING!! Deep gloss even if thin.
Only 6ml of clear 2ml of activator and 2 of additive thinner were used...
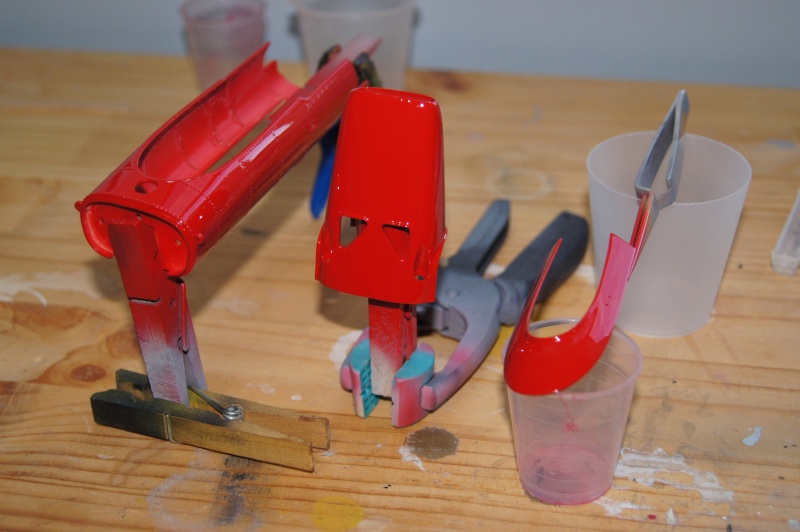
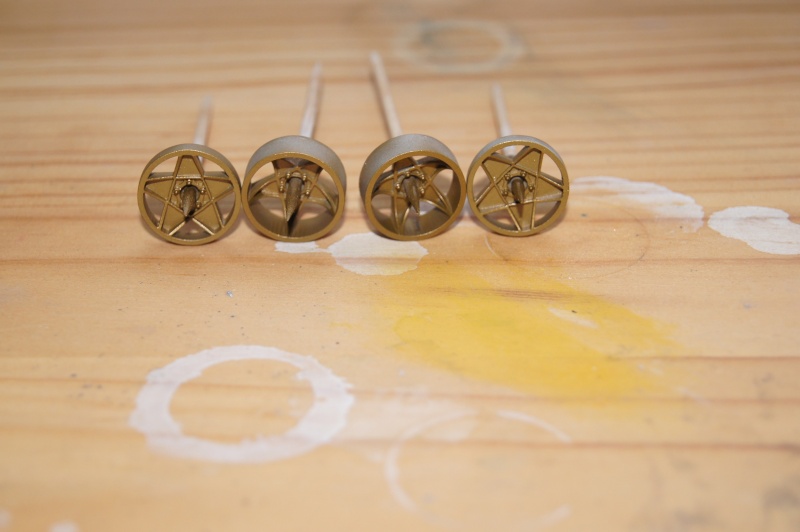
Alclad gold on the center of the wheels.
I set about installing mirrors on the body ... not so easy!
I noted the dimensions depending pictures of the car and decorating instructions for positioning.
Drilled two holes to be able to insert copper wire in each mirror, and drilled the upper body including one hole slightly larger on the front for adjustment.
I let a bit length for inserting two bolts on the inside face of the bodywork part.

Few things were done on the engine and you can see the comparison with his little brother from 1969...

Wheels painted gold:

Onc again 67 & 69:


Time to test the "Surface Primer" from GRAVITY COLORS.
the good point is that it works upon resin, metal and plastic.
First of all some parts need to be prepared or finished before painting process.
... And holes need to be done once again!
But it seems I like rivets :roll:
1st, drilling the PE:

In position:

holes drilled in the resin tub :

another test fitting next to the 1969 little sister.


Mirrors details:

Time to play with the gun
Mr Sparmax Flat Pattern & the Primer from GRAVITY COLORS

Pics with and without the camera flash:
Surprising 1st almost transparent coat, then miracle and a real pleasure to work with!


The nose

Still little work to do on the nose
Top results:

Slight problem on the nose and upper body part due to Staedtler permanent ink marker: still visible after primer...

Wet sanding and putty

Mori Mori

Next step of the painting process.
A light color coat is done over the grey primer.
That will be the Giallo Modena for a great and bright Rosso Corsa!

Sanding and primer...

... Yellow:

Rosso:


prepared and primed:


ZP Black


Here are the "wrongdoers"... :twisted:

GRAVITY paints are AWESOME!!
Easy to work with, extremly thin coats can already give a beautiful result and a strong deep satin finish.
They also dry very quickly: perfect!!
Next step is the finnish coat that will be given by the Clear.
So let's go for the Gravity Colors clear coat test!
New gloves, stirrer and cup for the mix.

3 components: clear, activator and thinner with a 3:1:1 mix ratio.

I always let the mix at rest for about 5 to 10 minutes in order to let allow to the chemical mix to degas.
You can add more thinner if necessary.
Then, one mist coat and, 5 to 10 mn later, a wet coat (or more): that's all!
Parts drying in the "magic box":


To sum up:
Great and pleasant product.
The gloss is... SHINNING!! Deep gloss even if thin.
Only 6ml of clear 2ml of activator and 2 of additive thinner were used...


Alclad gold on the center of the wheels.

To be honest, rivets are really easy to install and I just had to follow the engraved rivets lines.
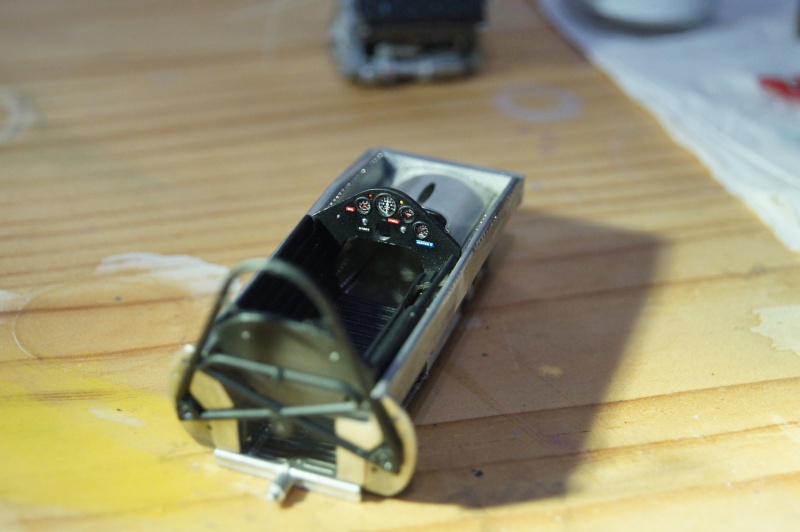
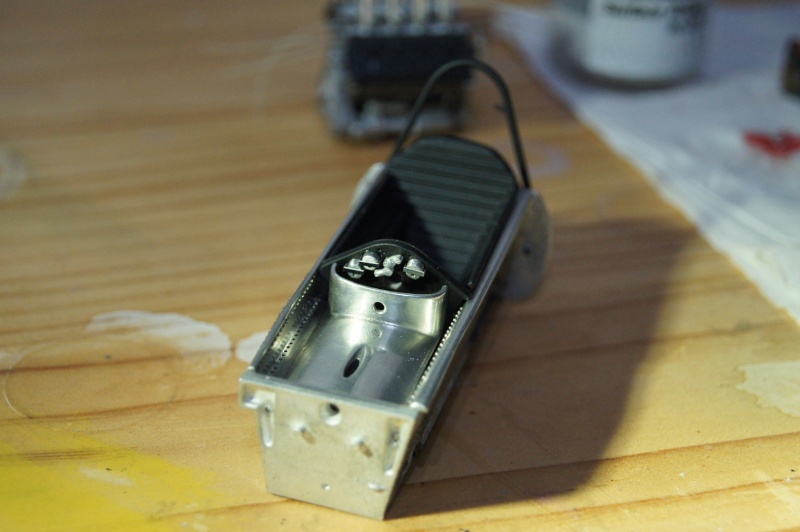
Small progress on the dash board and research regarding the engine.
So just few pics for this small update...
Front face of the dashboard installed in the tub:
Aft:
Close up:
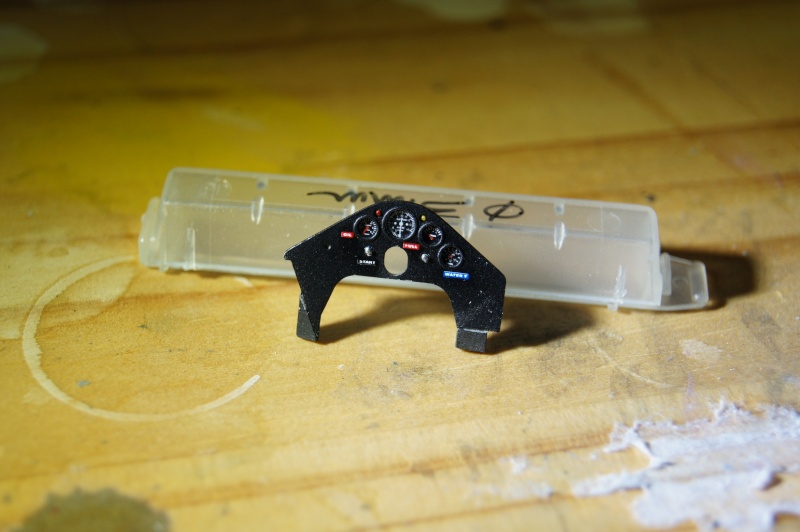
Gauges are covered with a "glass" made of Rodhoid cut with a Waldron Punch & Die but it's not really visible on the pics :? ...
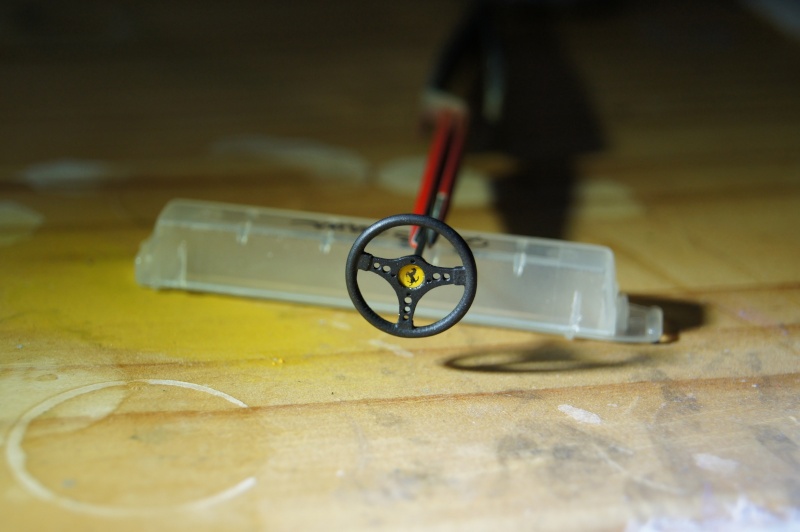
Cavallino !
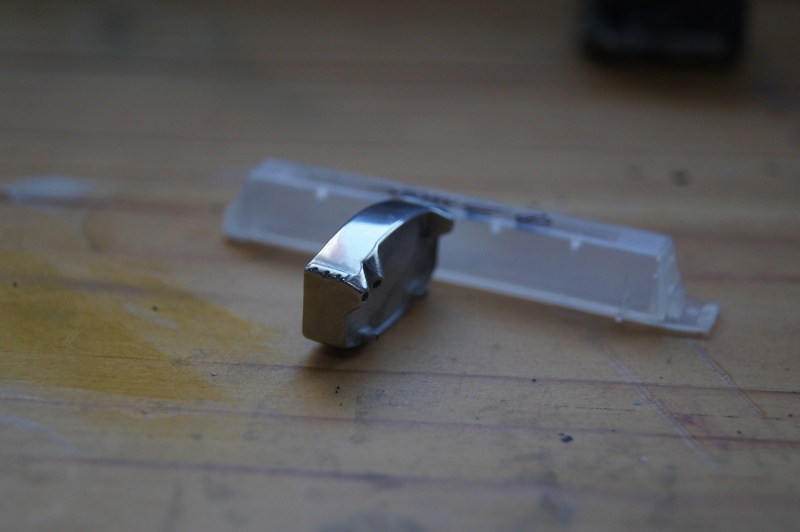
Radiator is ... empty!
I've tried to make it a bit more realistic or, if not, just more pleasant for me :mrgreen:
Brass 0.8 and Alu scotch "aircraft" type:
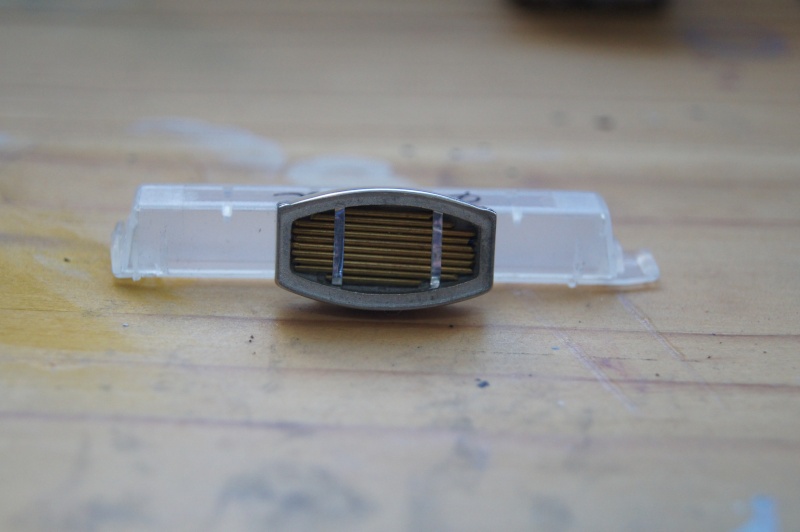
Nice and still bright...
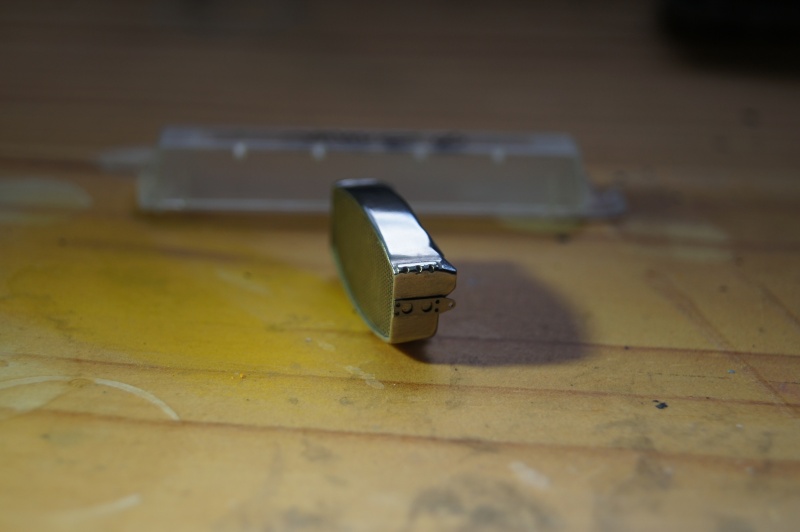
Fwd and aft mesh:
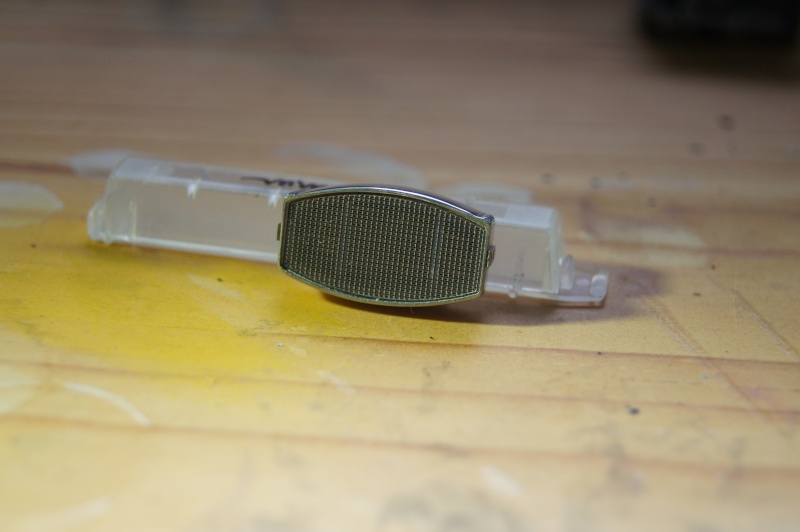
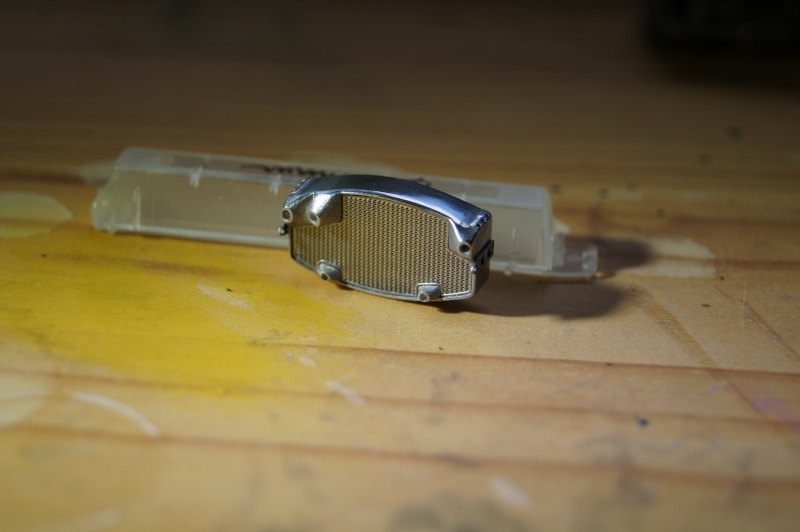
Primer GC:
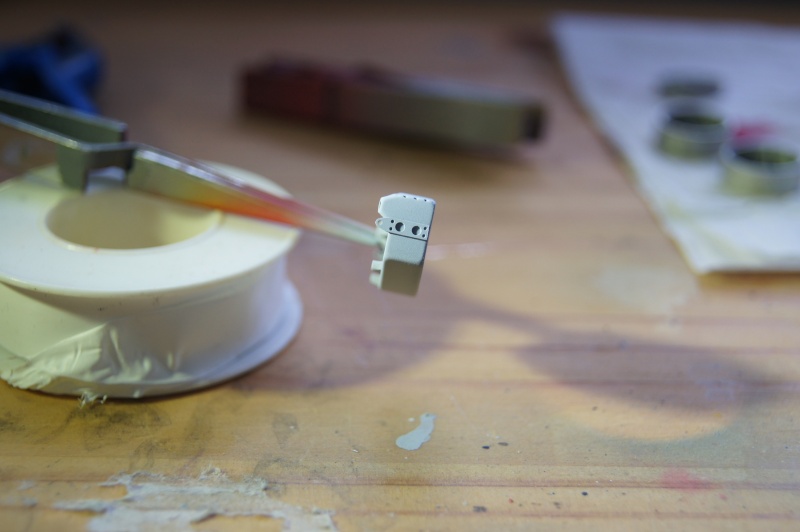
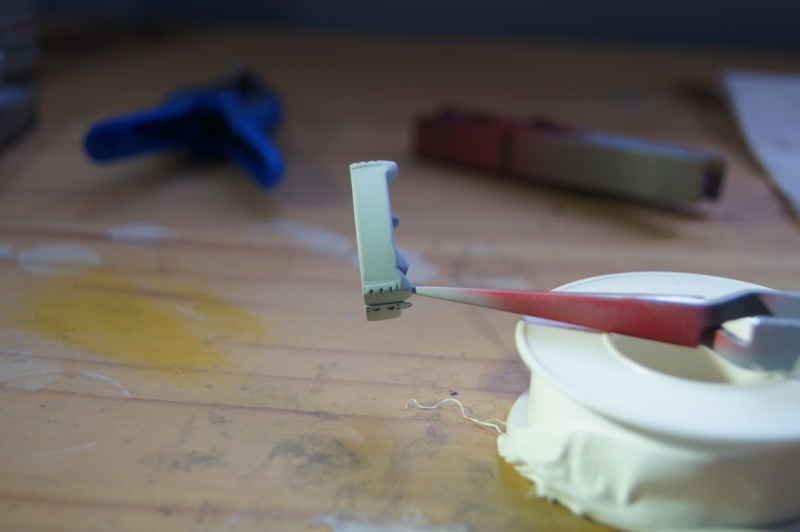
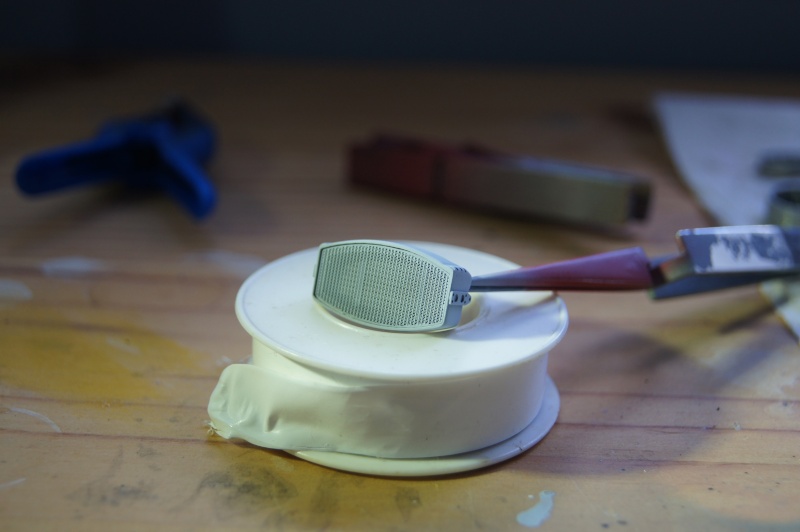
Dampers are great: made of machined aluminium.
Just a detail added from F1 Specialties.
I wonder if I haven't already seen the same detail added somewhere...
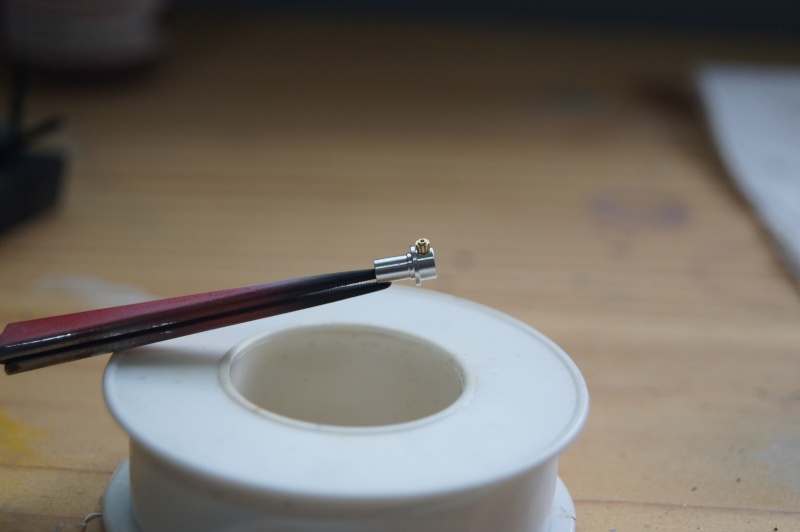
Not perfect, but not bad :)
Black ...is black:
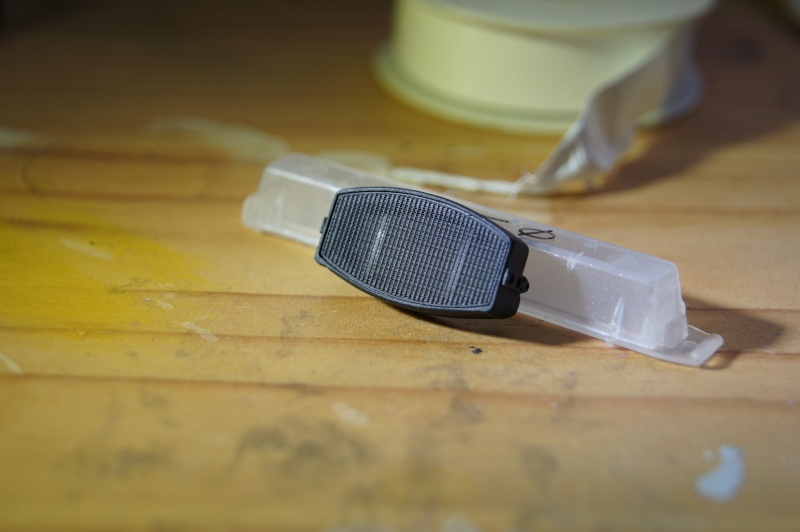
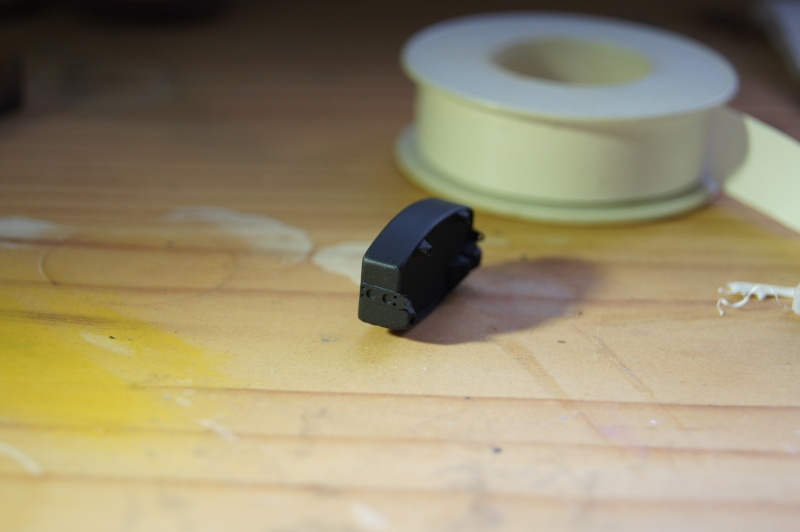
Almost invisible once the engine is assembled to the body, but I couldn't resist :twisted:
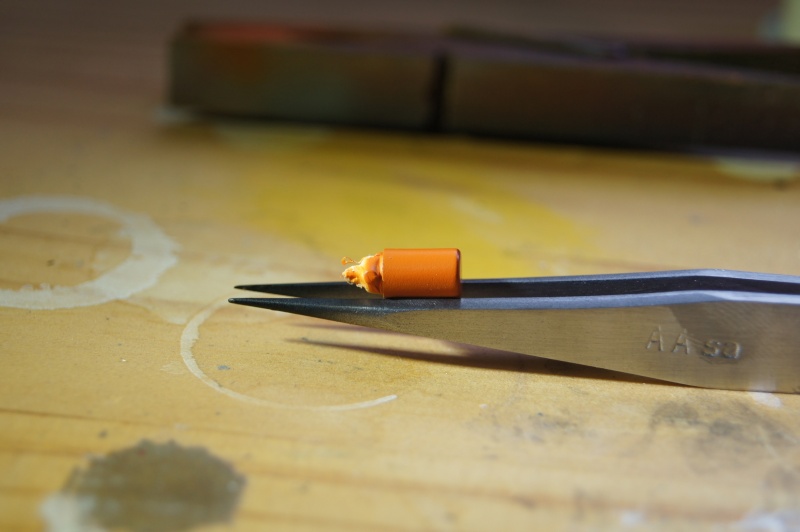
Teflon mask and Orange FRAM from Gravity Colors.

Oil filter done :wink:
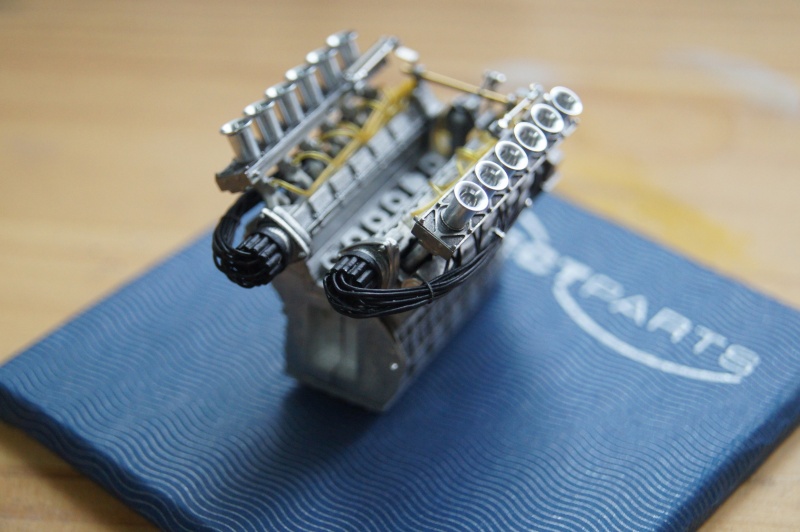
Well, here's one which is all disheveled, long hair and loose:
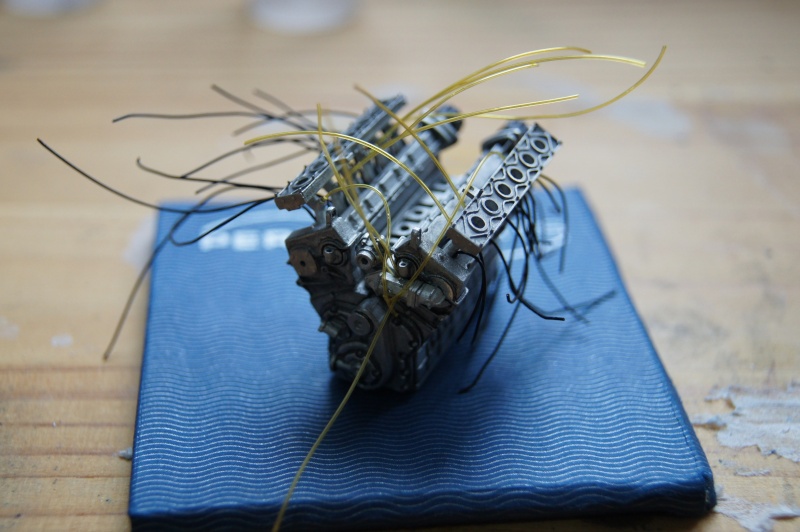
We'll have to take care of him ...
I did not like the original links more than that.
I decided to make new ones:

A nice hair cut and new links installed:
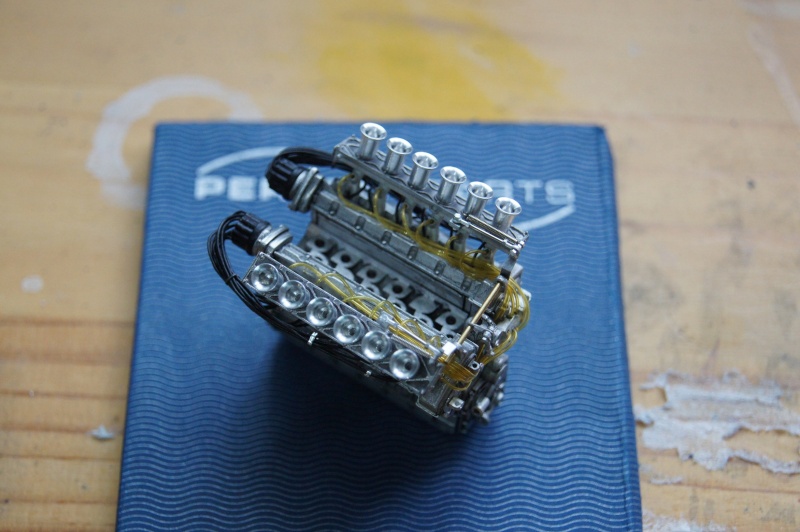
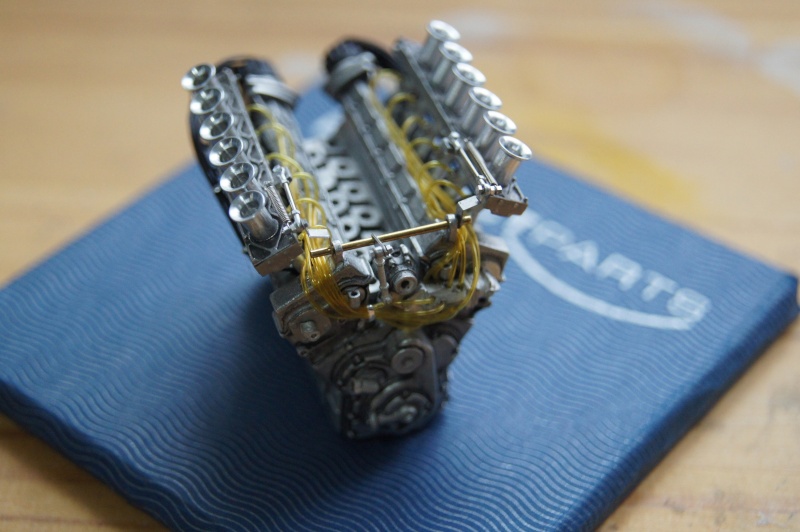
The "jars" are polished and fitted to the roll bar .
I took the opportunity to install RB Motion Banjo fittigs:
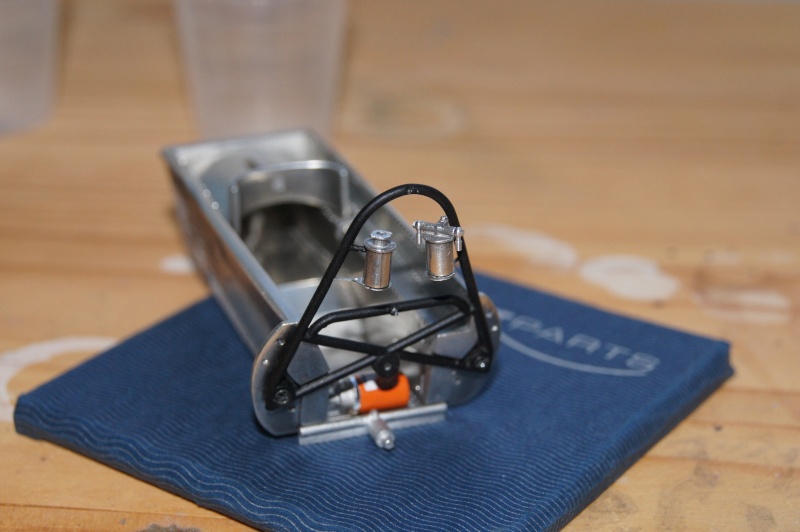
It remains to connect all this little world ...
New paint for the wheels: the Gold done before didn't please me...
So Primer, Alclad Black, then Alclad Gold tomorrow:
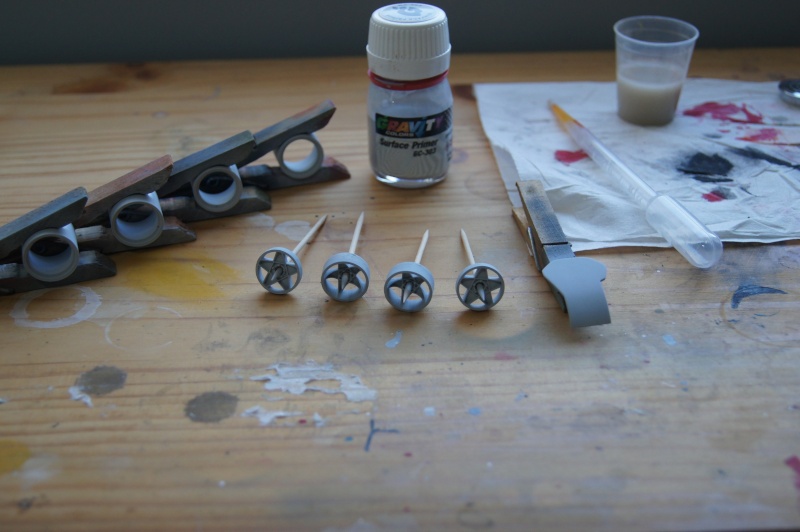
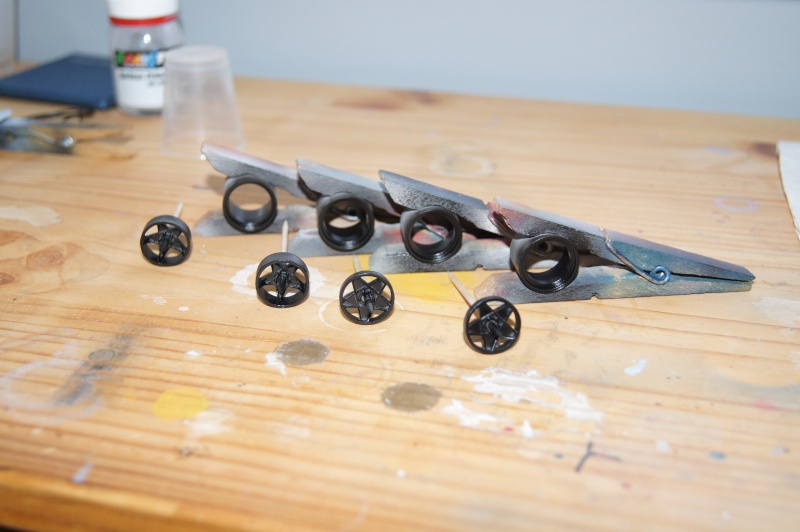
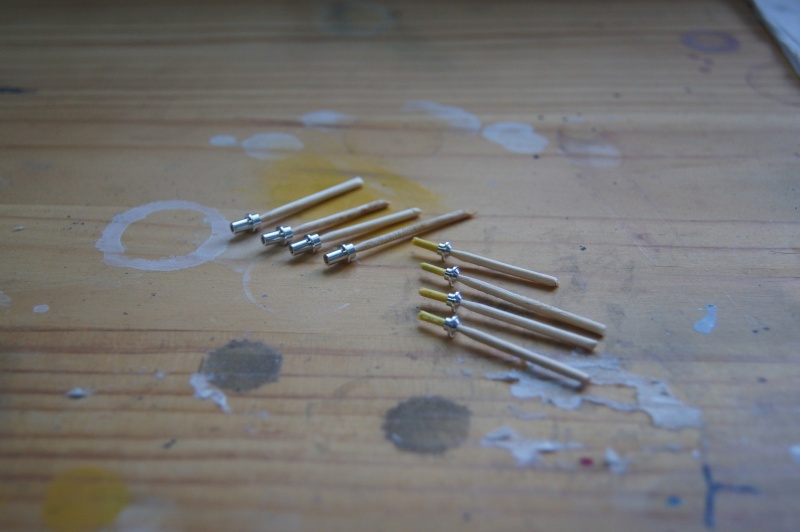
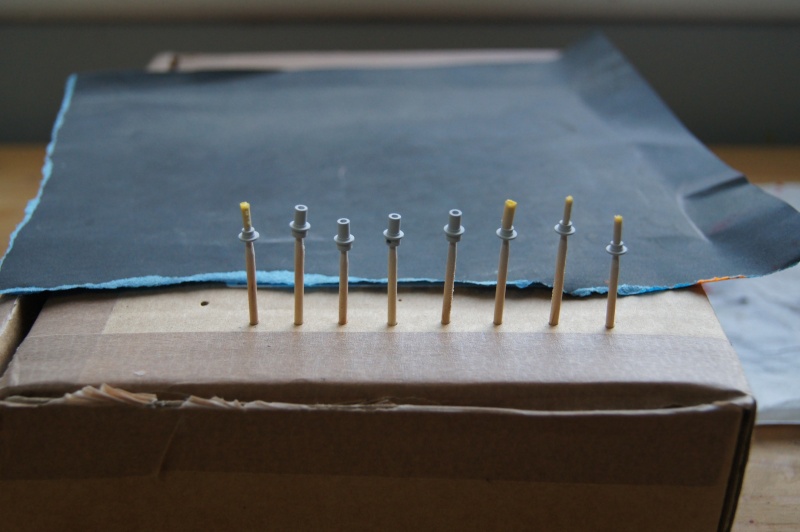
Wheels are drilled for the Valve stems from Rob.
Schock absorbers are also primed with Gravity.
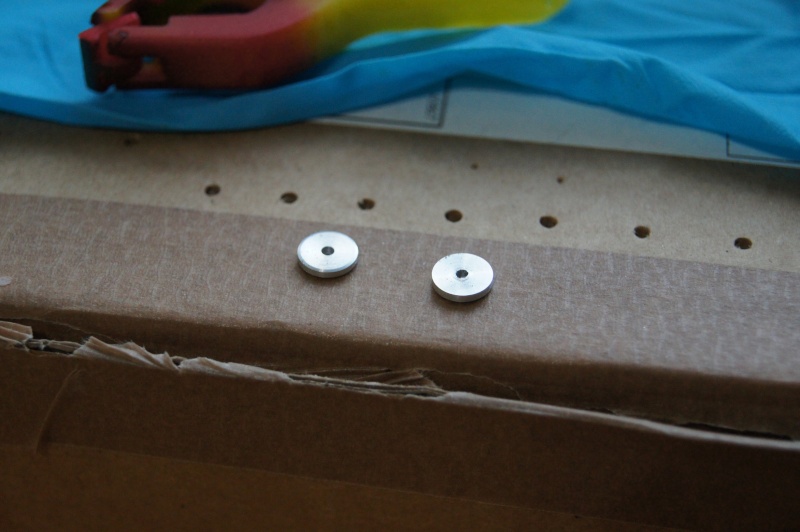
Here the work of the day: brakes!
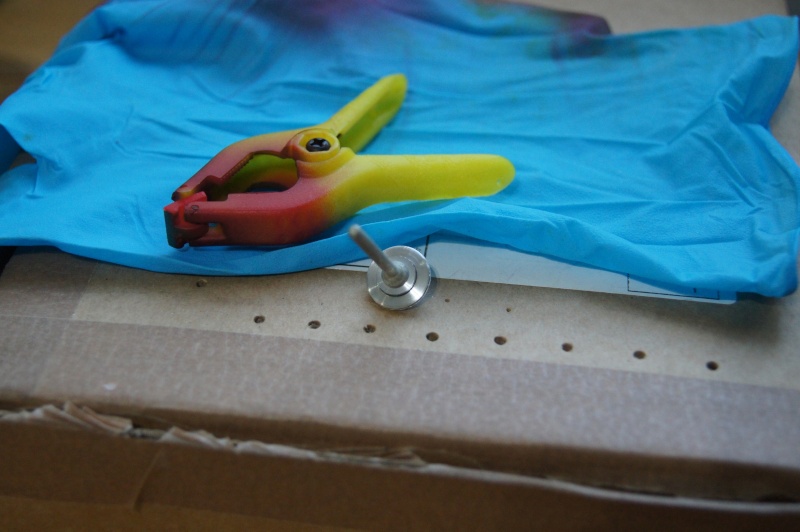
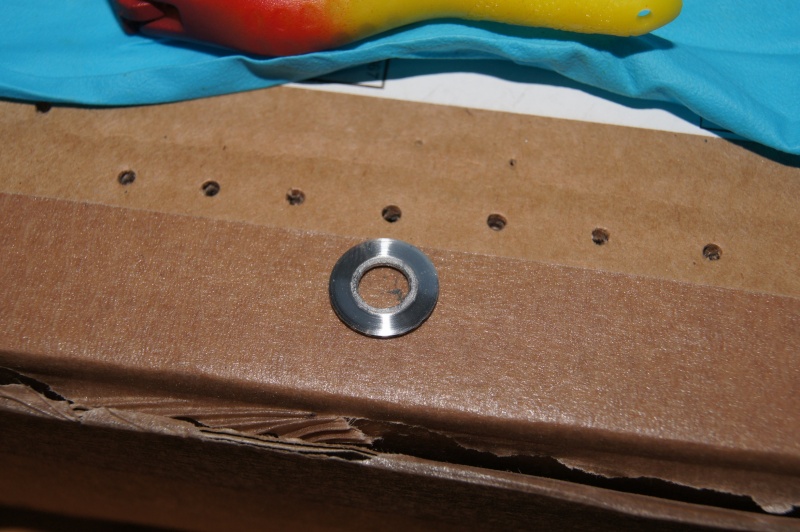
In order to properly clean, coloring and "scratch" the disks (White Metal), I quickly crafted small plates of turned aluminum.
They will allow me to hold them on a small tool holder to be fixed in the drill chuck.
Turned parts:
Disk on the tooll:
Done but still dirty:
The rear discs are detailed with beautiful PE parts, but lack detail for my taste.
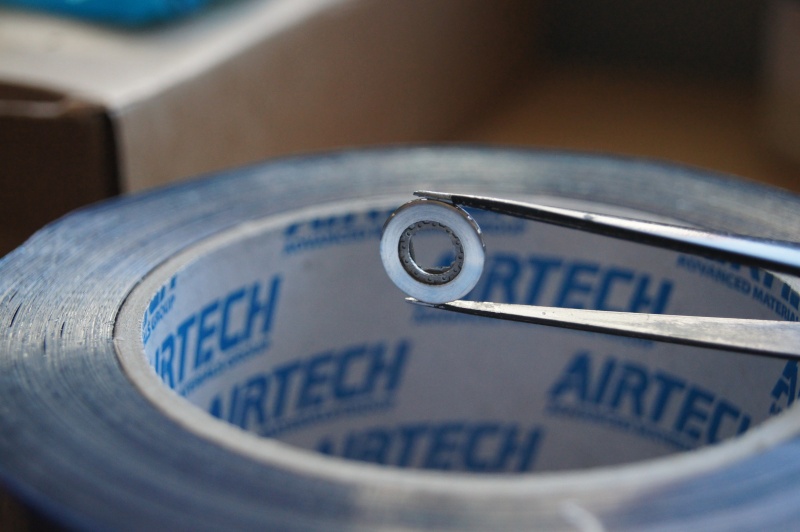
0.4 holes drilled in the part:
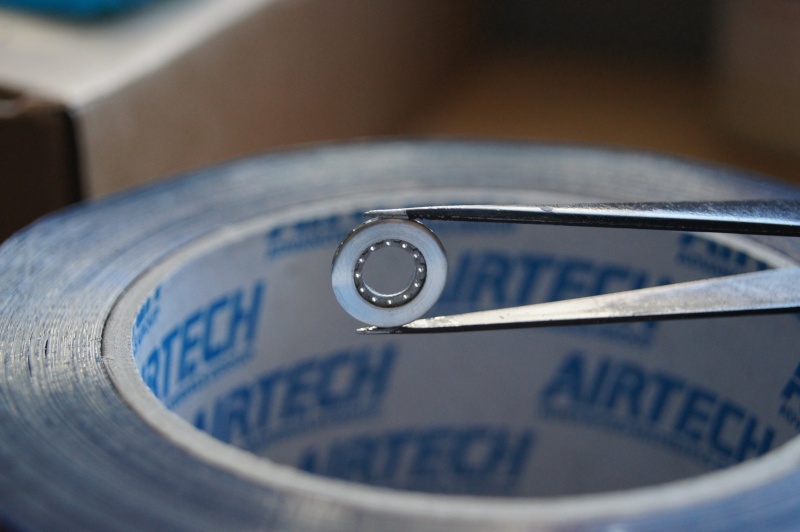
Allen head from Rob (RBMotion):
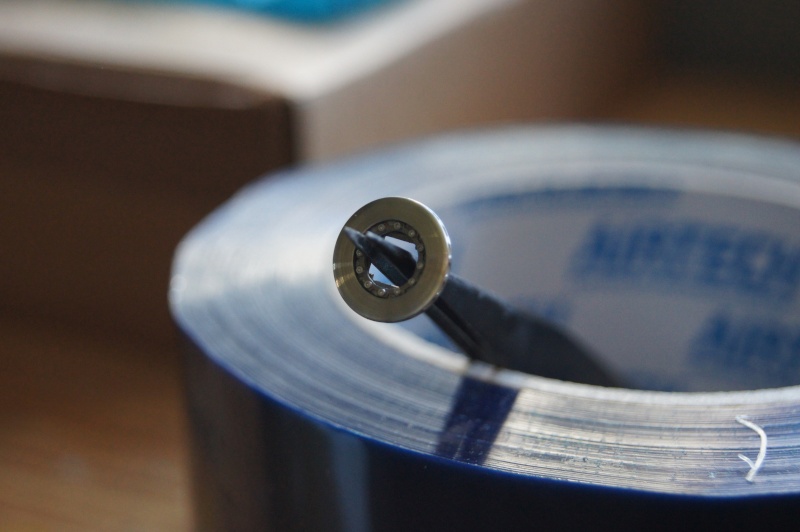
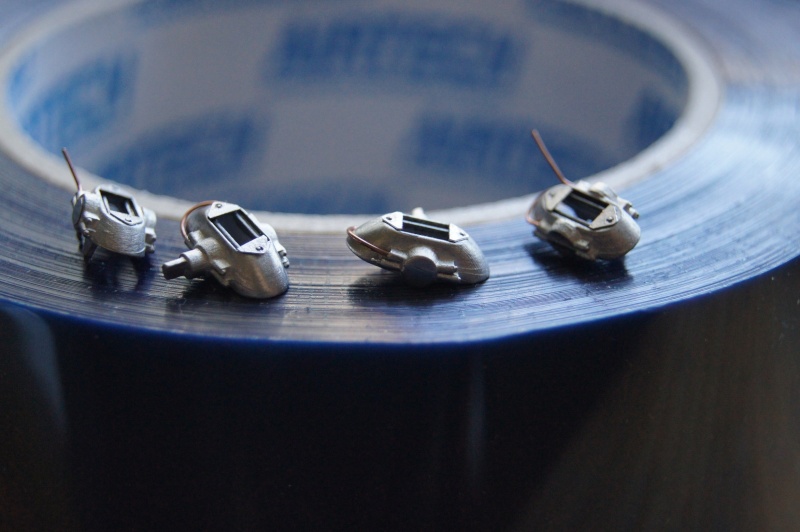
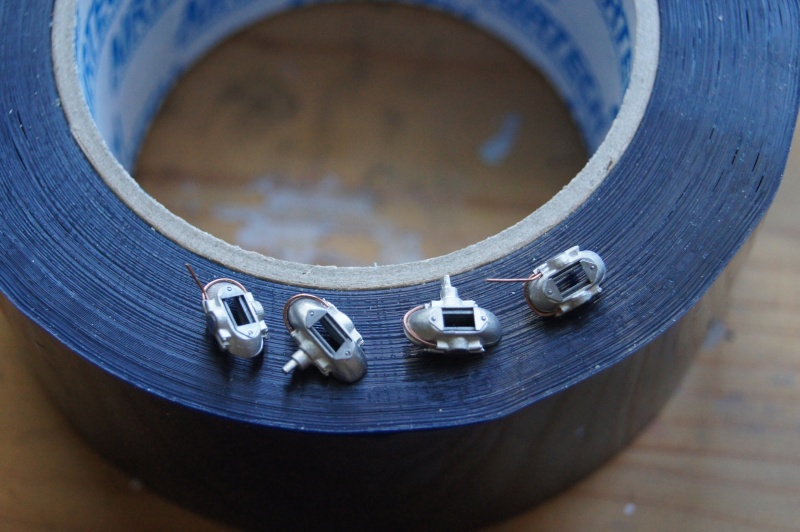
Brakes are also... Calipers :wink:
Drilled and equipped with copper pipes and brake bleeders from Rob once again
The front discs on their hubs:
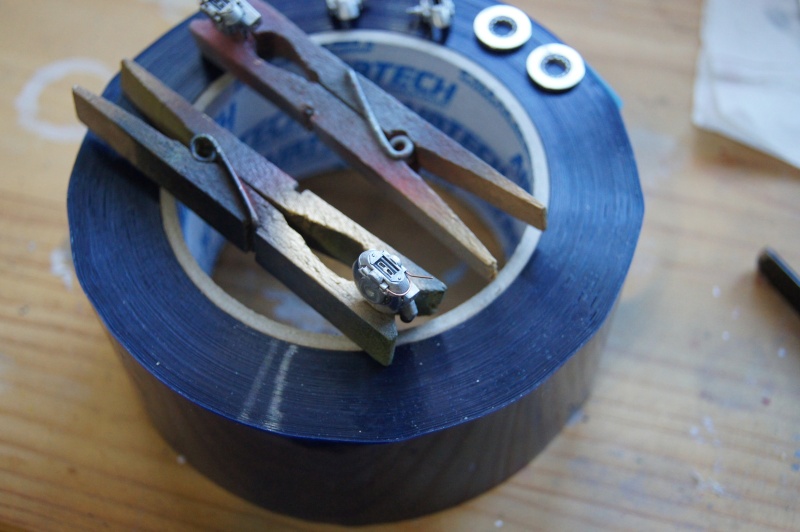
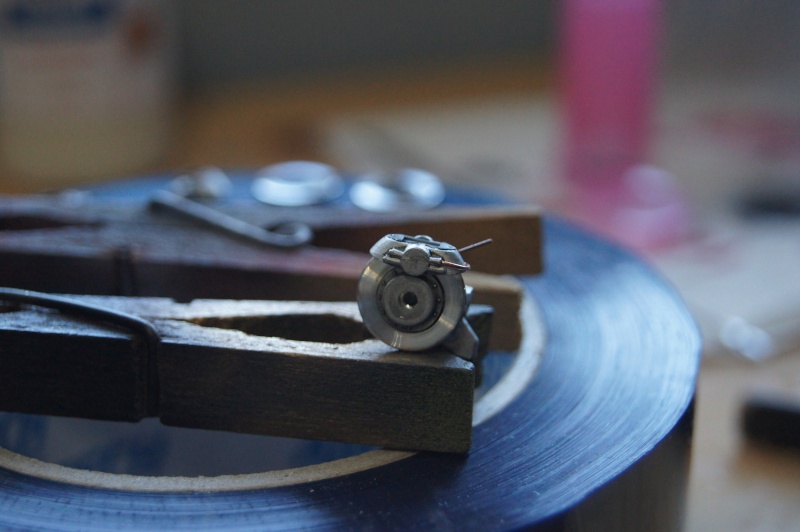
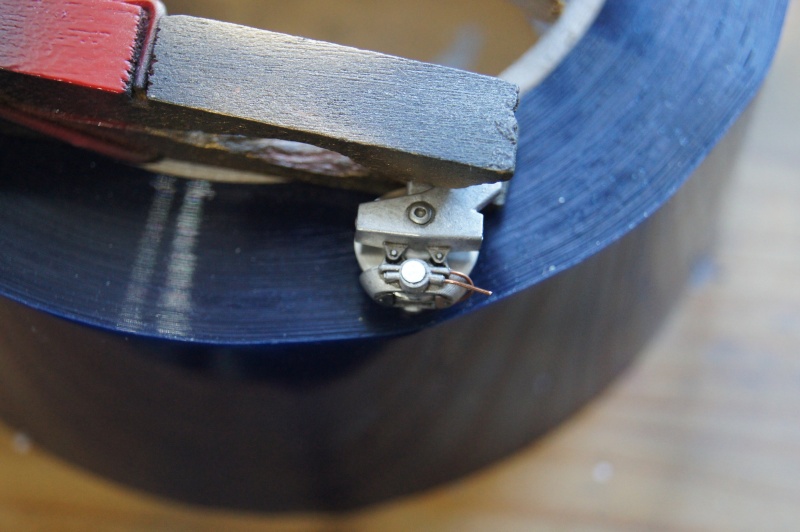
Rear ones with a first light "wash":
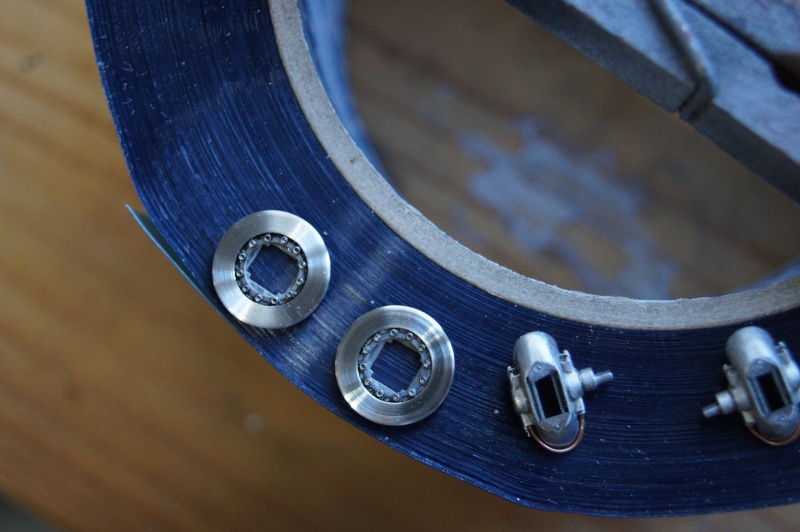
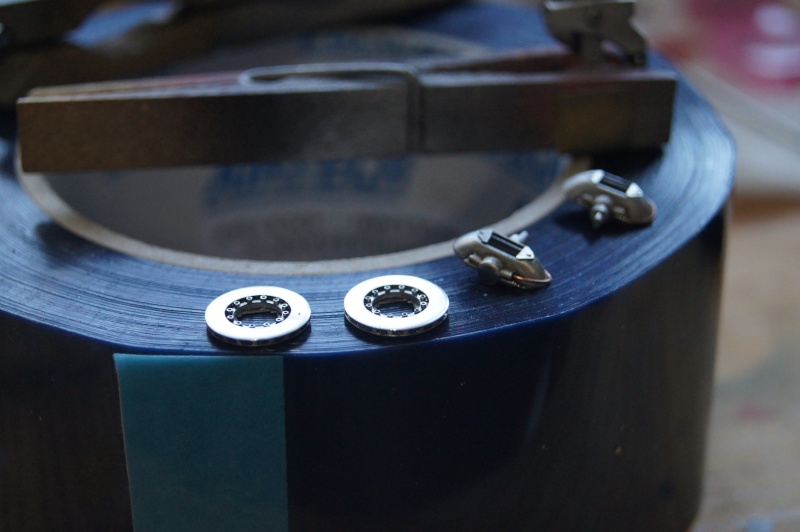
I started to work on the gearbox:
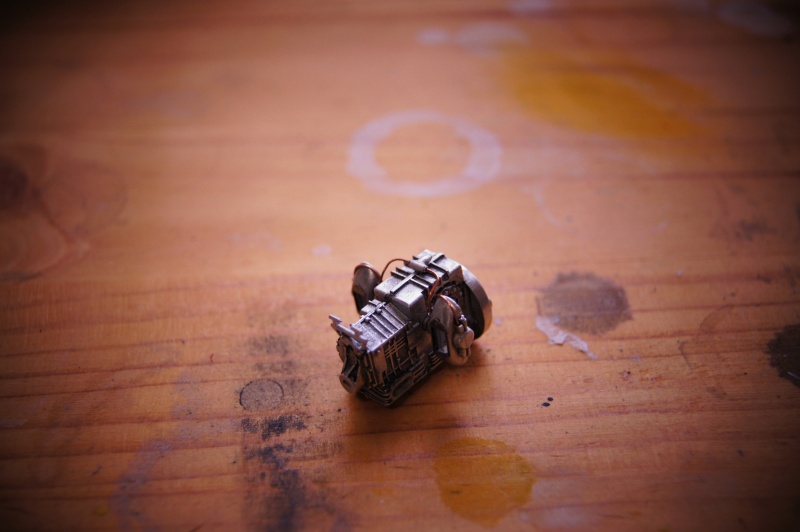
...but was not very satisfied.
So, I tried to add some more details:
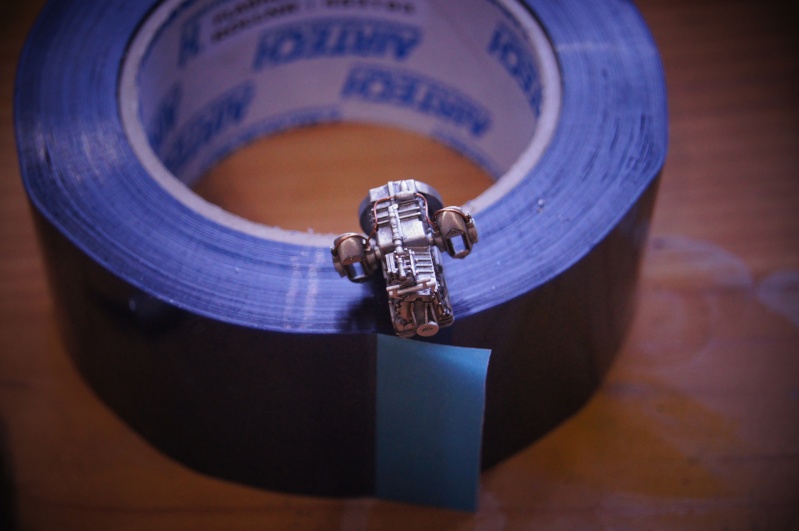
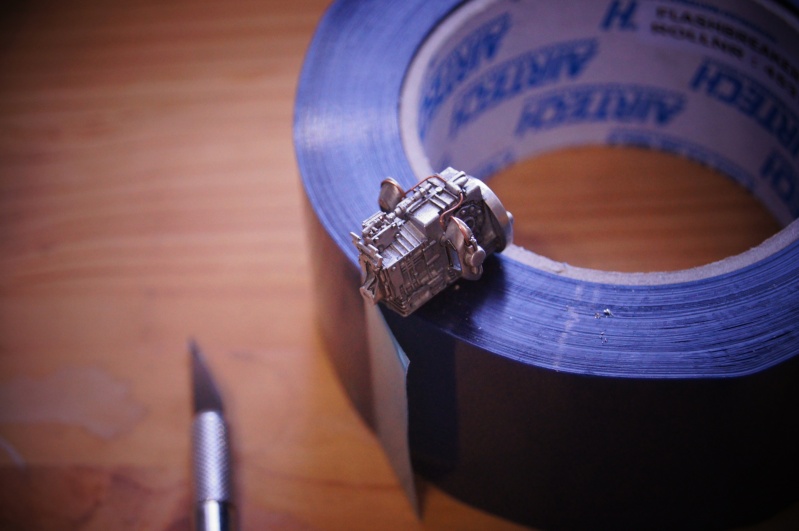
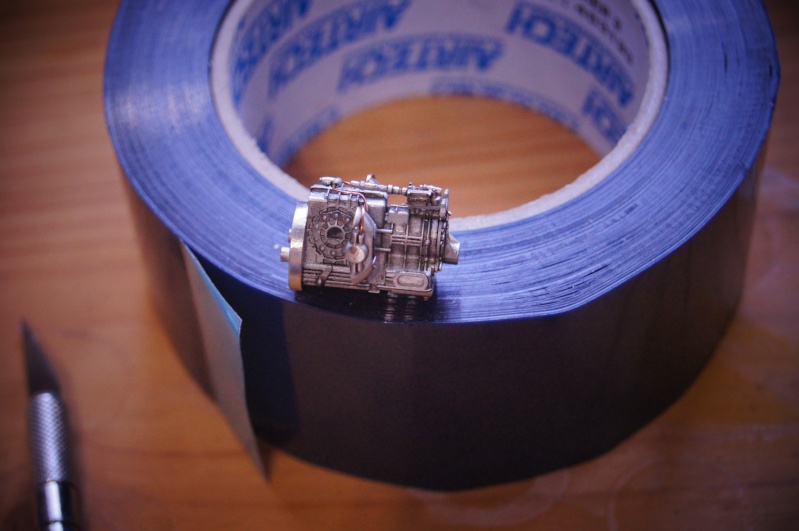
J'ai aussi bien travaillé sur le reste des éléments du train arrière et des photos ne devraient pas trop tarder...
Plumbing time for the front bulkhead:
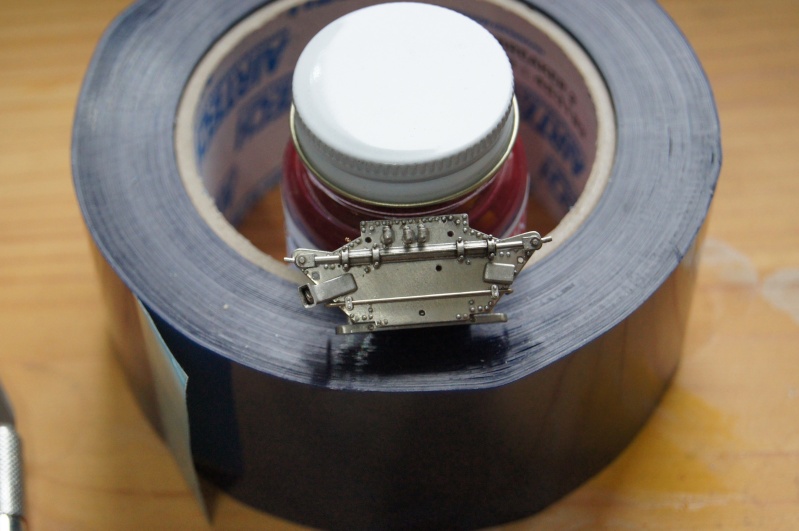


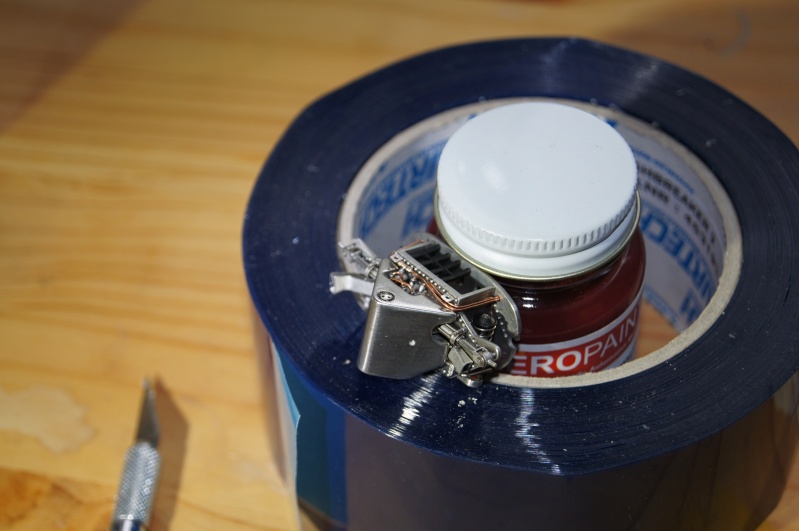
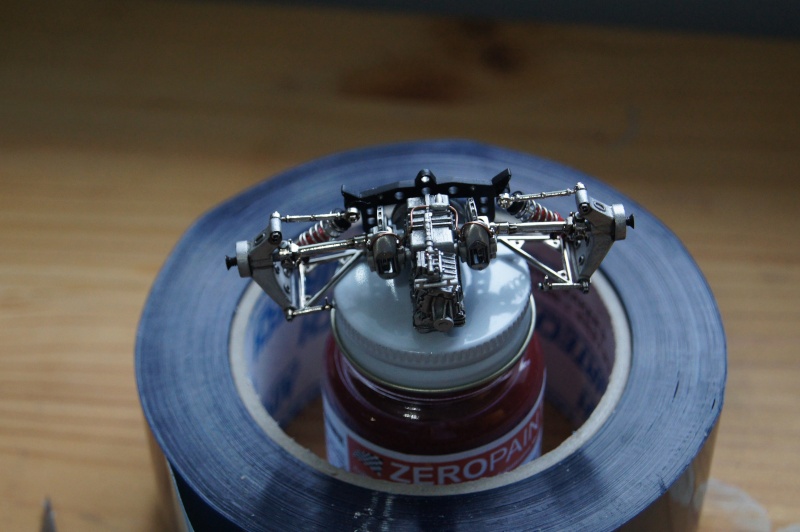
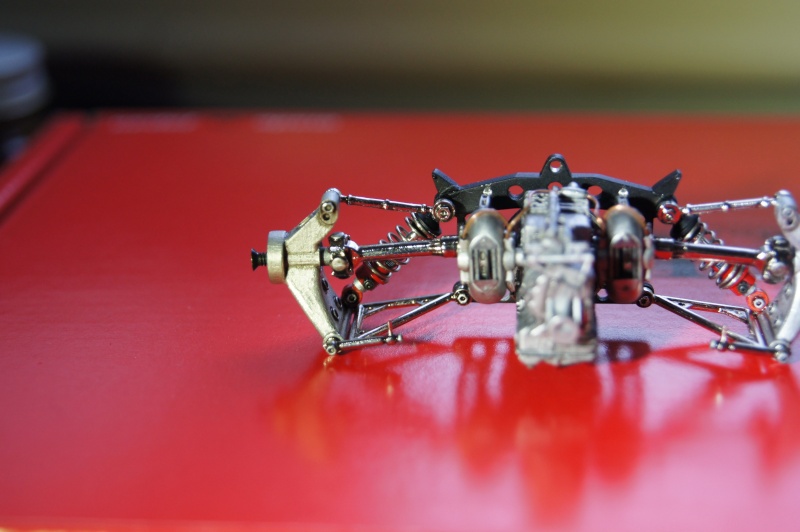
Small progress on the rear:
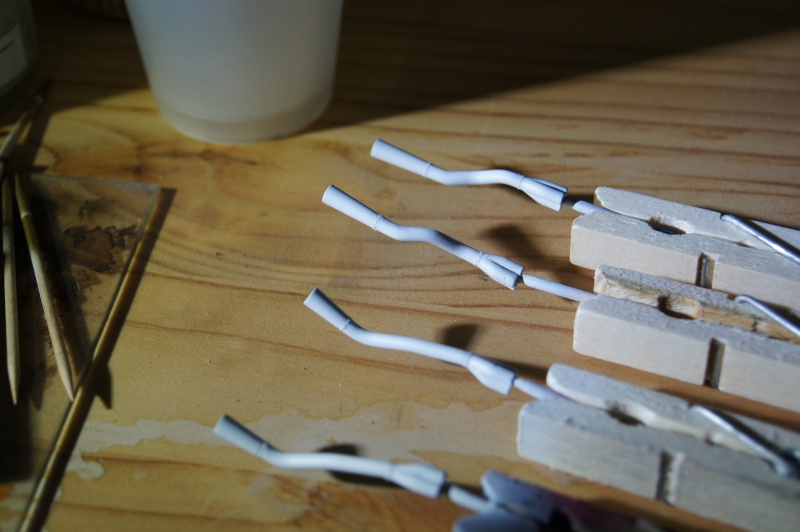
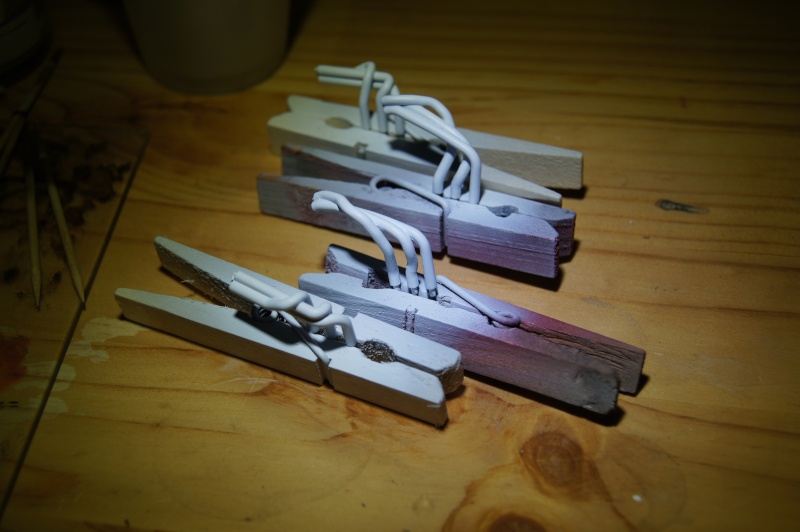
Prep and primer of the exhausts:
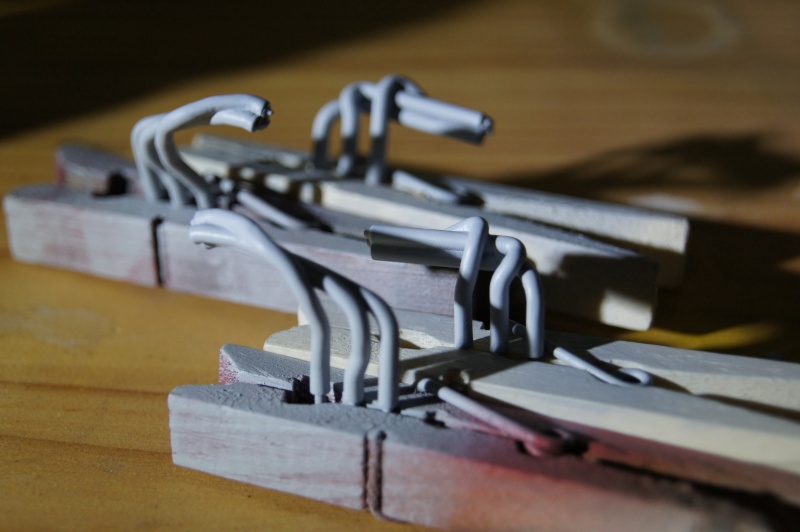
First try of the white color: ZP "pure white".
And weld lines:
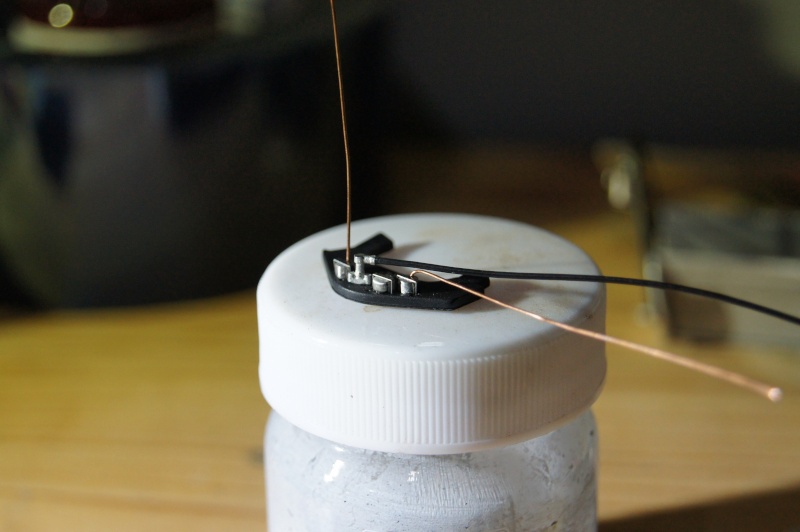
Plumbing of the dashboard started:
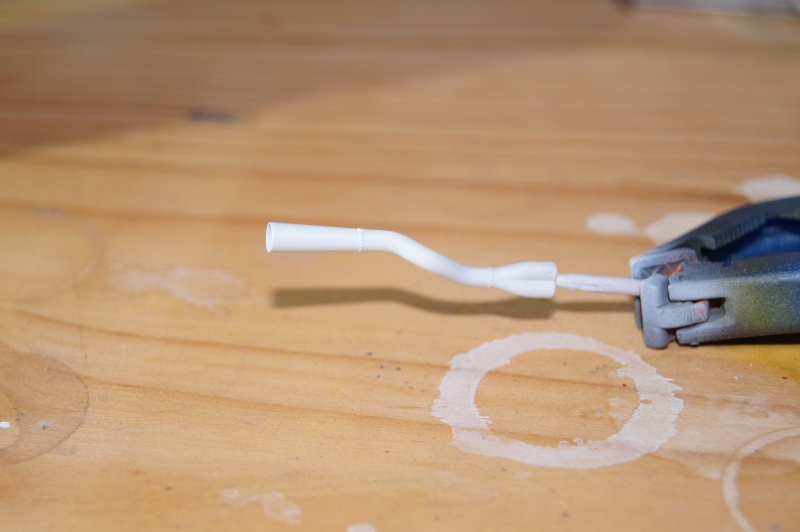
Black painted caps, then mask and paint process including Klir for the finish coat and oil .
Seam is intentionally left in order to depict (or try to...) the plastic bottle.
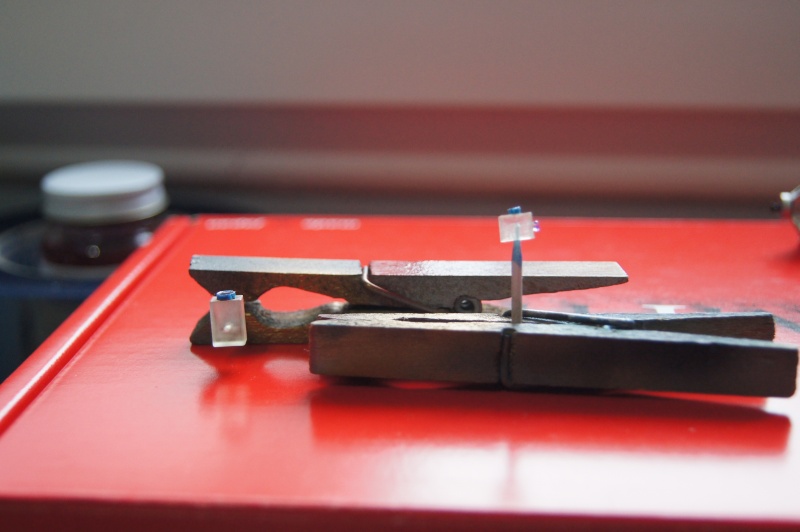
Lockheed bottles installed:
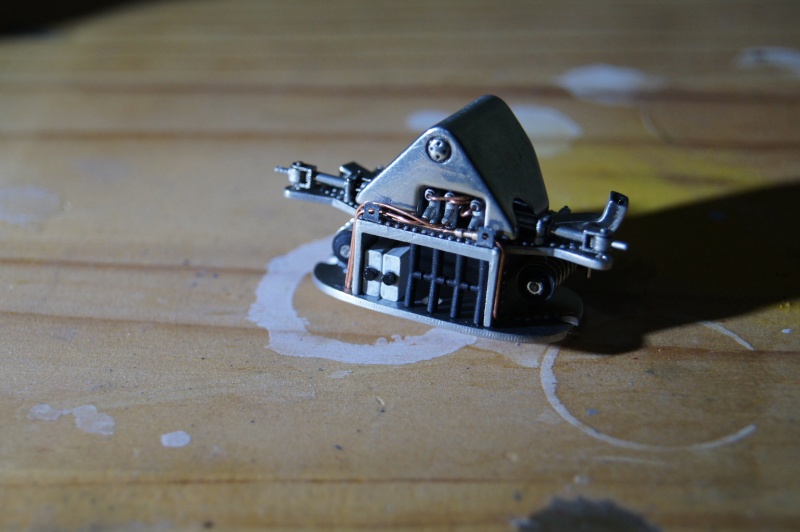
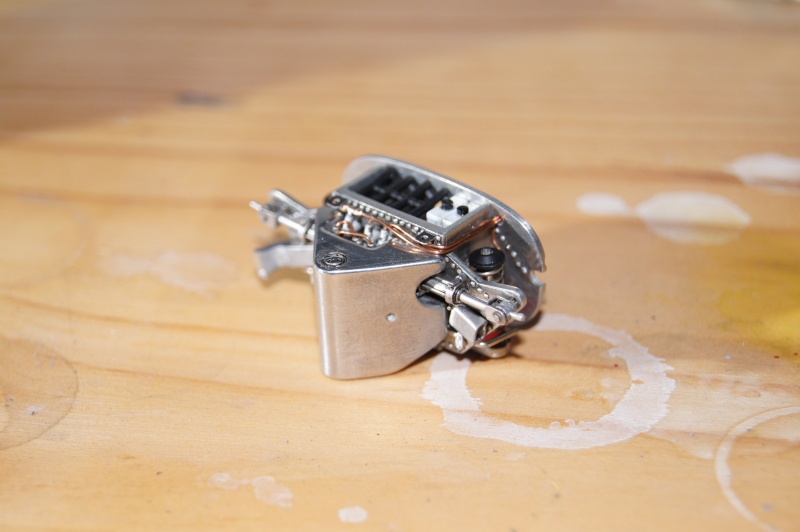
Light wash on the metal tanks:
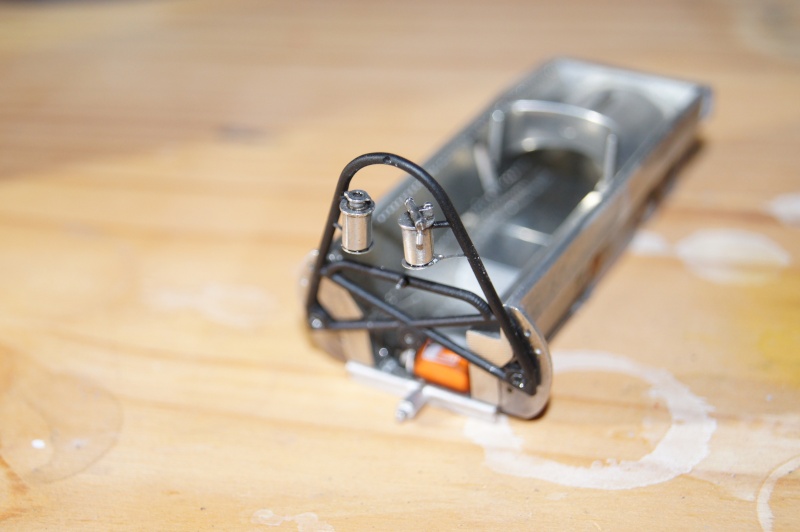
...And finally a small test fit:
ZP White is now applied on the exhaust parts:
Few details added on the dashboard: Nuts, bolts, wiring...
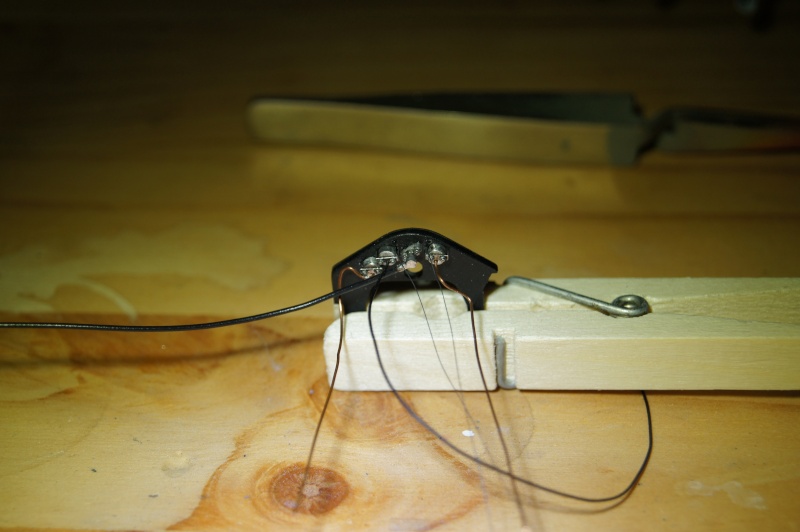
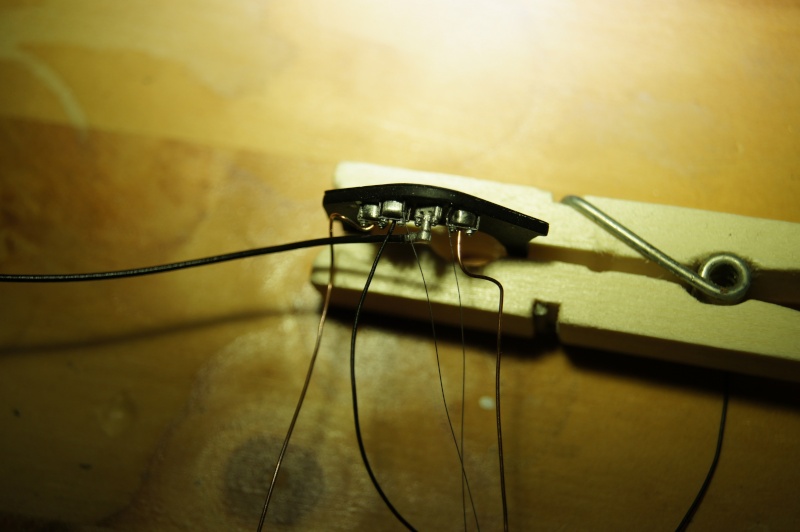
Still working on the battery... waiting for cables:
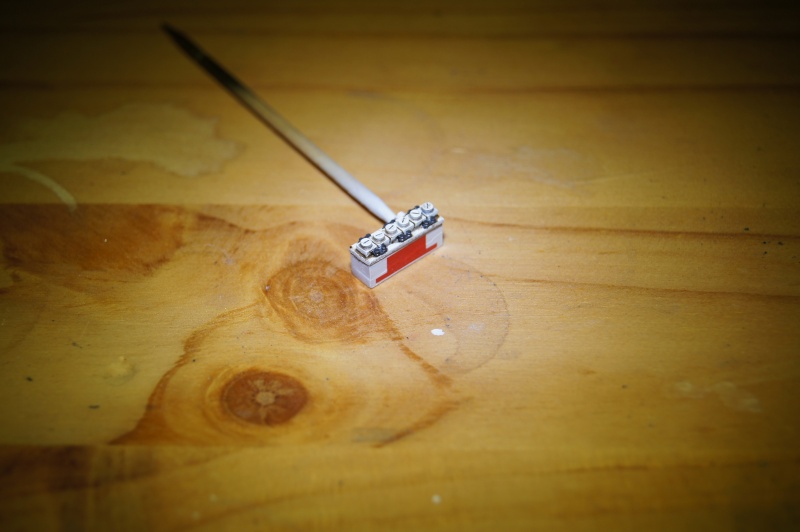
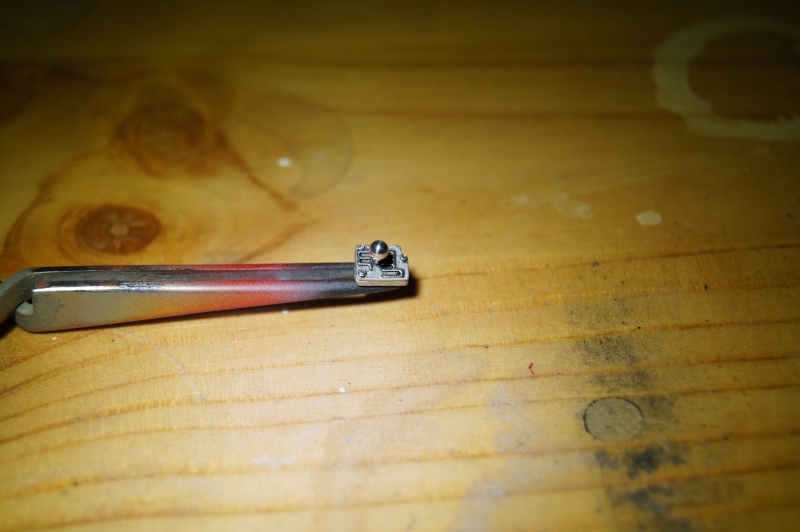
New machined knob, polished and installed on 0.8 SS rod.
The beautiful genuine grid is just detailed with machined bolts and lightly weathered.
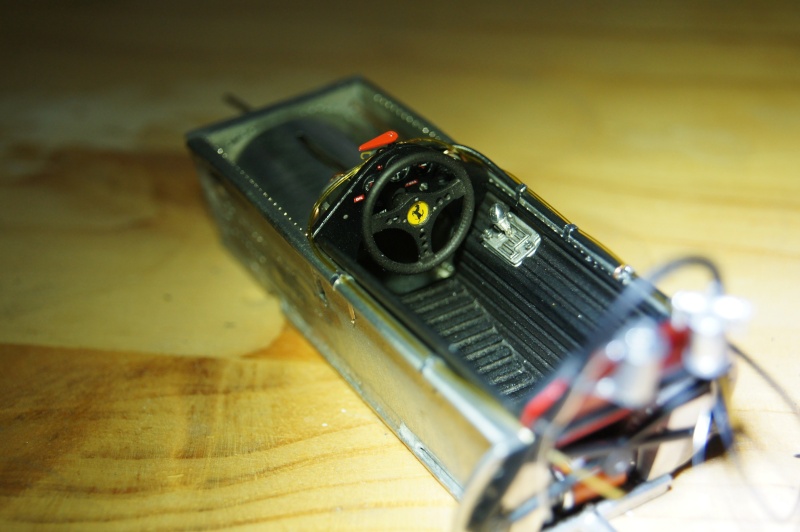
Cockpit is now almost done.
I also decided to scratch build the fuel tap which appears on some of my pics, but not on others...
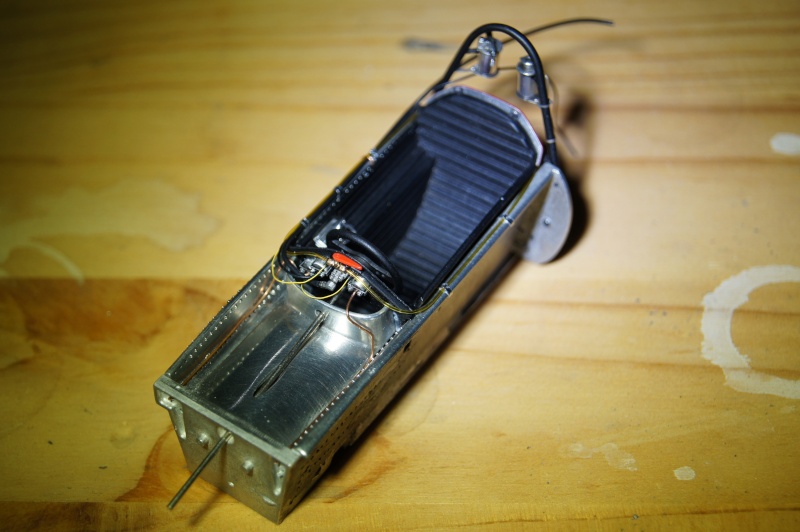
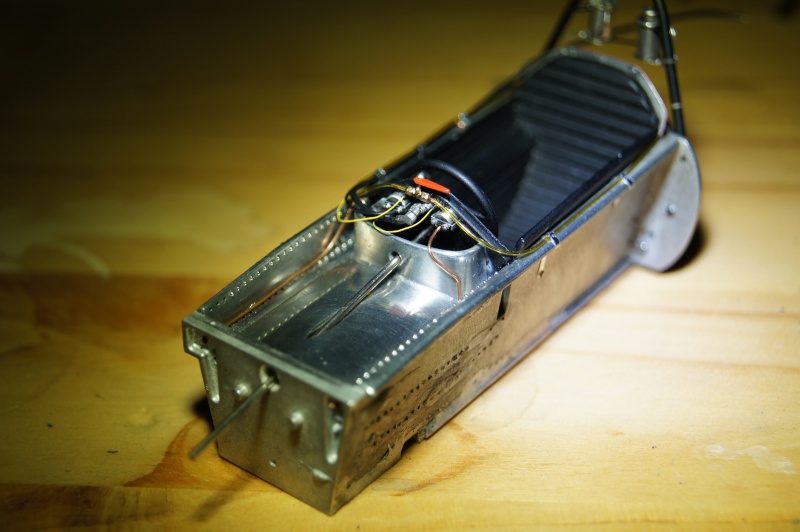
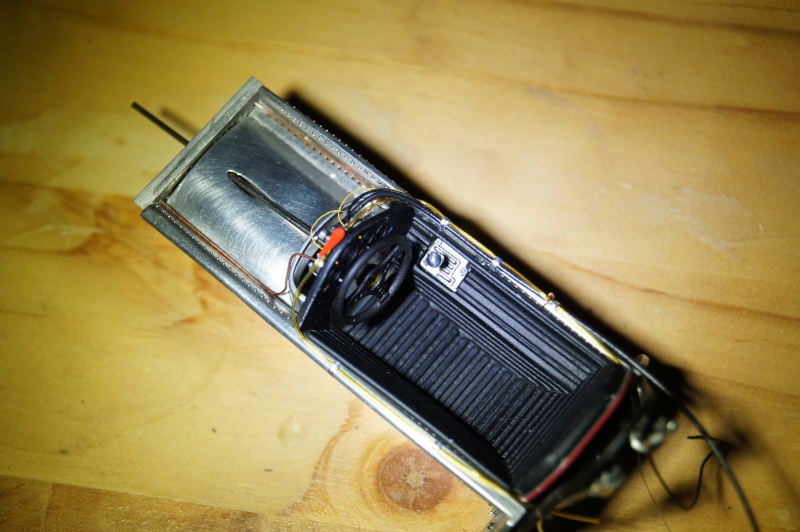
Tube installed on the expansion tank:
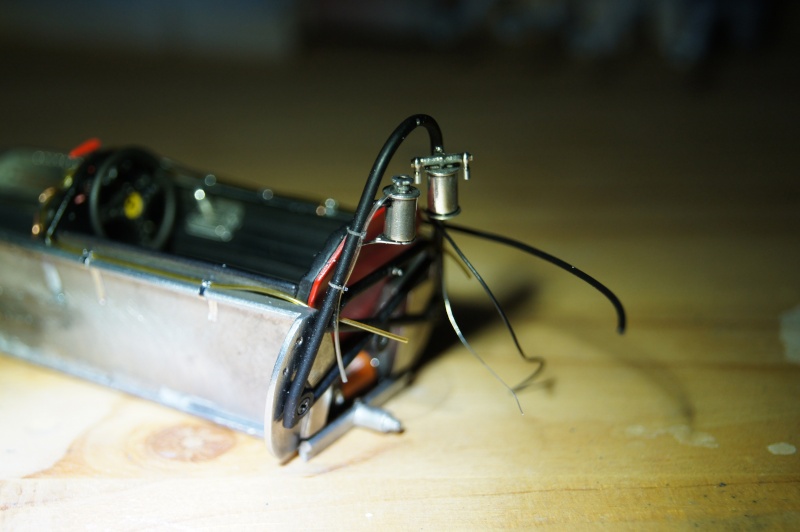
Test fitting of FWD parts:
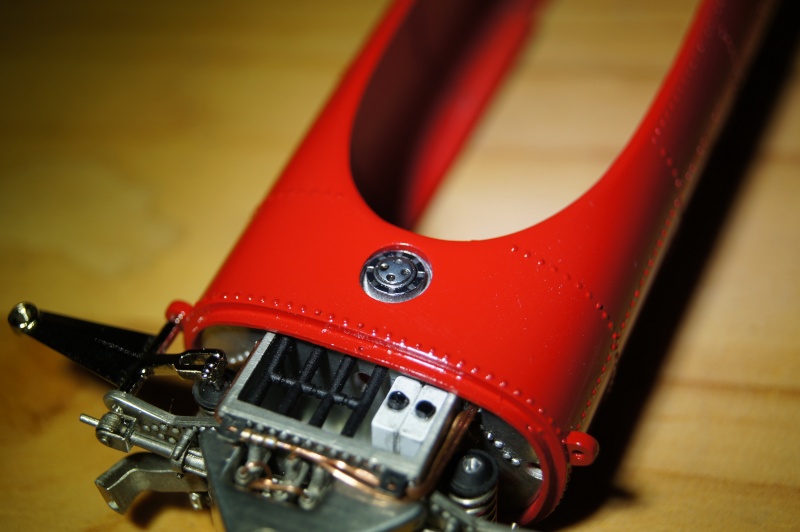
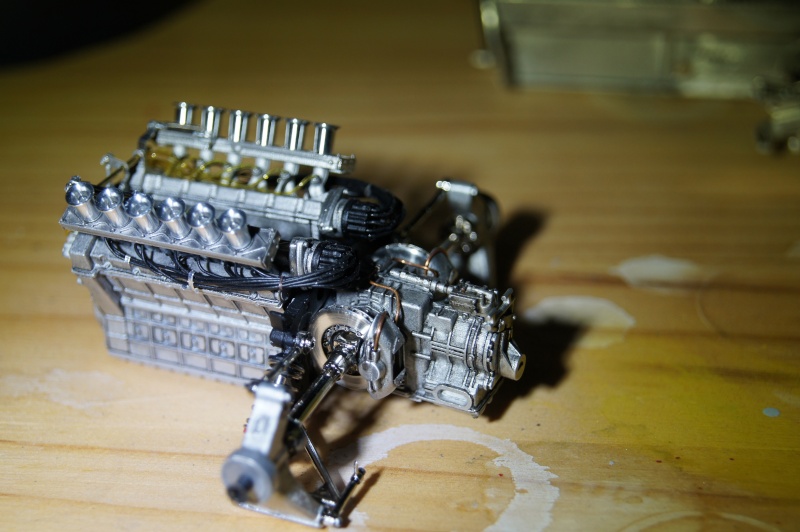
Still adding tubes and cables on the engine...:
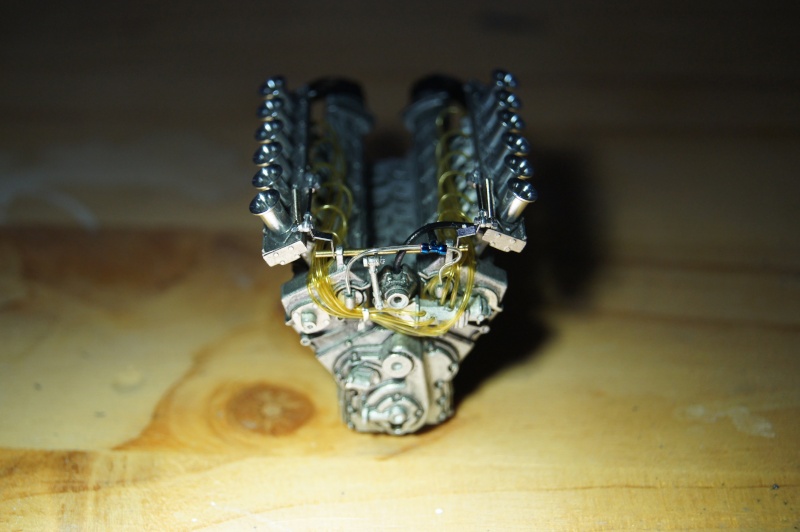
Not a lot, but it takes time...
Hope you will like and still enjoy the build.
I wish to all of you a very Happy New Year ... and a lot of kits!!
Well, I hope you like the WIP...
Remarks and comments are welcome!
More soon!
Pascal
If only closed minds came with closed mouth... |
| 8 L A T E S T R E P L I E S (Newest First) |
| Hugo Luyten |
Posted - 12/15/2016 : 10:59:04
Fantastic work Pascal!! I'm gonna go through your postings and enjoy them, as I do like the final result. The helmet is a great addition too.
Thank you for sharing, and taking the time to make pictures and add comment.
Best regards,
Hugo |
| pg265 |
Posted - 12/15/2016 : 06:28:13
Thank you very much Marshall.
Pascal
If only closed minds came with closed mouth... |
| Models123 |
Posted - 03/21/2016 : 07:20:11
Fantastic workmanship; very impressive. That is a model that I would be happy to have in my own collection, and I don't even collect F-1 models!! Great work, thanks for showing all of those photos.
Marshall |
| pg265 |
Posted - 03/20/2016 : 12:09:04
Hi,
Thank you Ramapao69!
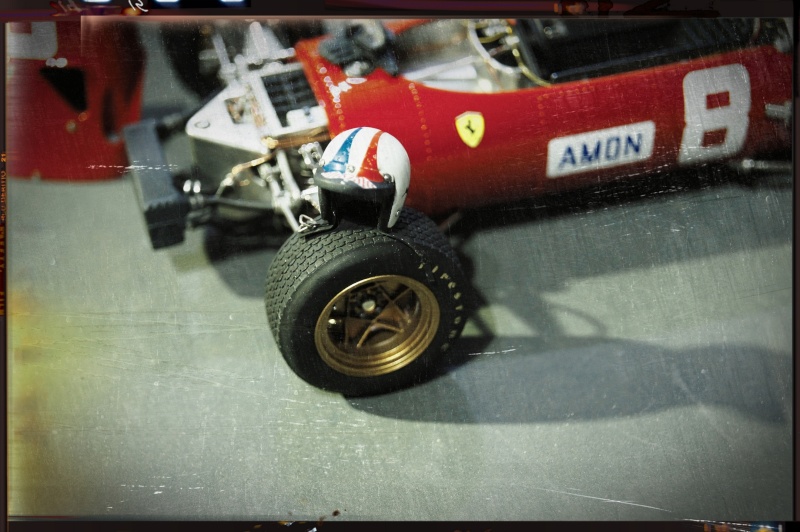
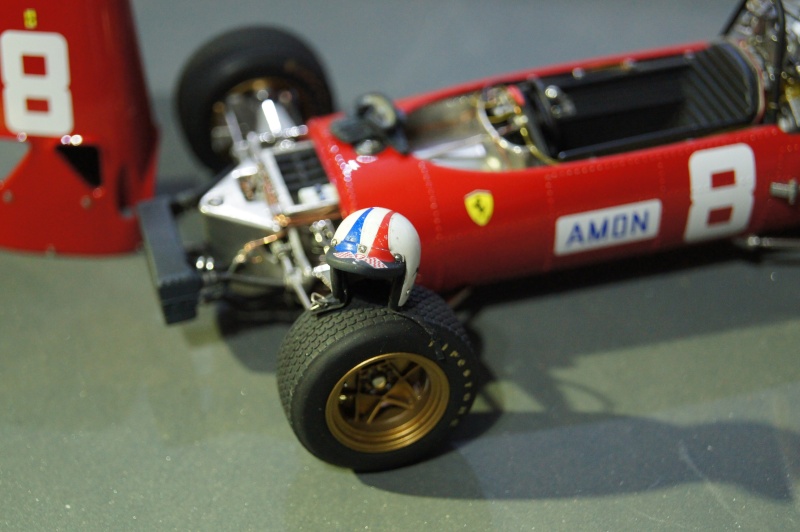
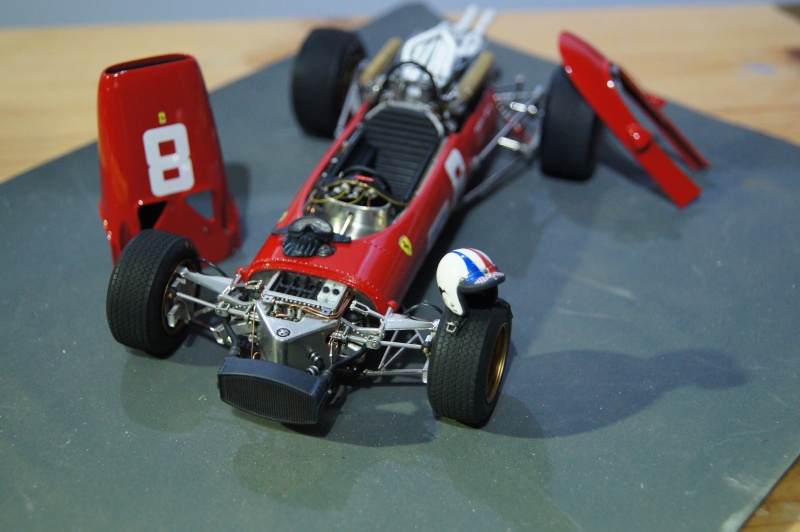
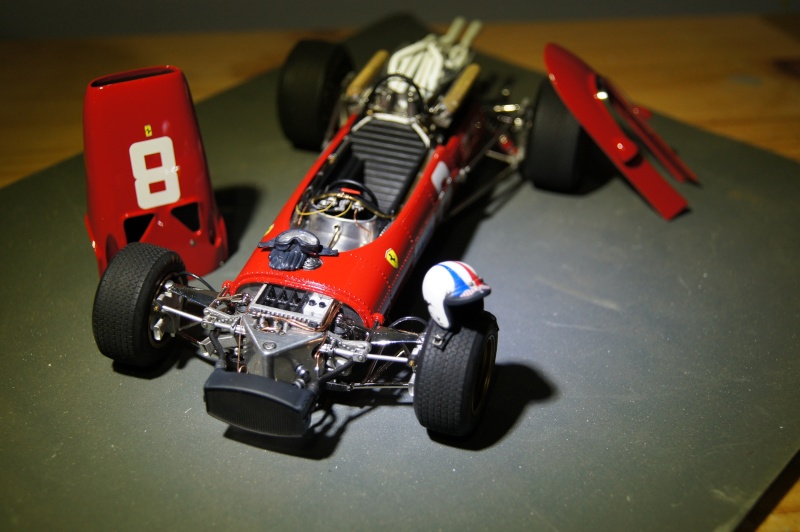
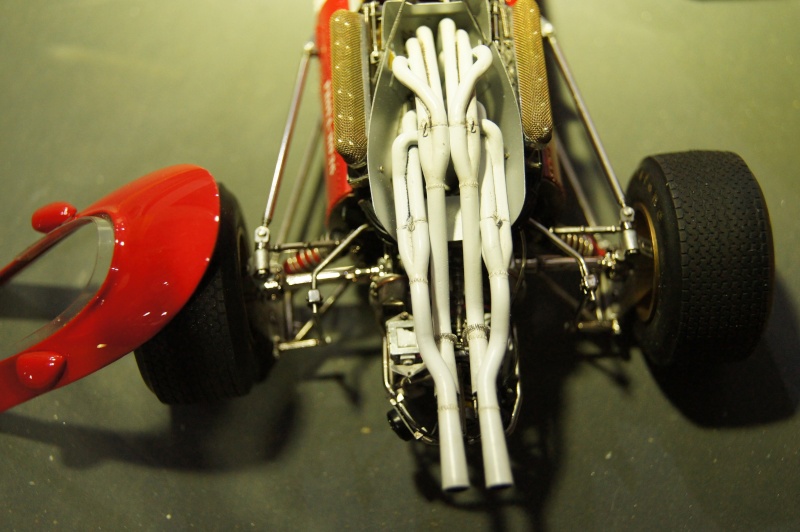
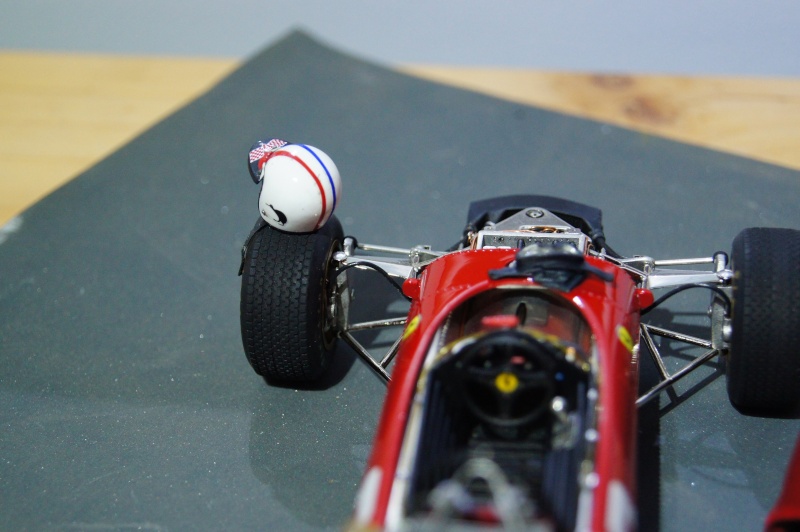
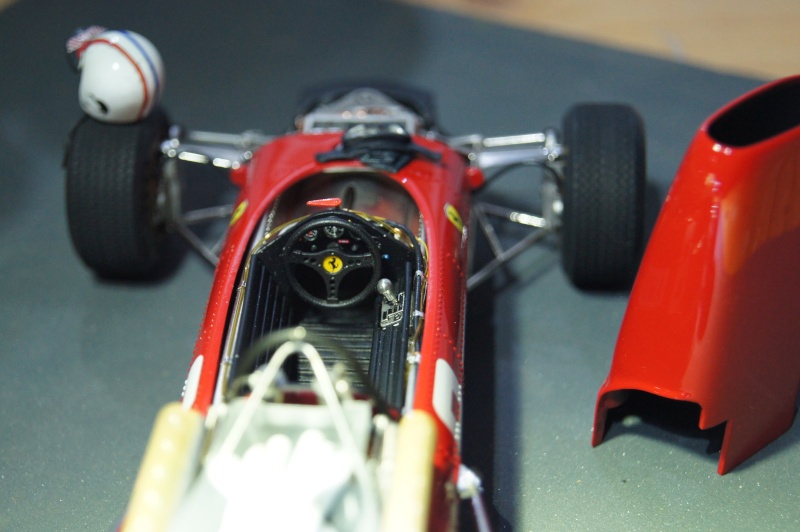
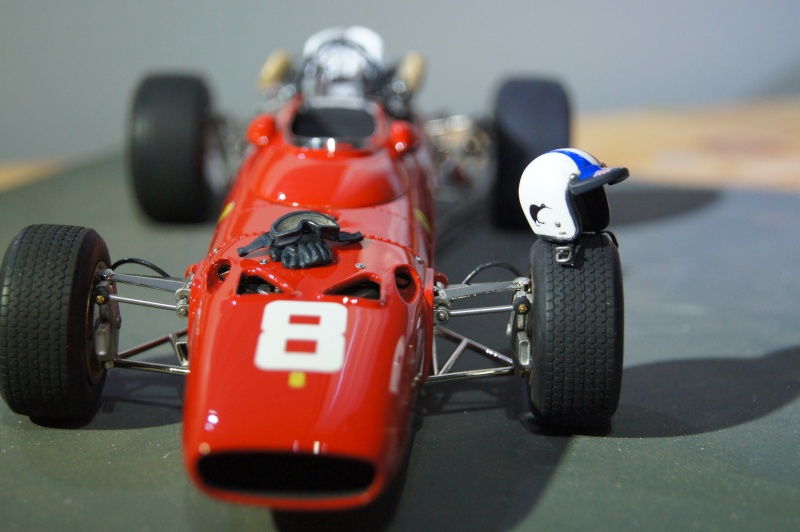
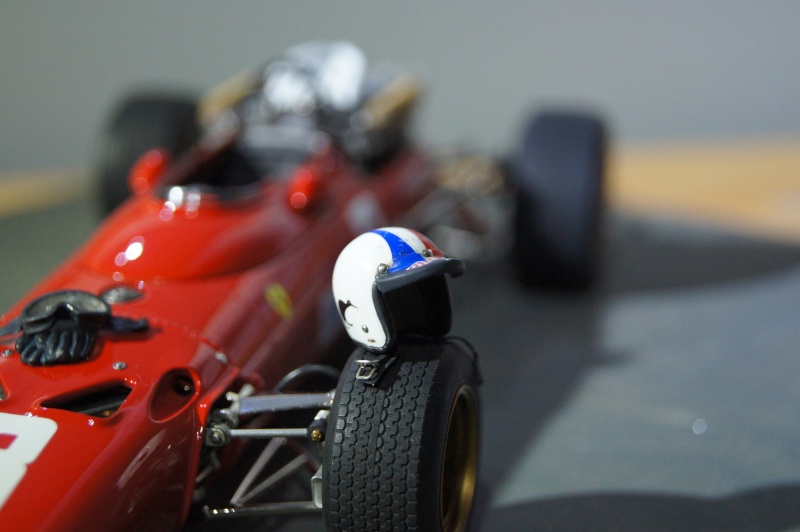
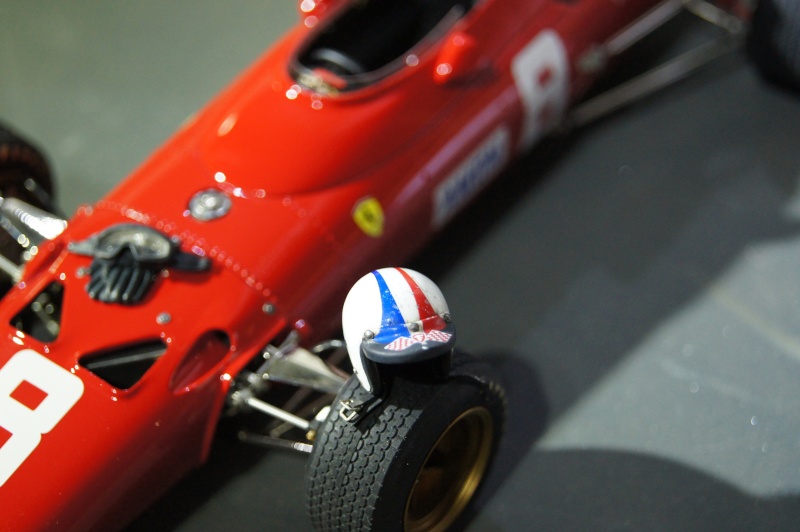
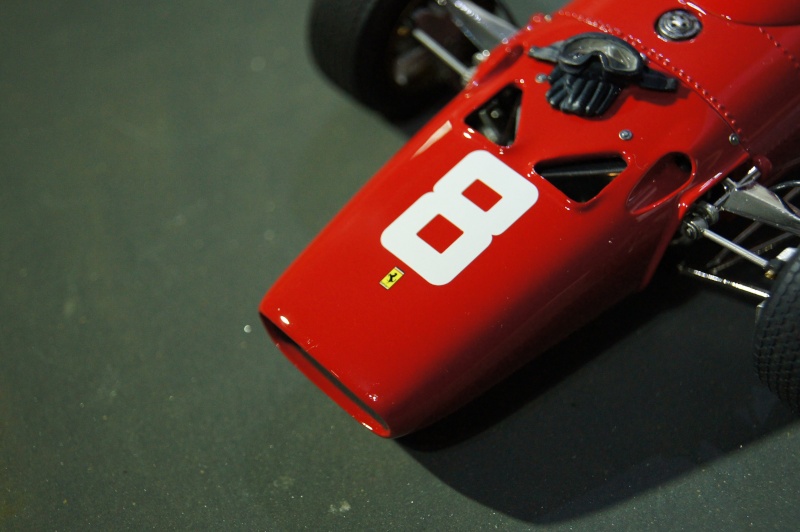
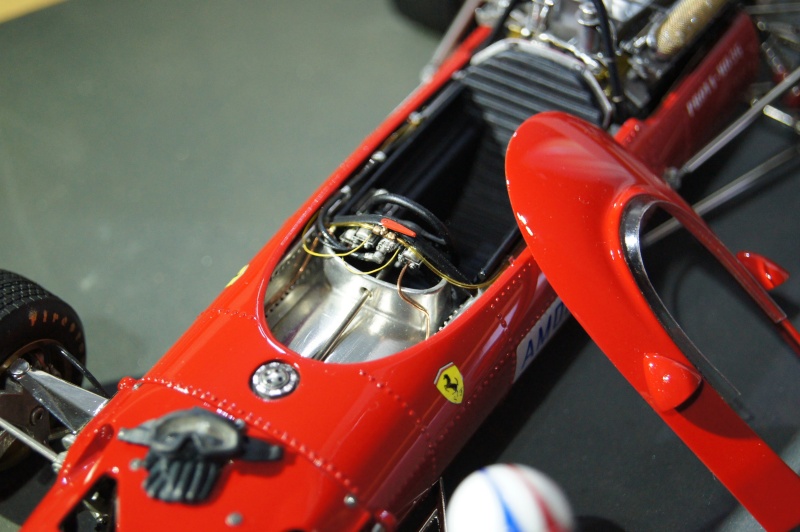
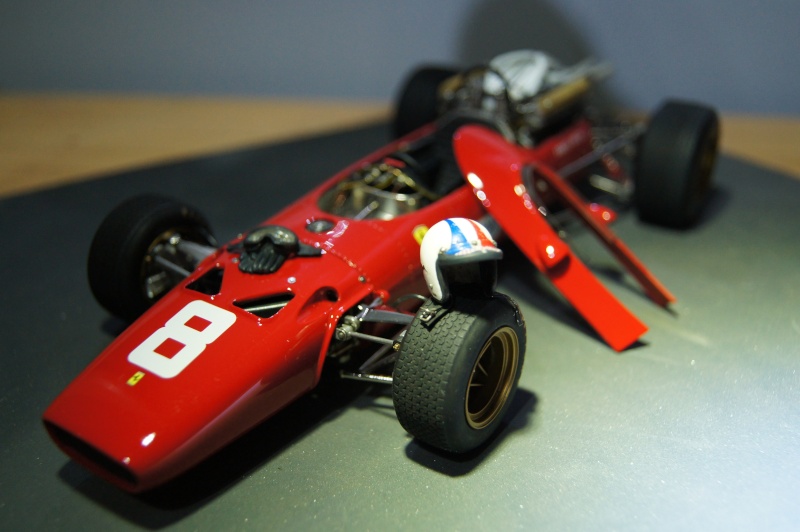
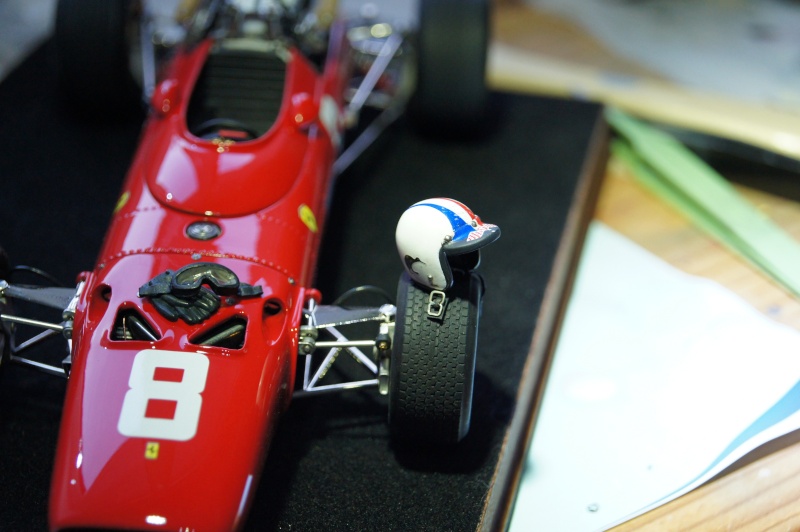
Small addon to the Red Beauty.: MFH Pilot Gear.
Pascal
If only closed minds came with closed mouth... |
| ramapao69 |
Posted - 01/16/2016 : 10:19:20
Very nice and accurate work CONGRATULATIONS :) |
| pg265 |
Posted - 01/15/2016 : 15:54:24
Hi,
Thank you Jerry.
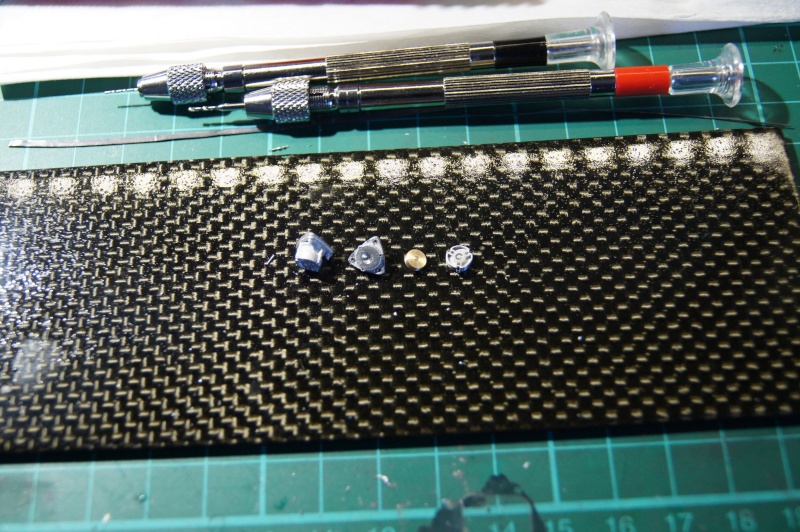
Fuel pumps were slightly detailed
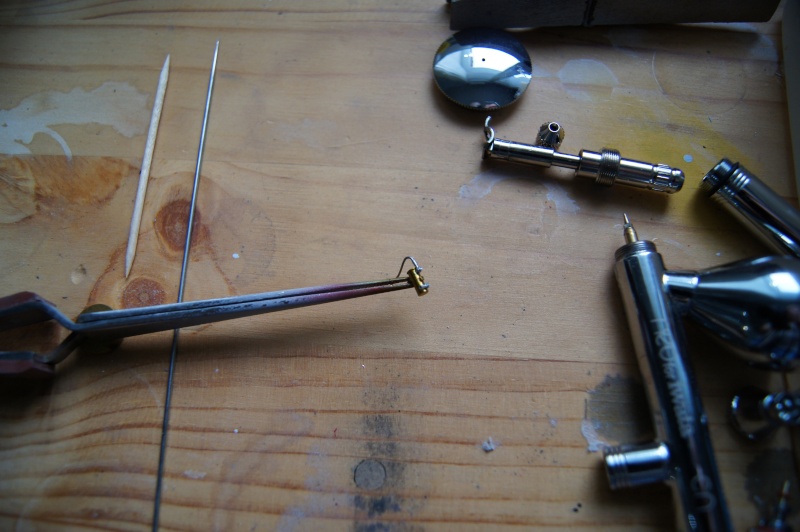
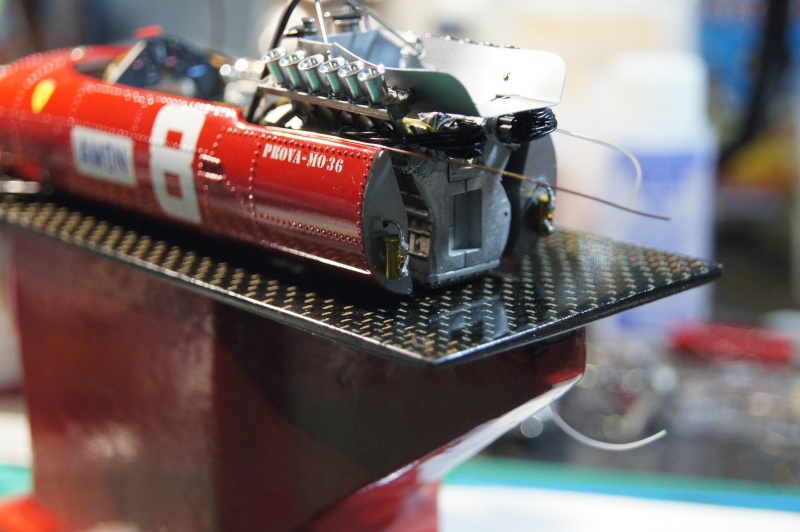
Same for the Alternator using RB Motion unbelivable stuff!
Installed:
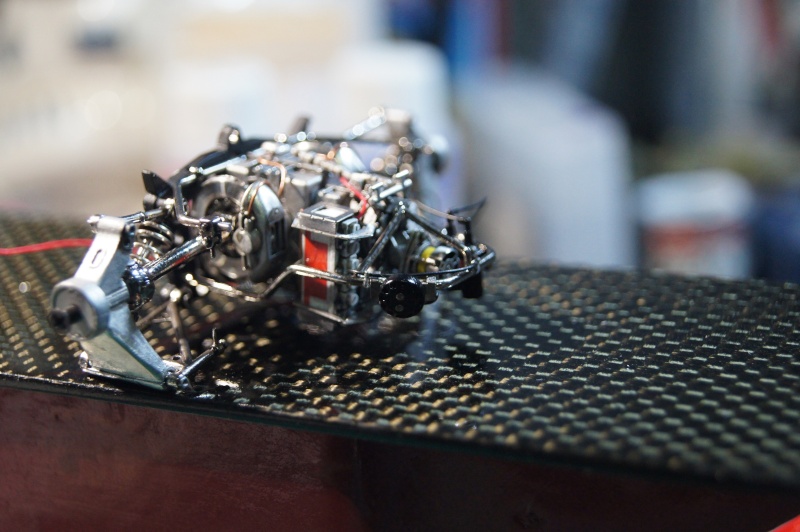
Engine and gearbox married:
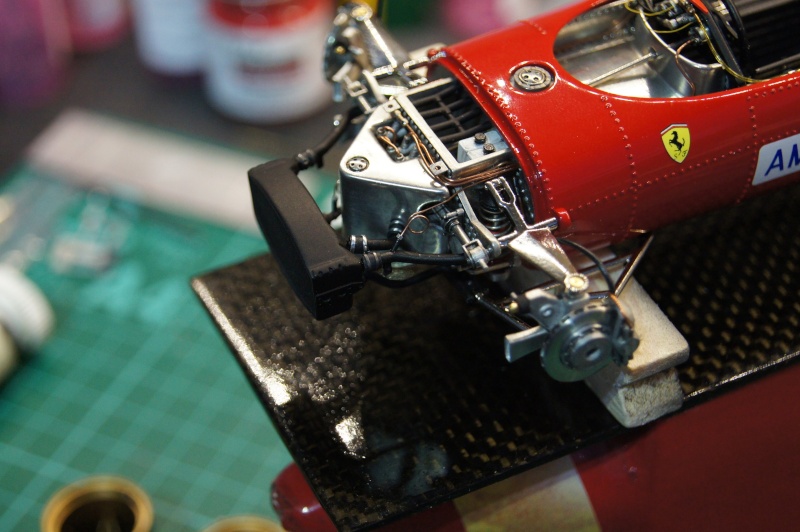
Just need to connect the front brakes lines and the radiator holders to finish the front area:
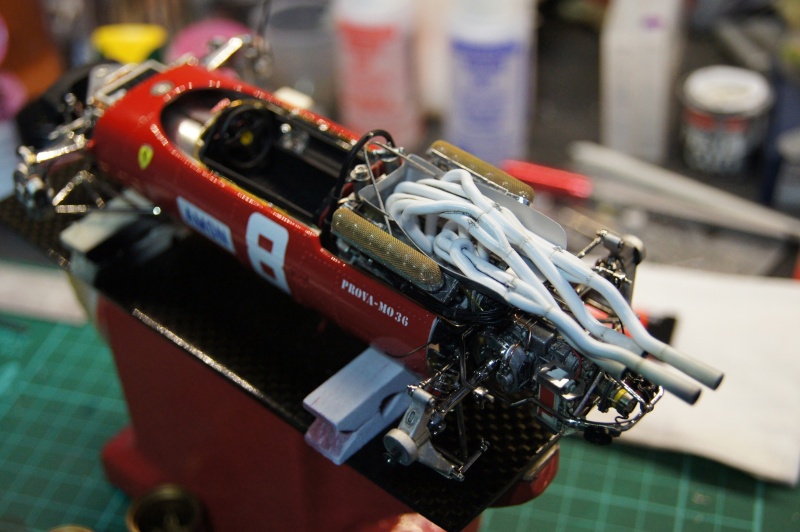
The Rooooaaaarrrring Beauty should (very) soon be finished!
Thanks a lot to Misao HIRO for all those incredible kits and thanks a lot to Rob (RBMotion) with his impressive range of stunning stuff!!
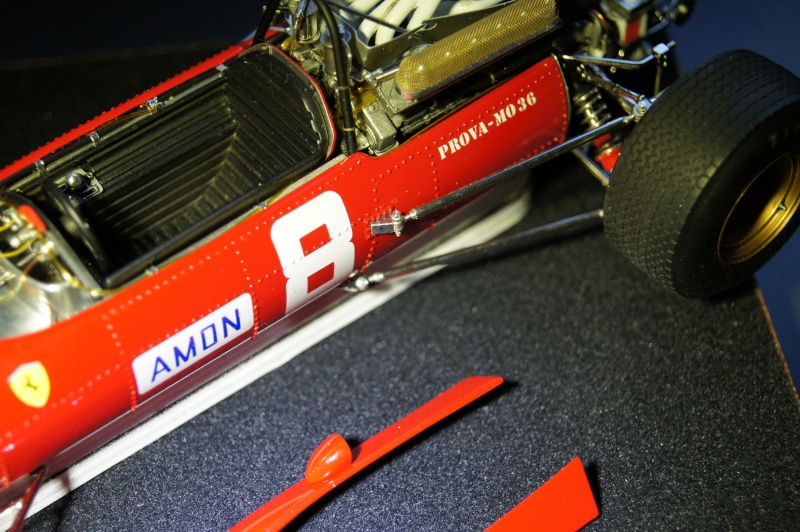
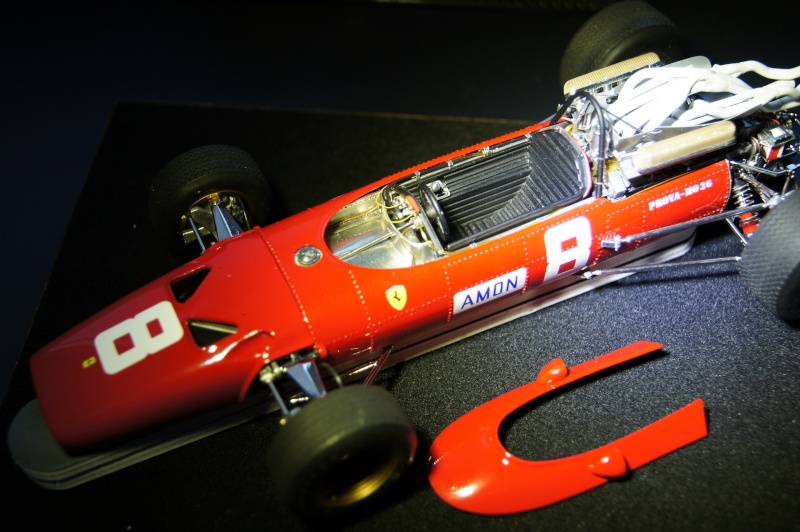
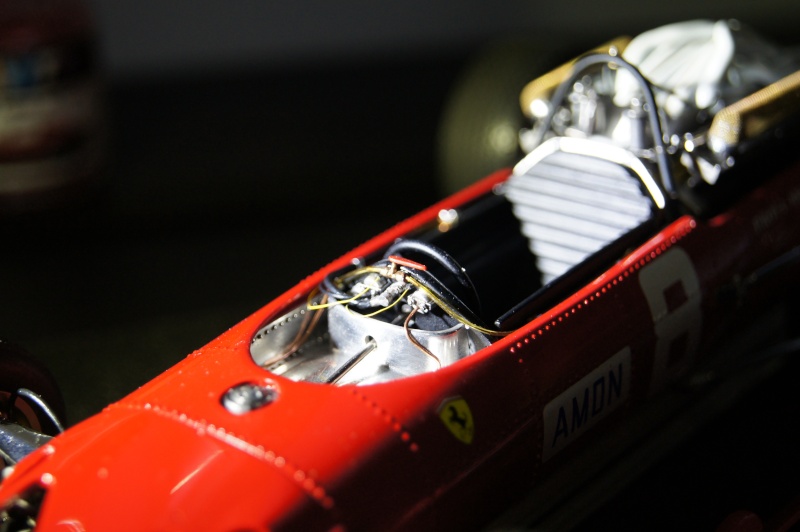
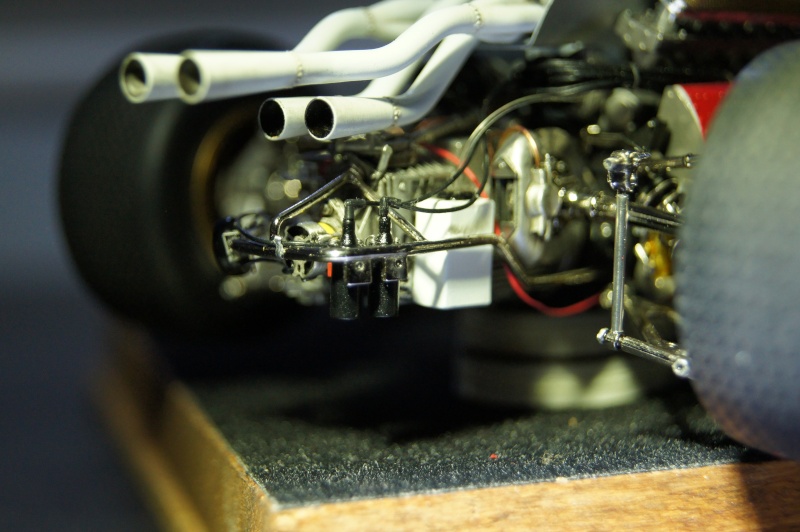
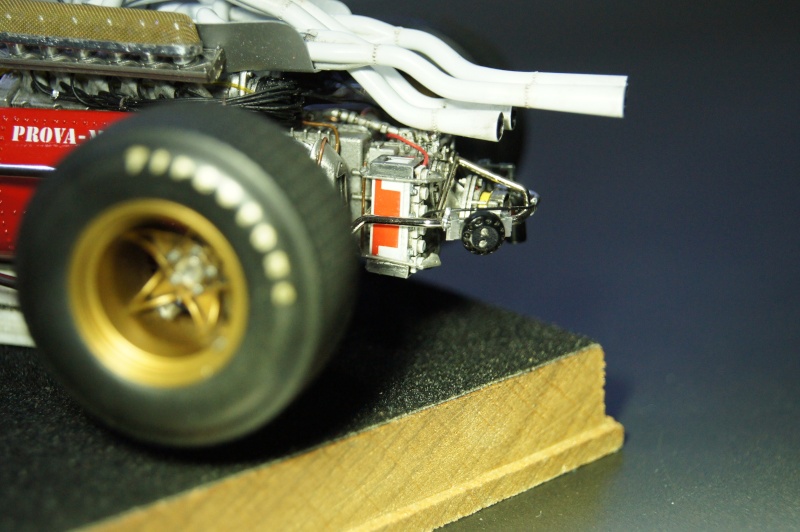
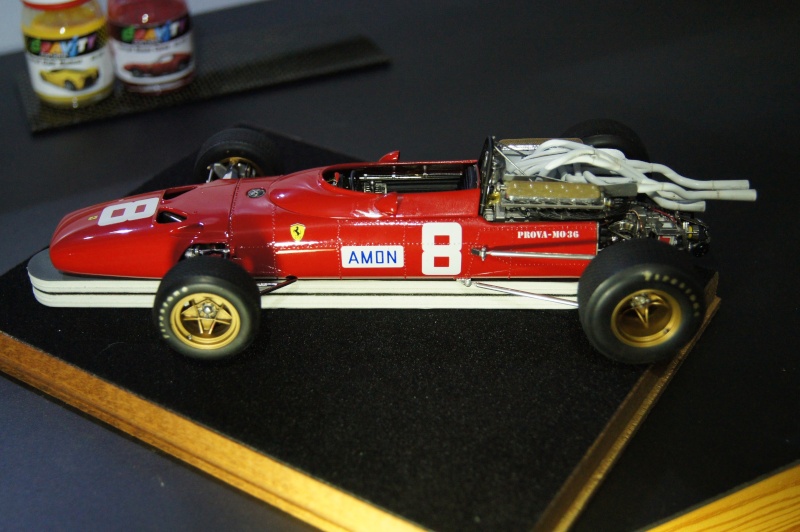
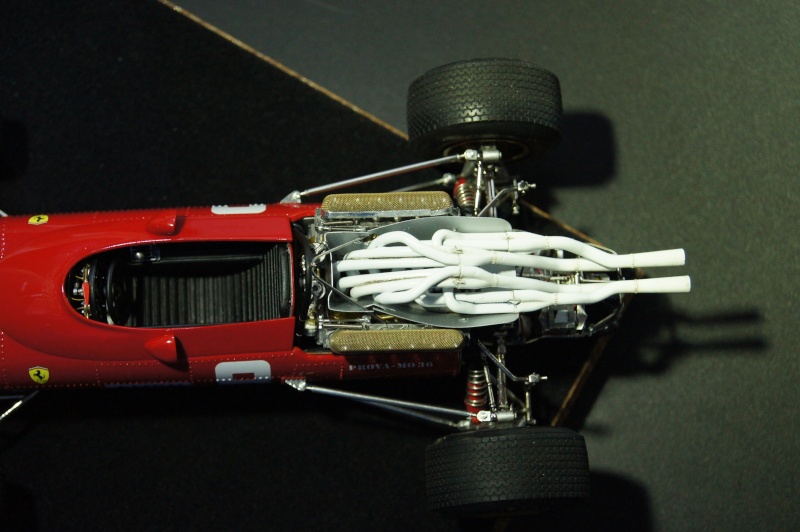
Finished!
The Roooaaaring Red Beauty is now ready to rejoin the paddock!
Last job was the nose: done.
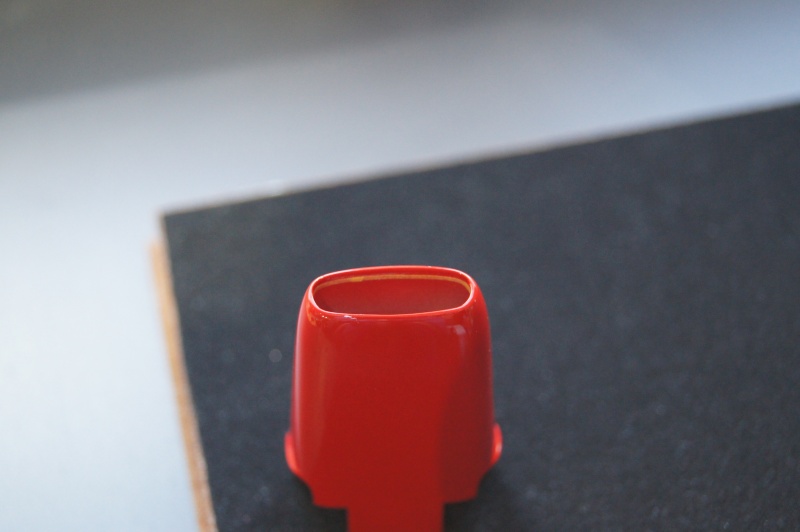
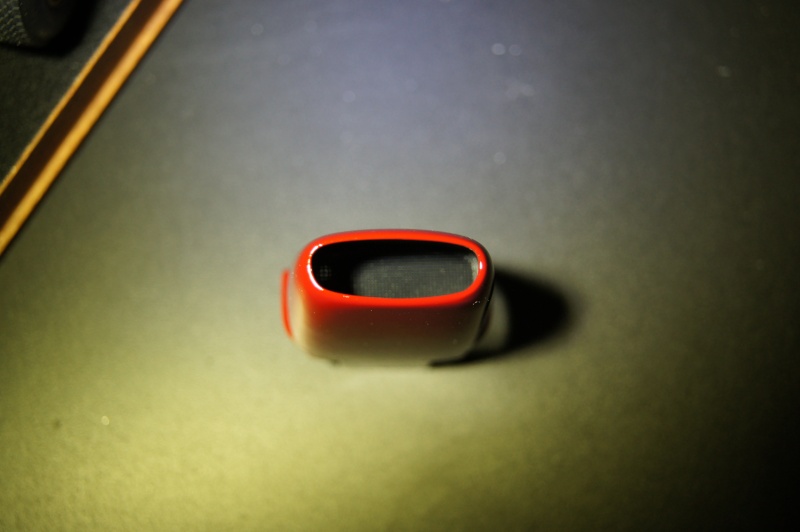
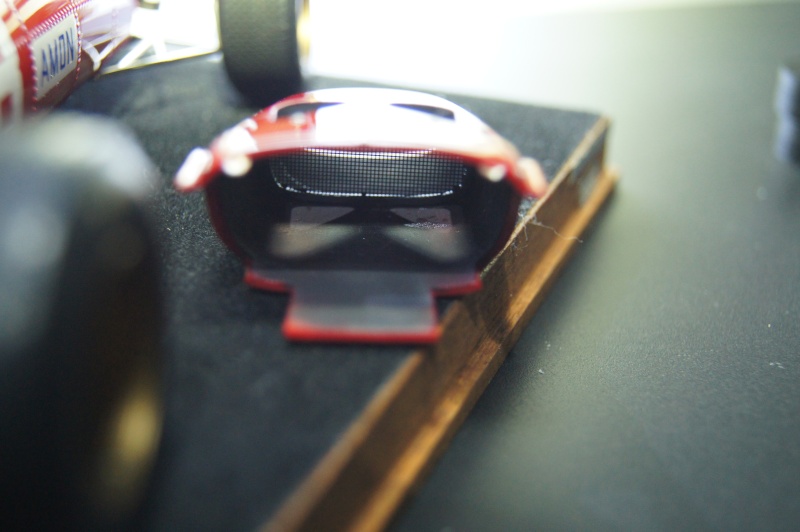
Not very clean but enough for the pics:
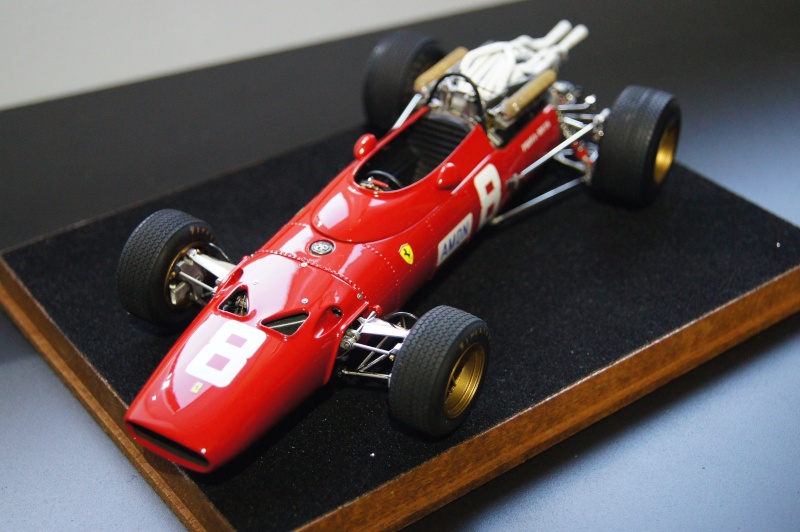
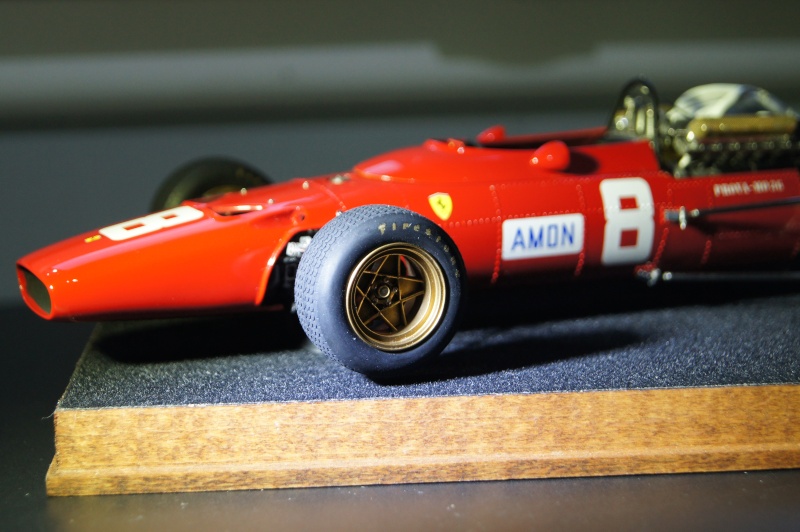
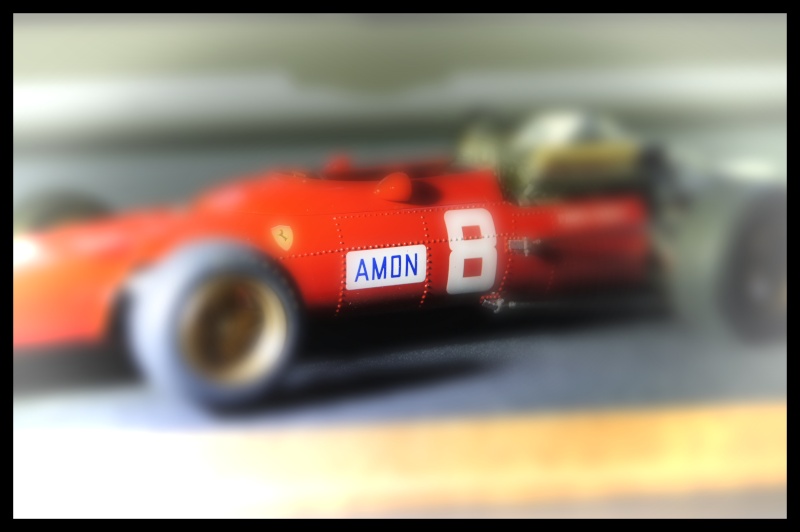
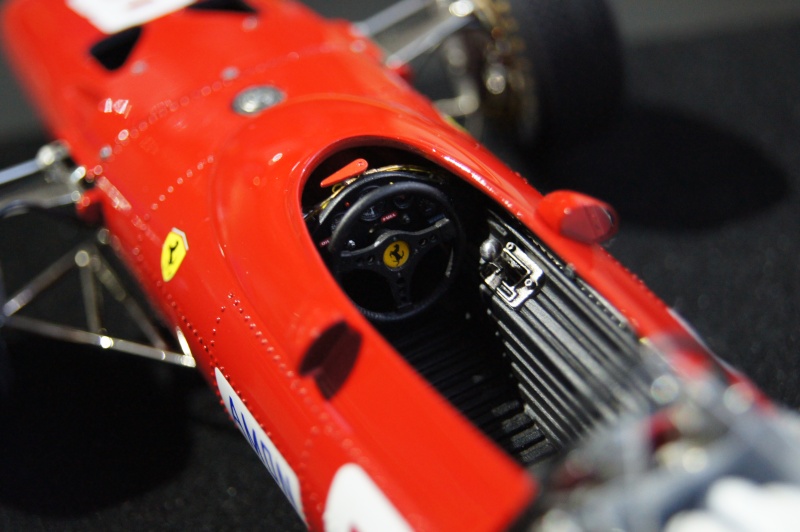
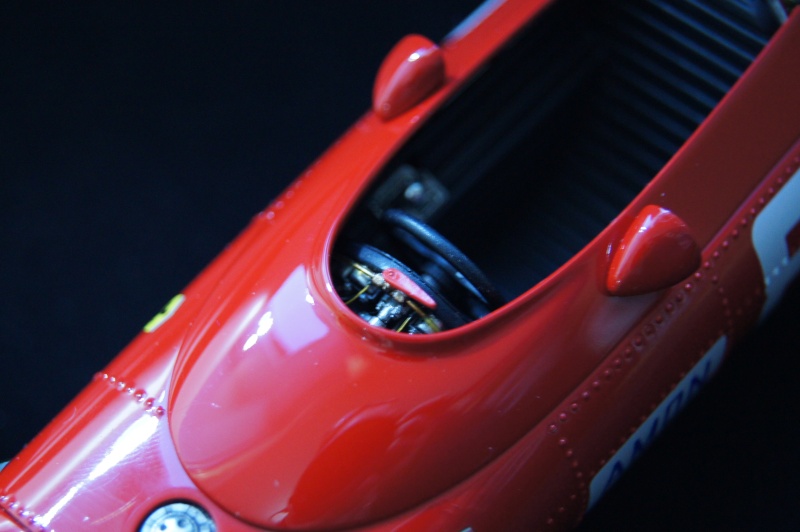
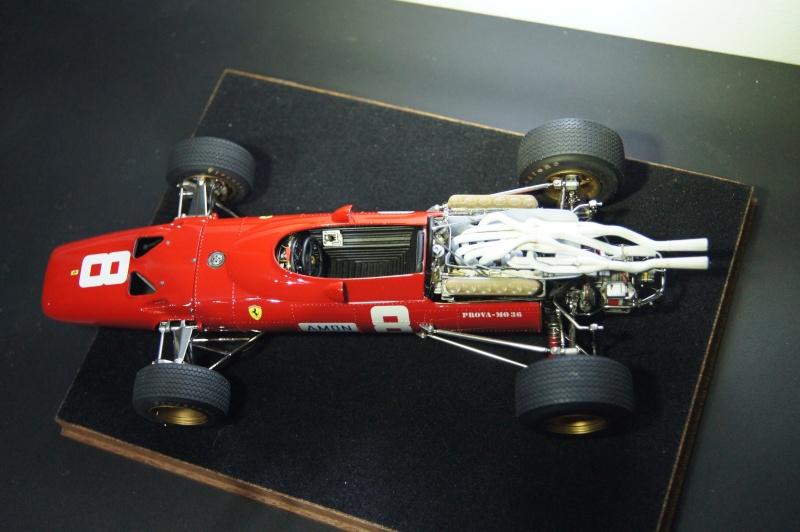
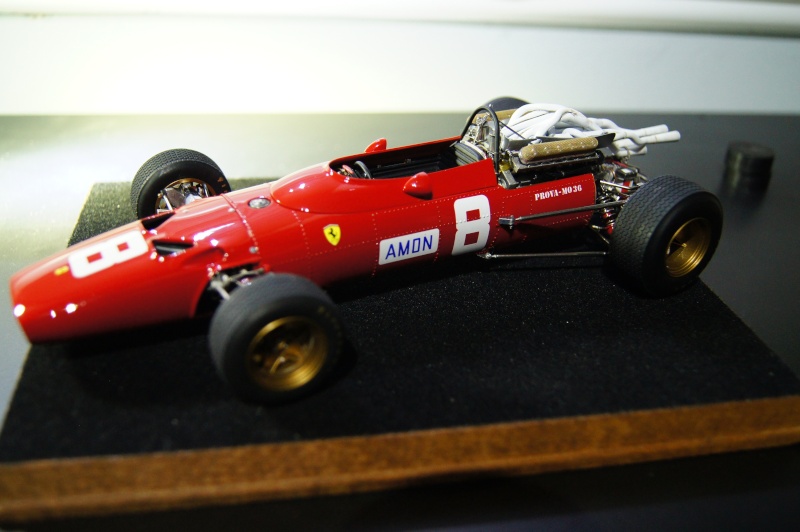

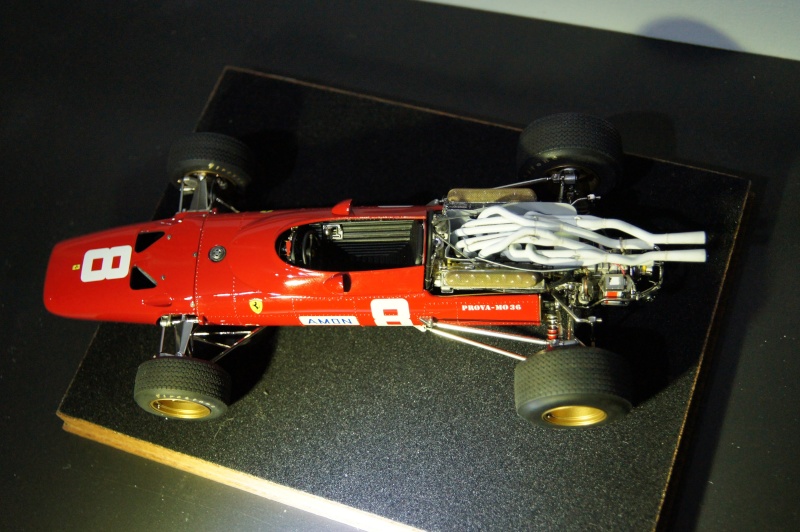
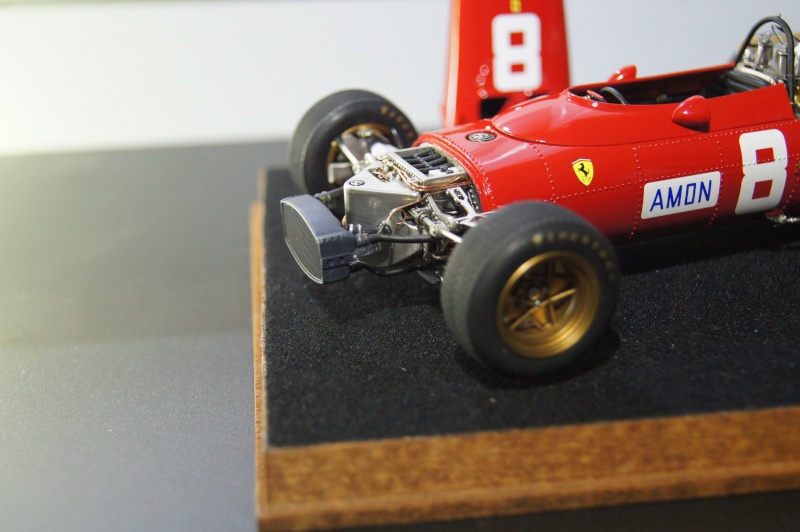
Comments and remarks are welcome.
Thanks for watching.
Pascal
If only closed minds came with closed mouth... |
| dark star |
Posted - 01/11/2016 : 05:07:05
Amazing job!
Your knowledge and skills, let me impressed.
Respect !
jerry |
| pg265 |
Posted - 01/11/2016 : 01:12:08
Hello,
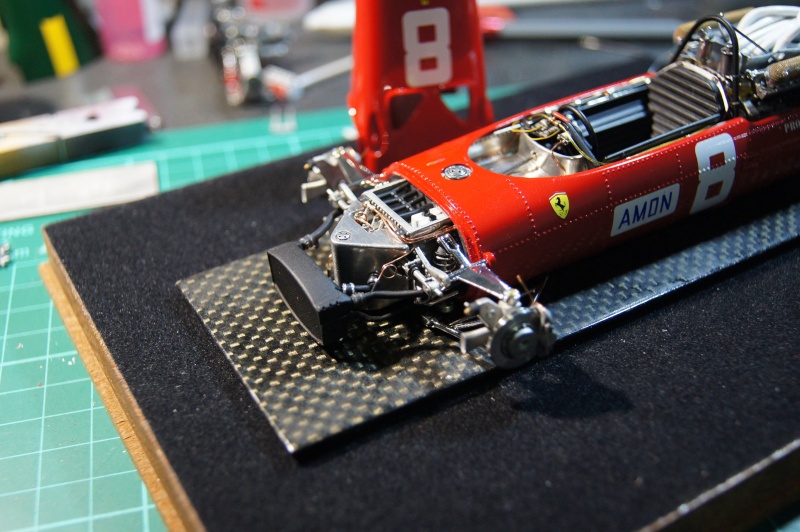
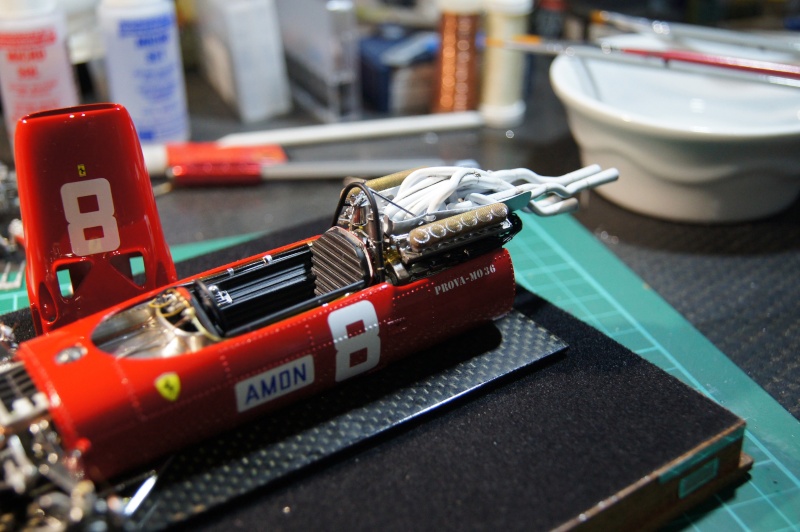
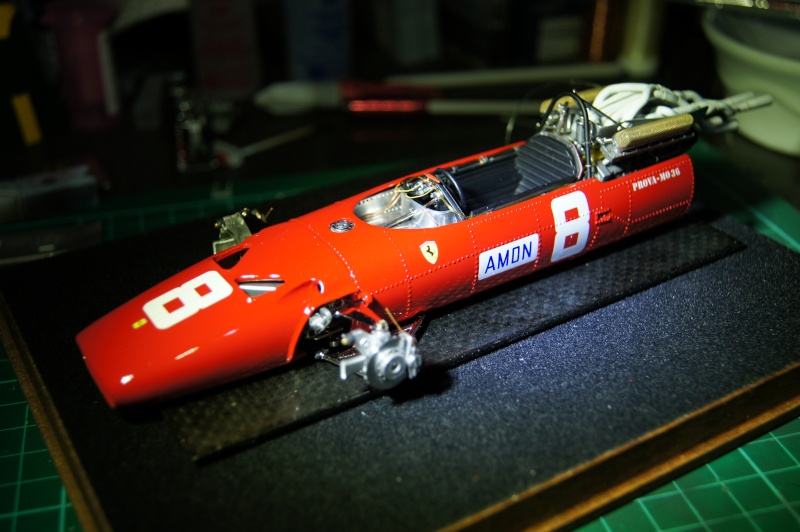
Exhaust mainly done
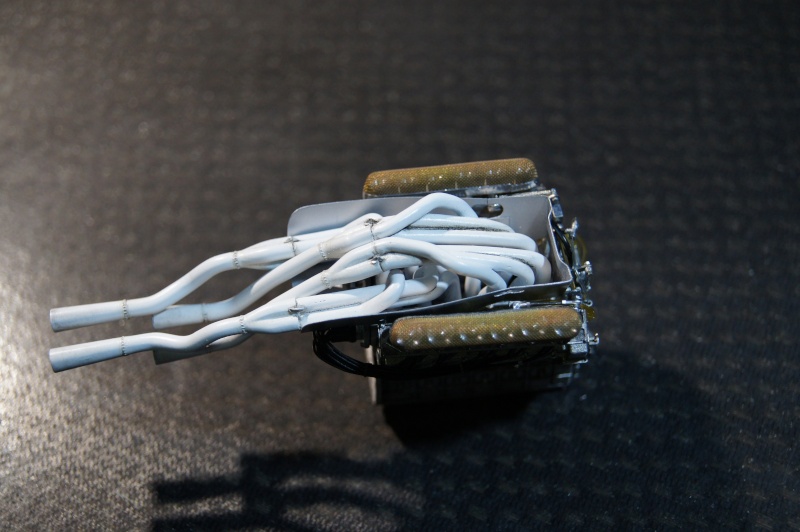
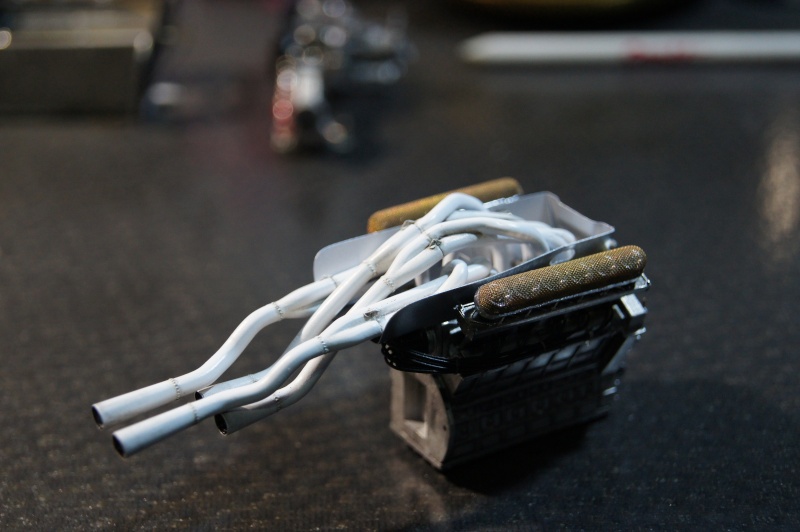
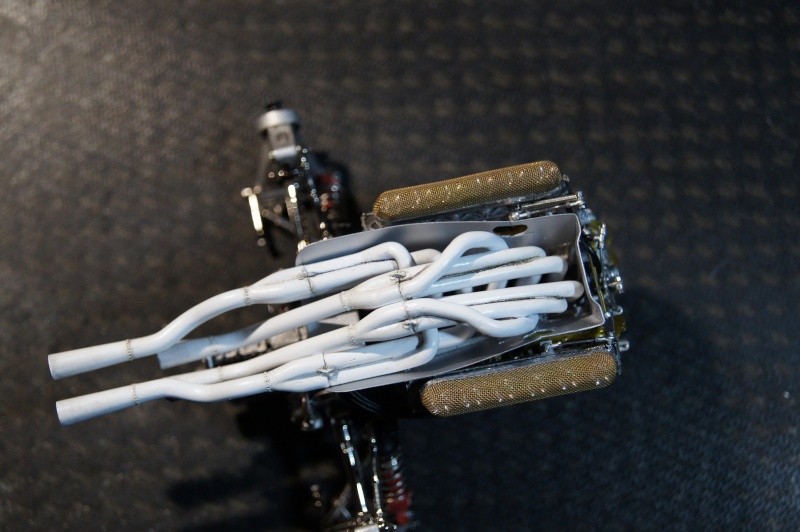
It may need to be accentuated (very slightly) in some areas and reduced for others.
Rollbar finished and installed:
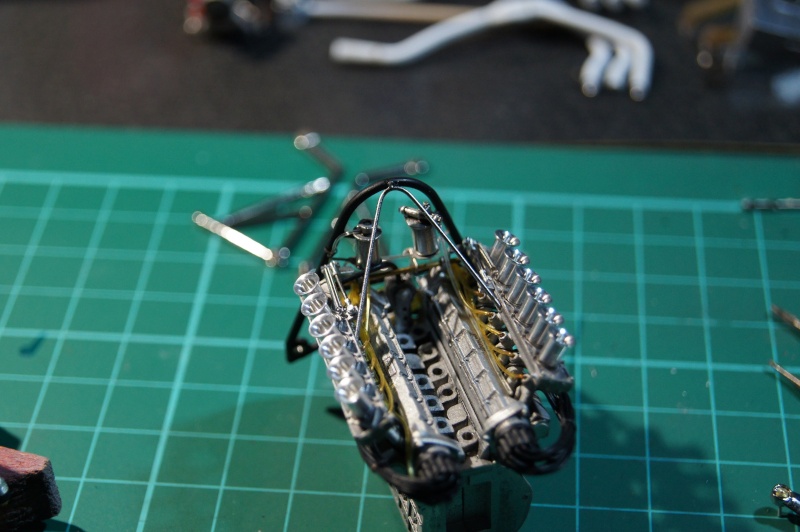
Engine also installed and everything is connected (Oil filter, tachometer...)
Hubs are modified to avoid the use of the black screws: I prefer ball joint ;)

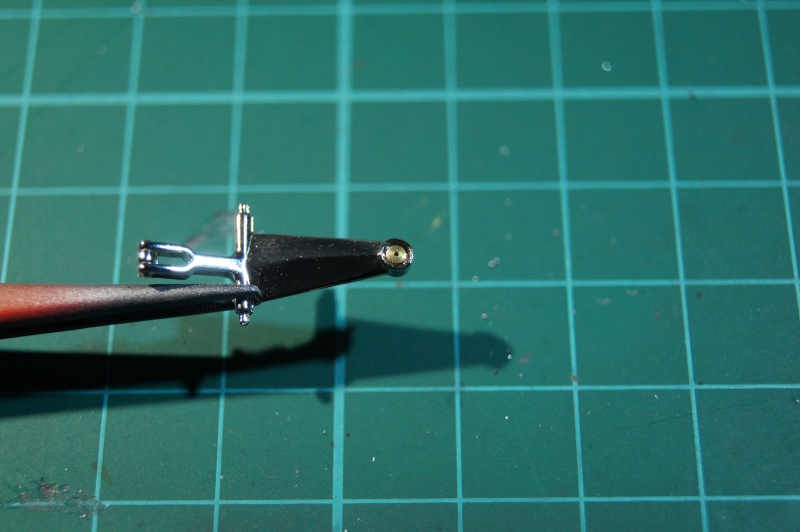
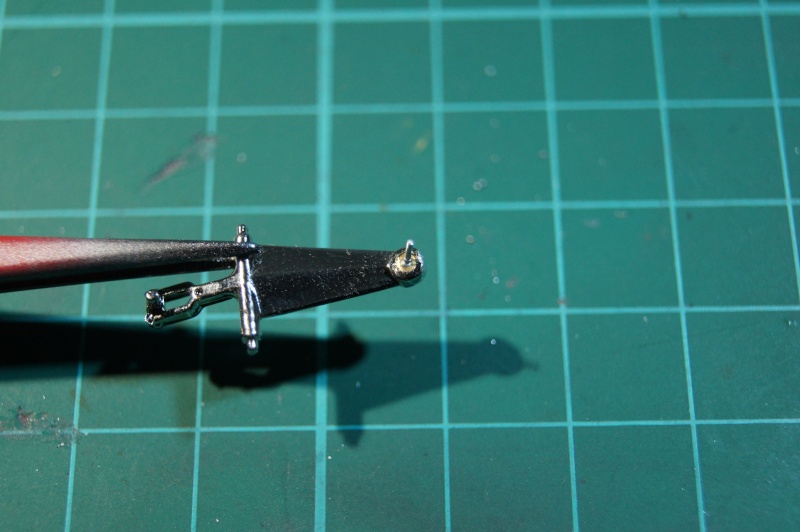
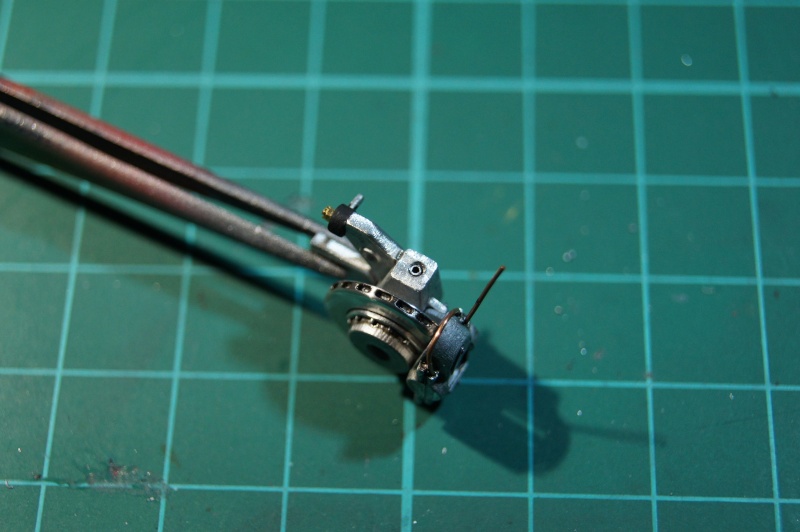
A screw head is added on the dampers adjustment knobs:
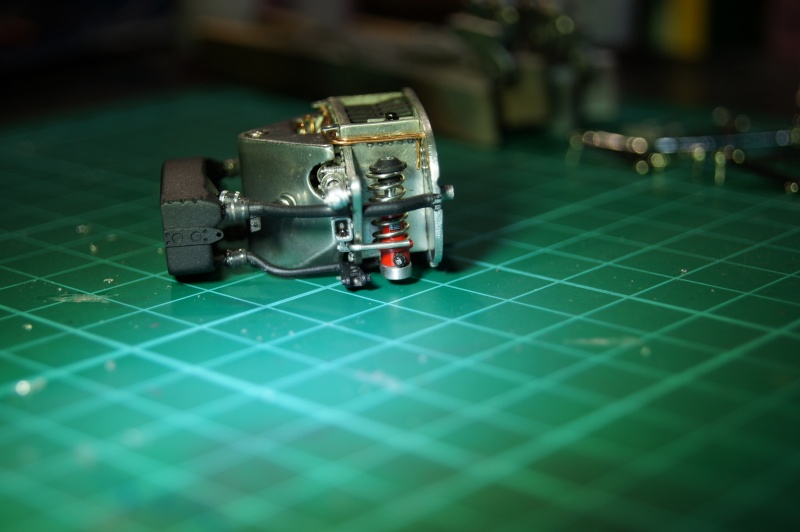
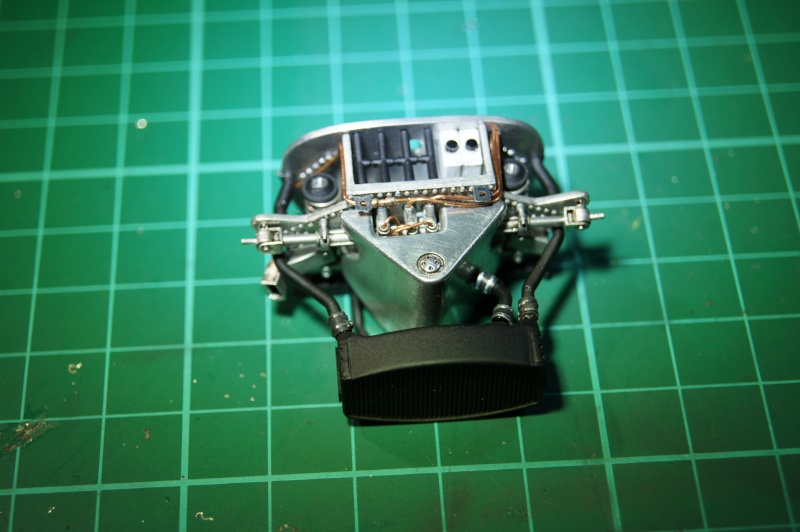
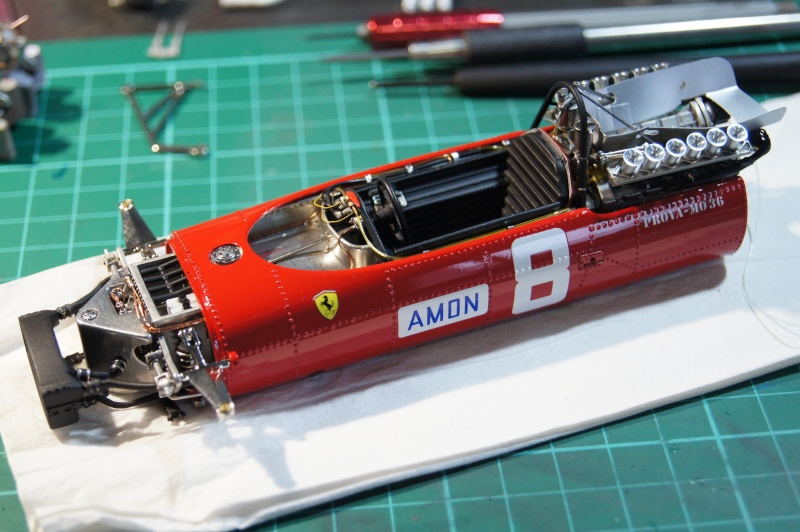
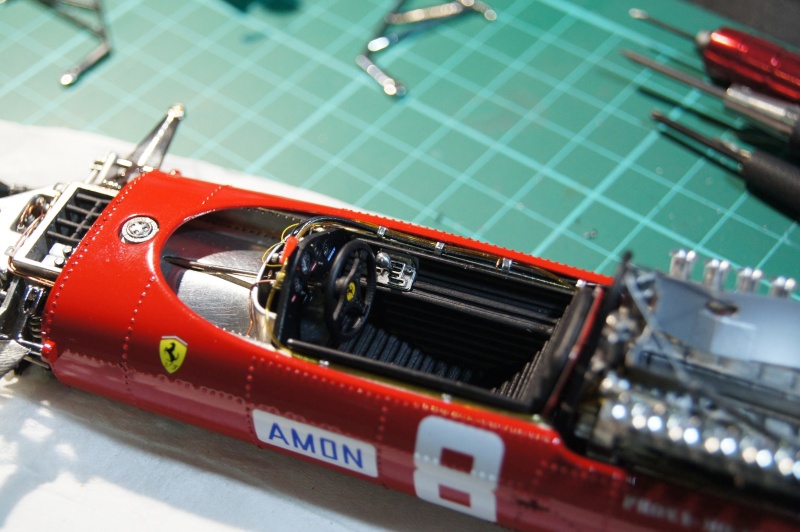
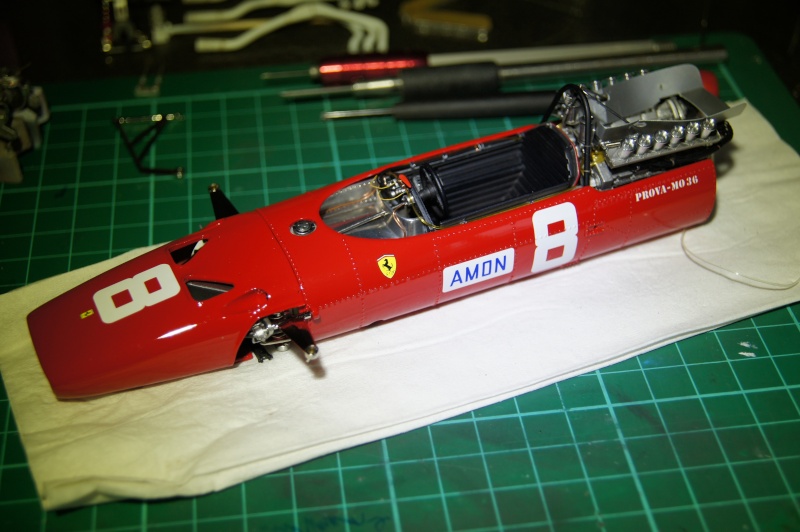
Sensors details added on the radiator hoses.
A quick oil (W&N) dry brush was done on the seat and the steering wheel.
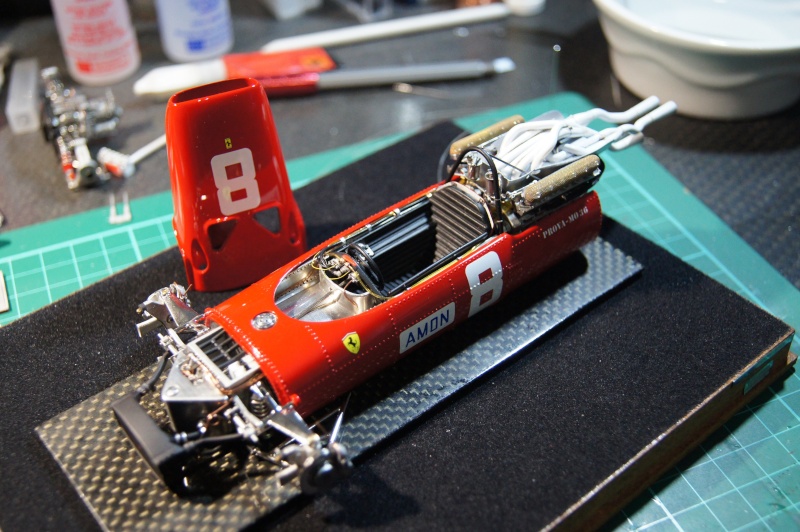
More soon.
Pascal
If only closed minds came with closed mouth... |
|
|
|
