| Author |
 Topic Topic  |
|
ramapao69
Italy
512 Posts |
 Posted - 01/23/2015 : 08:08:24 Posted - 01/23/2015 : 08:08:24


|
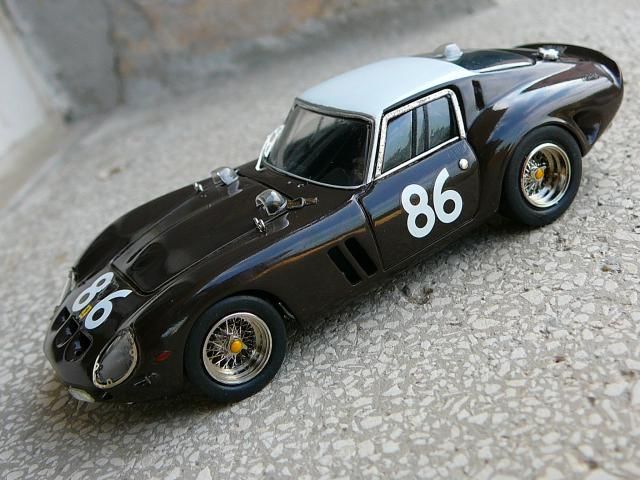
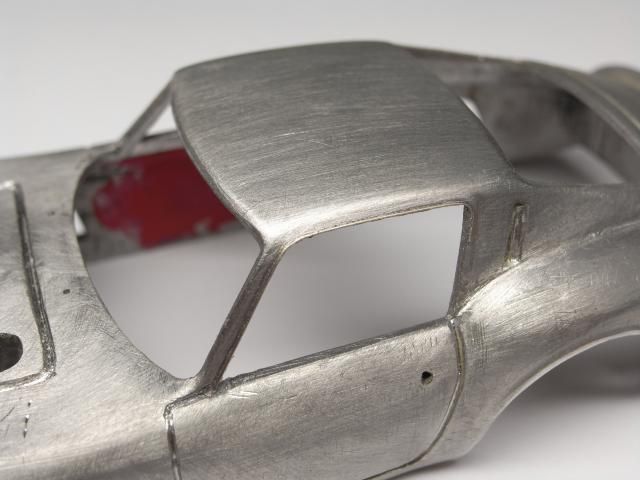
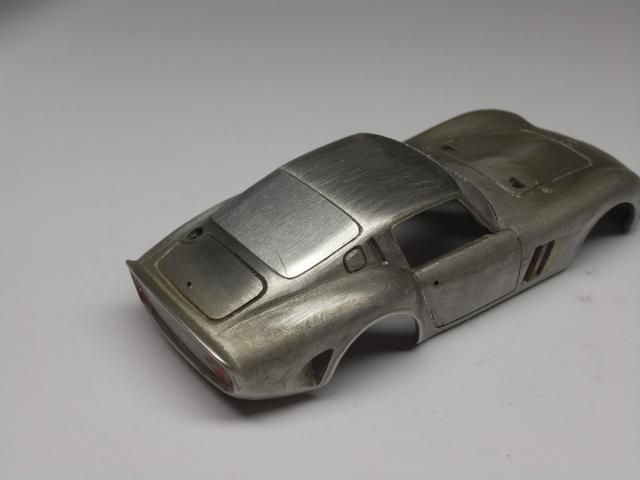
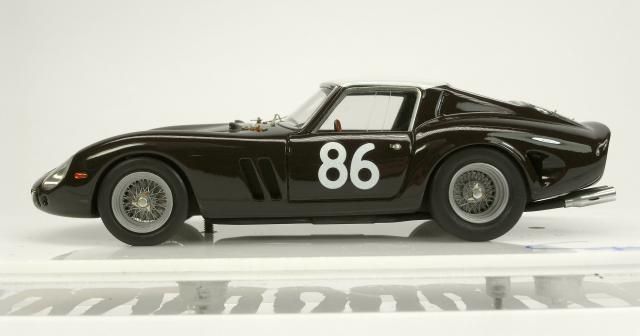
Here are pictures of a restoration work that Alberto Gianfrancesco made on an old model AMR Nostalgia One, bought on e-bay for a few Euros.
This version is the car driven by Ferraro and Scarlatti in the 1962 Targa Florio, chassis 3451GT, in a very unique and special dark brown color expecially for a car that we usually see in a completely different "dress".
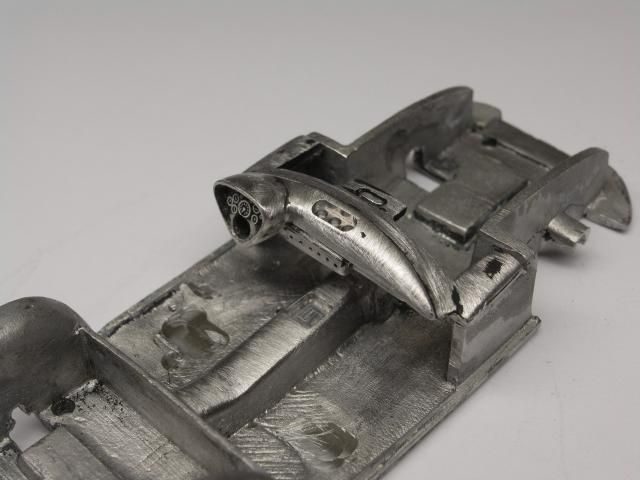
Let's start from the base ....
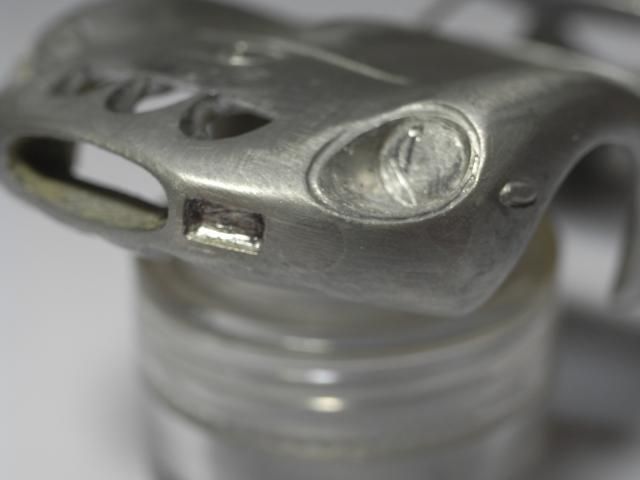
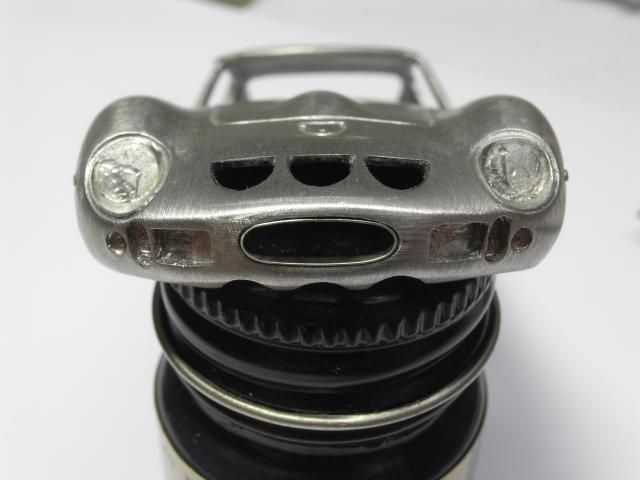
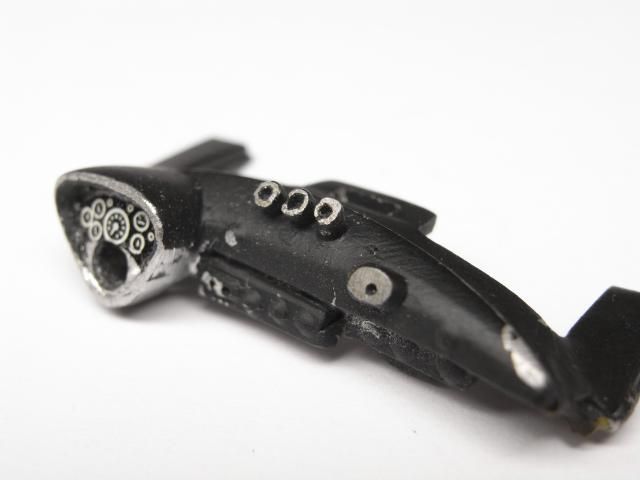
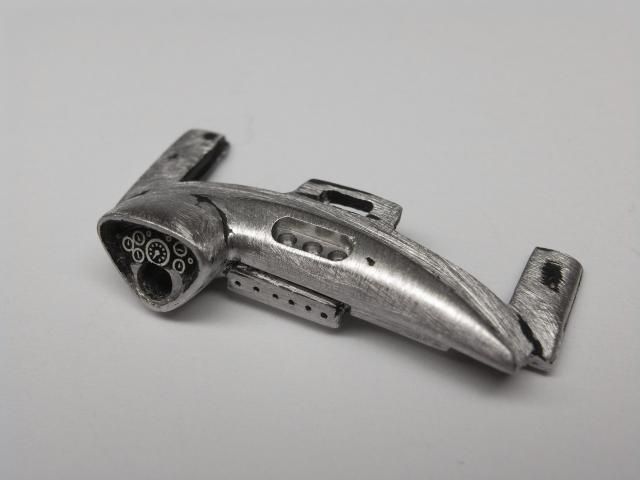
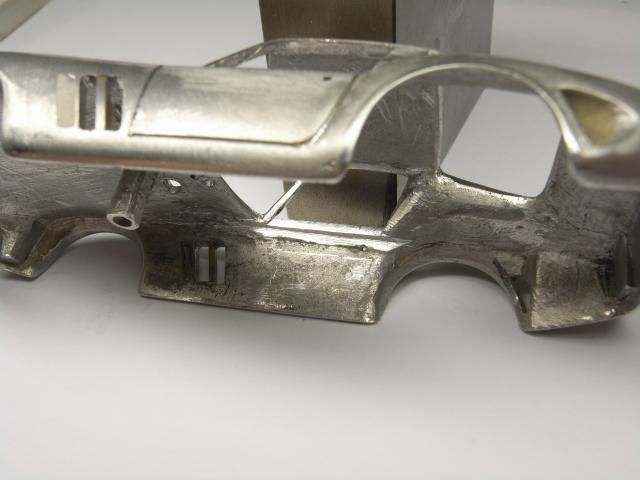
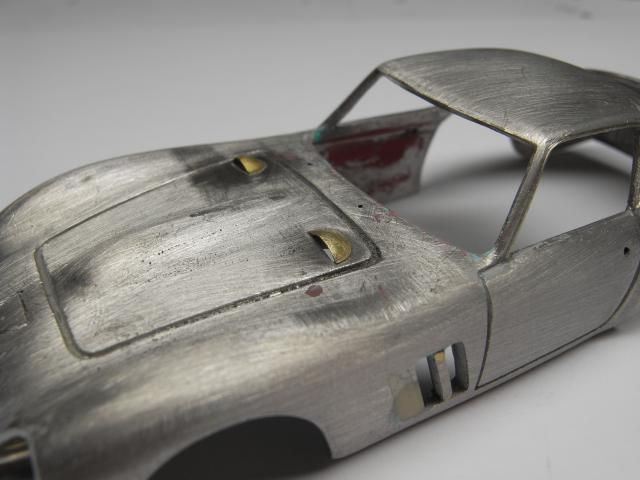
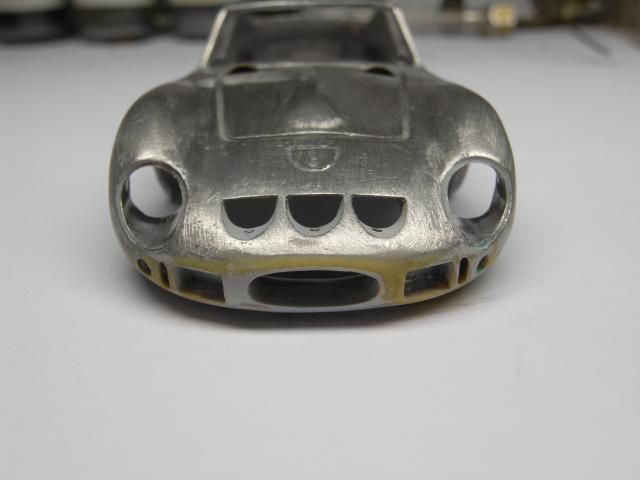
In the following pictures the unrefined model and the various adjustments necessary for this specific version, for example the reduction of the front opening that also has a different shape reconstructed with silver nickel strip of 0.3 mm


 |
|
|
ramapao69
Italy
512 Posts |
Posted - 01/24/2015 : 03:30:38
|
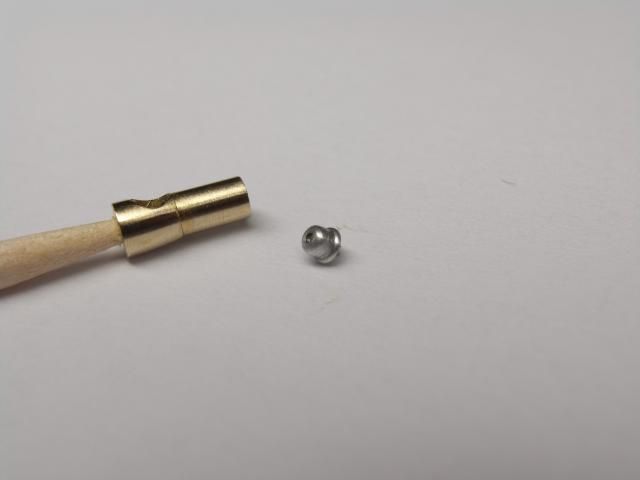
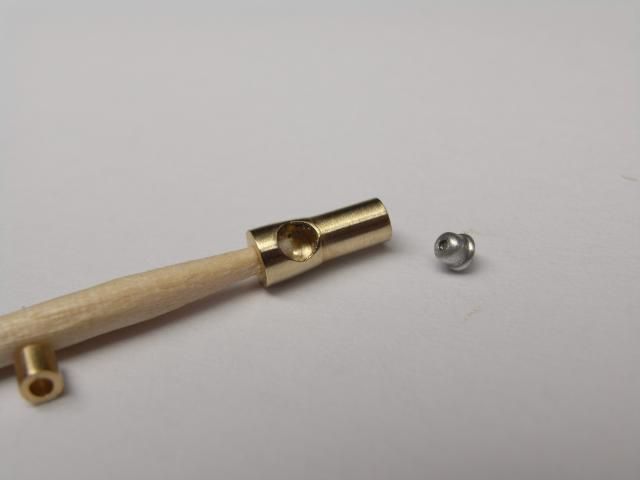
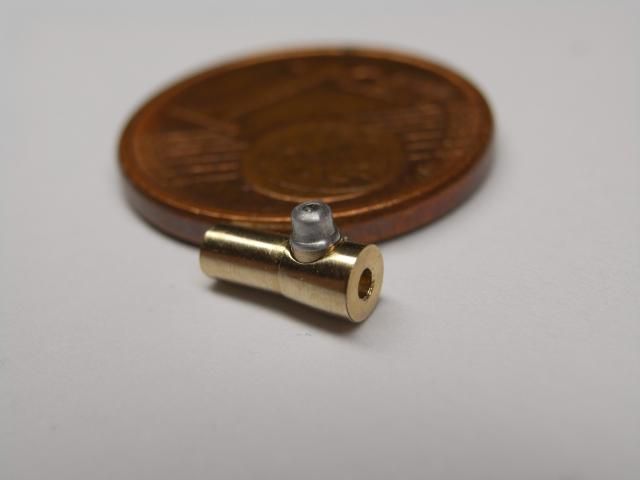
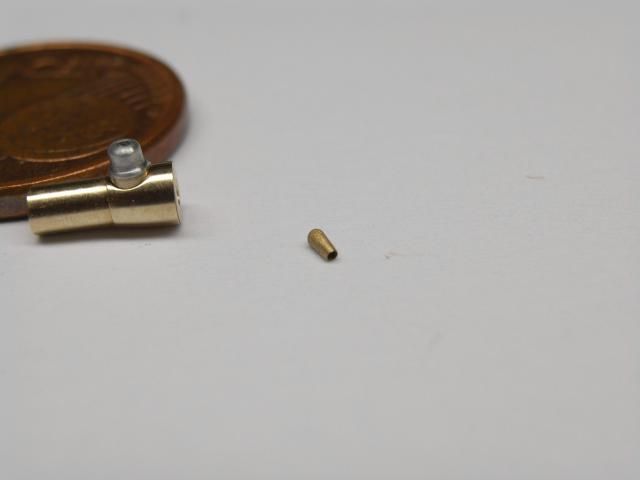
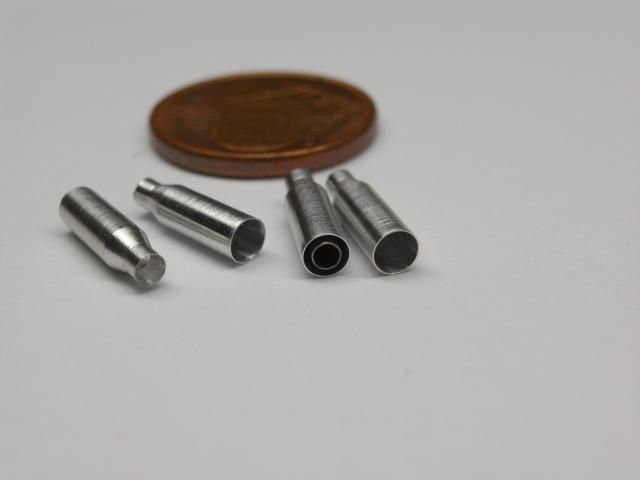
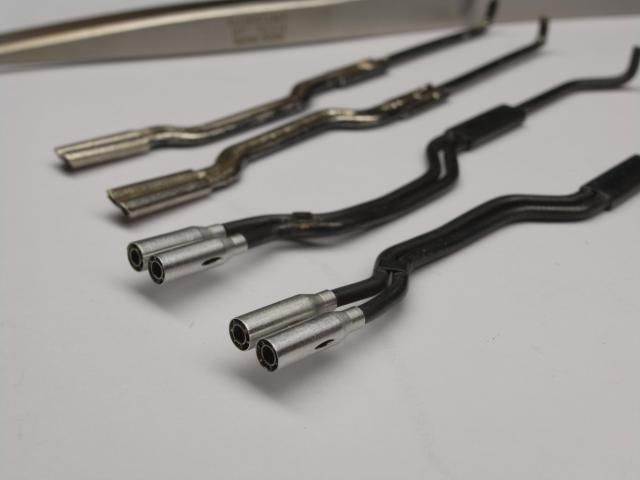
In the following pictures the turned parts of the steering column and of the lever knob of direction arrows....(sorry for my bad english)

 |
 |
|
|
ramapao69
Italy
512 Posts |
Posted - 01/25/2015 : 09:50:56
|
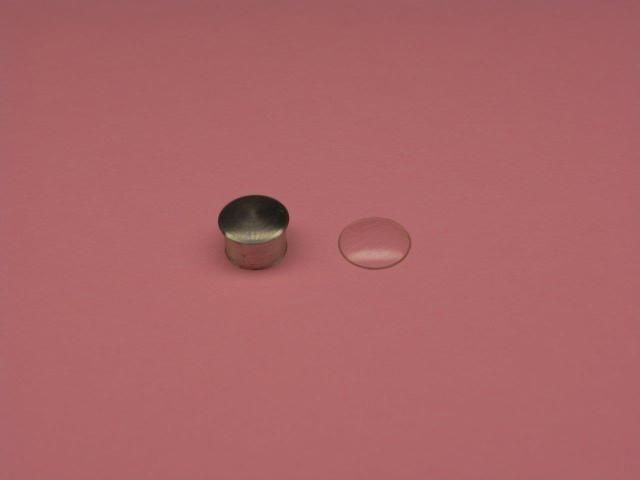
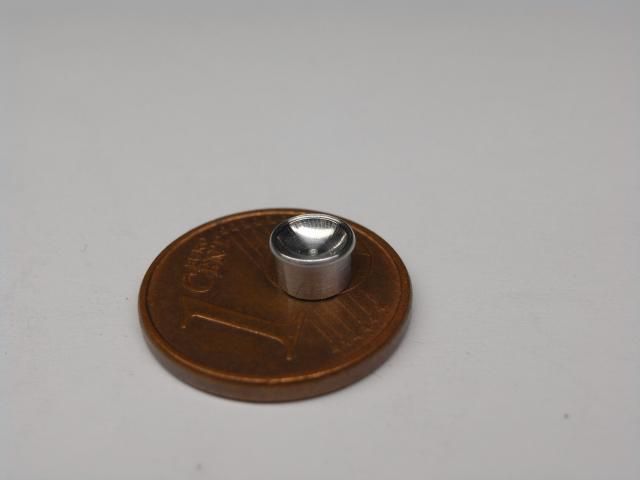
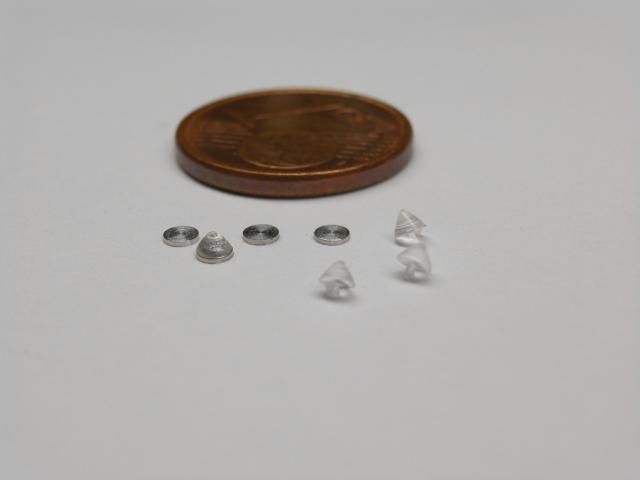
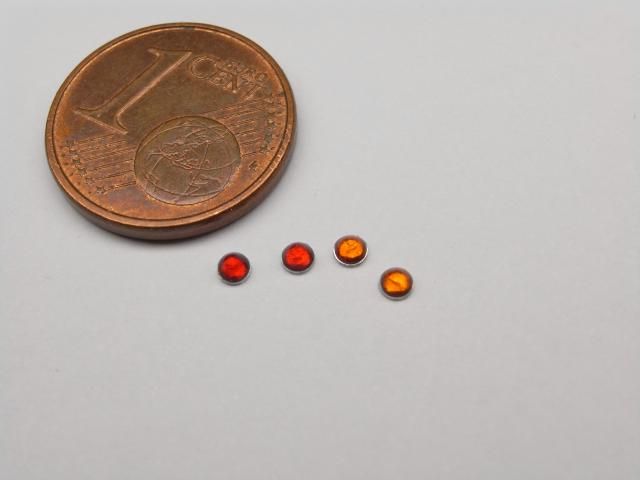
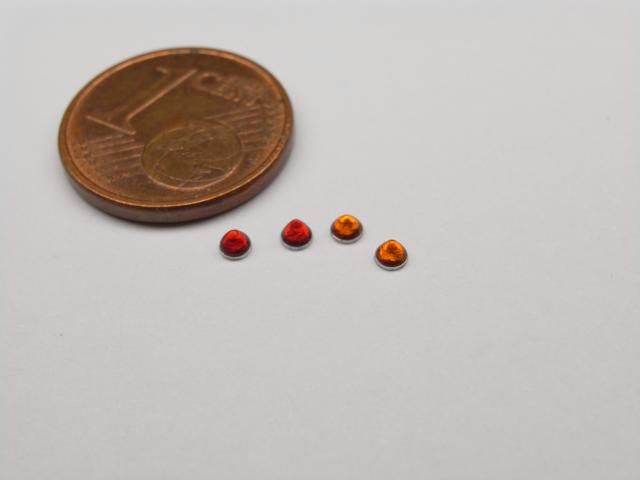
Various turned parts, thermoformed headlights parable and rear lights.

 |
|
|
|
ramapao69
Italy
512 Posts |
Posted - 01/27/2015 : 10:38:54
|
I start thinking that this wip does not interest to anybody :( however this are the aluminum machined exaust pipes
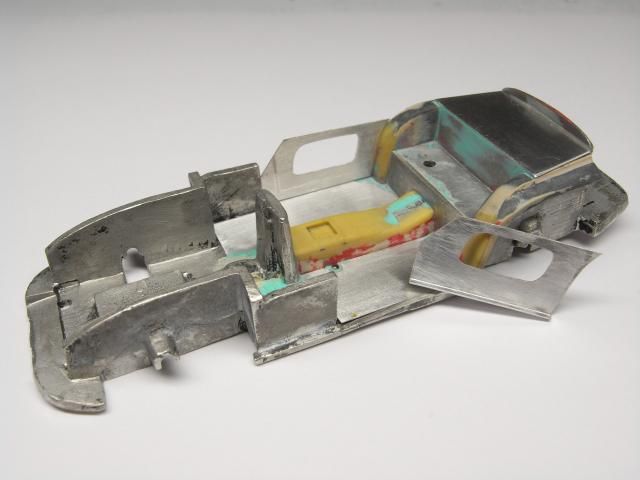
Below pictures of the dashboard and the floor as they were in origin
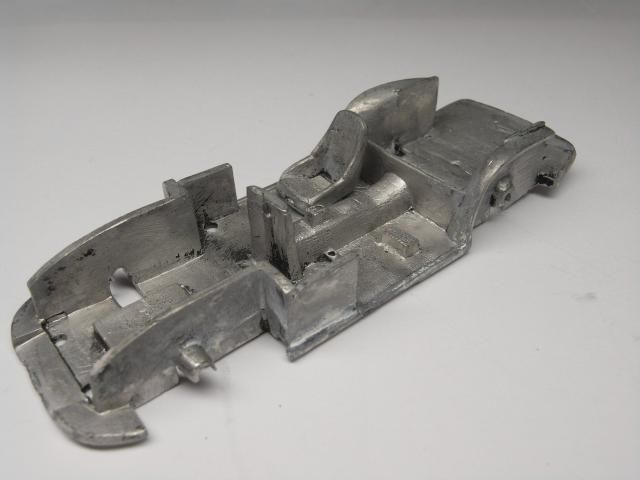
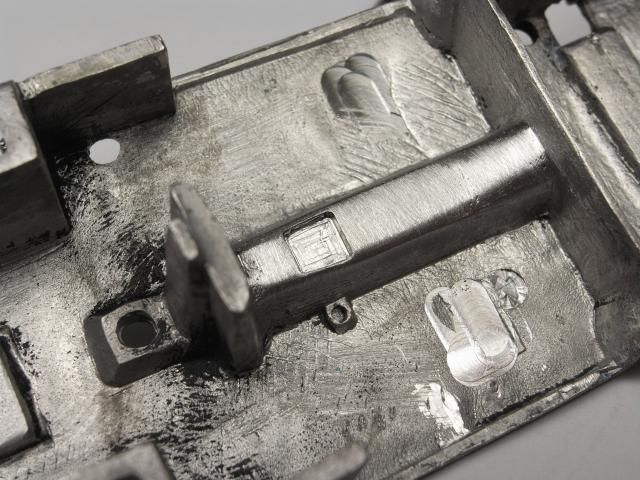
And then the first adjustments and milled parts....
 |
Edited by - ramapao69 on 01/27/2015 10:39:36 |
|
|
|
ramapao69
Italy
512 Posts |
Posted - 01/30/2015 : 08:39:06
|
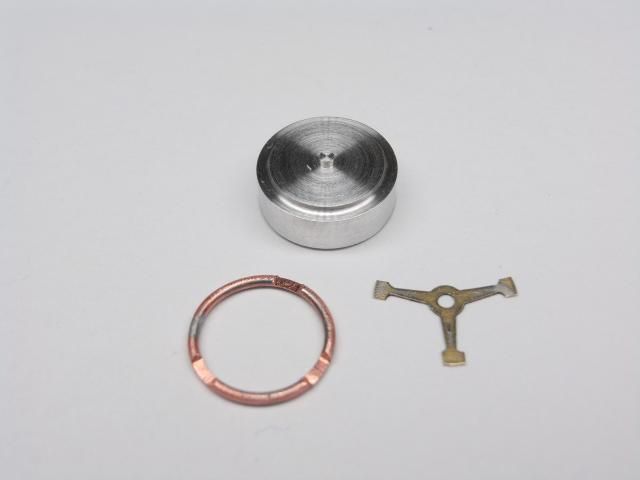
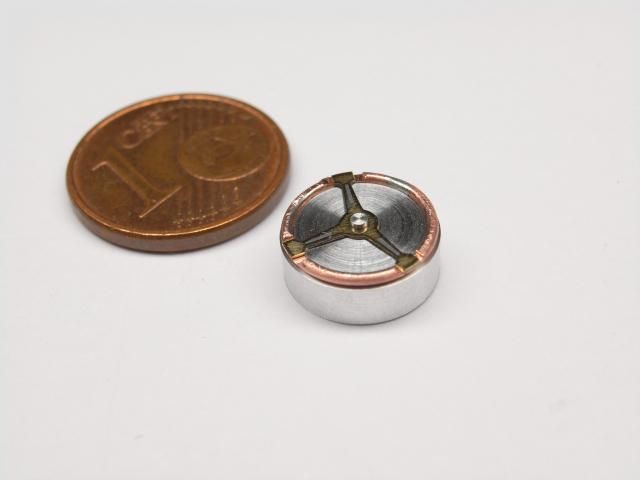
Ricostruzione dello sterzo e dima per il centraggio durante la saldatura...
 [/URL] [/URL]
 [/URL] [/URL]
 [/URL] [/URL]
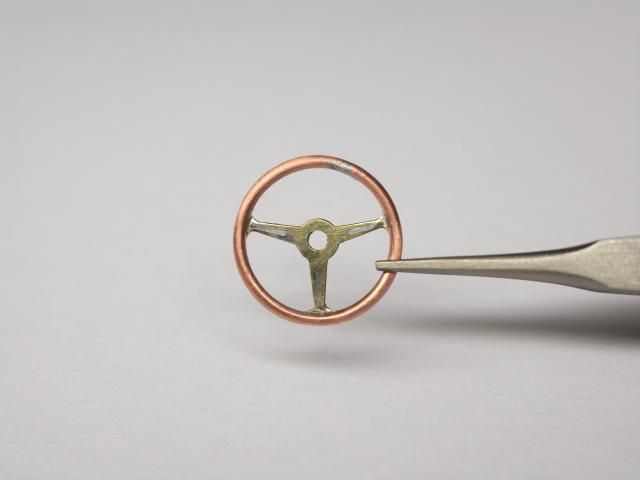
Volante finito...
 [/URL] [/URL]
Fanali posteriori verniciati con colori trasparenti....
 [/URL] [/URL]
 [/URL] [/URL] |
Edited by - ramapao69 on 01/30/2015 08:40:08 |
|
|
|
ramapao69
Italy
512 Posts |
Posted - 02/01/2015 : 02:43:53
|
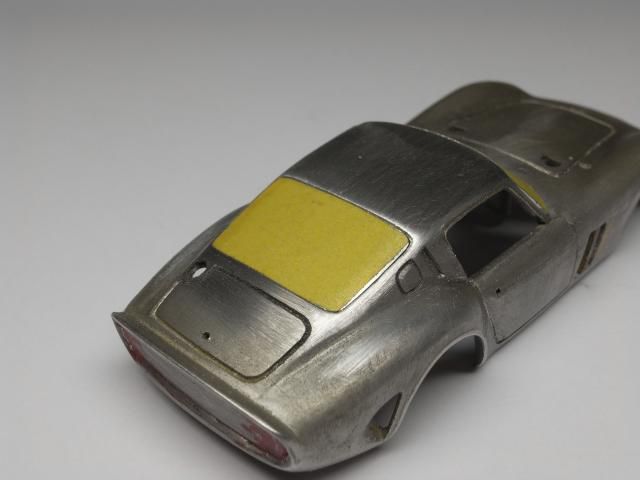
Proseguiamo con la costruzione ex novo dei pannelli portiera con lamierino di 0.2mm , rifatti il pianalino posteriore e la cappelliera con una lastra di alluminio 0.8mm
Aggiustamento per l'alloggio dei pannelli portiera
Costruzione del gocciolatoio usando un filo di nickel da 0.1

E buona domenica a tutti :mrgreen: |
Edited by - ramapao69 on 02/01/2015 02:44:27 |
|
|
|
ramapao69
Italy
512 Posts |
Posted - 02/03/2015 : 09:33:18
|
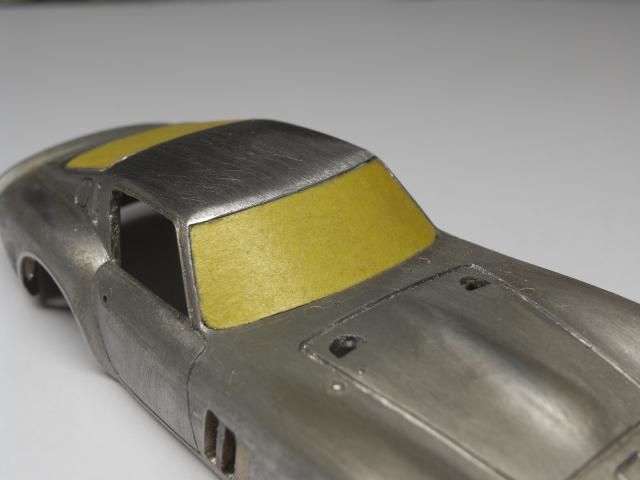
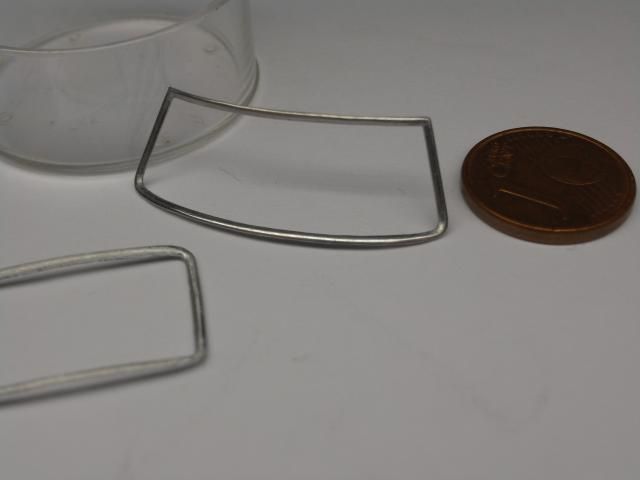
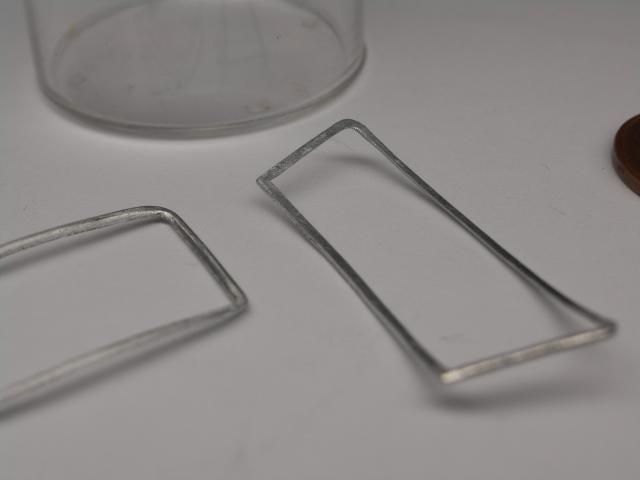
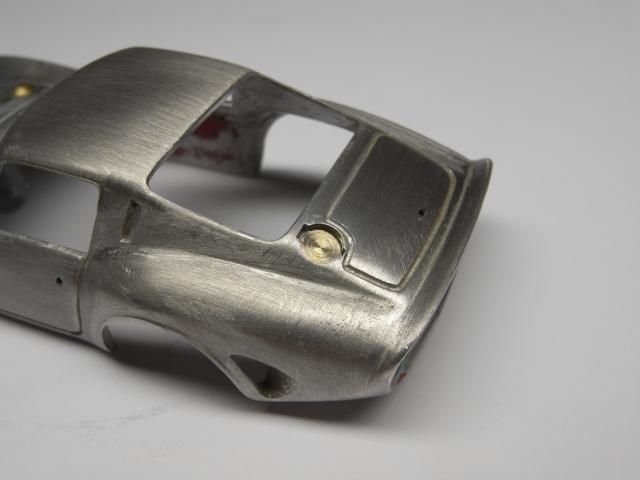
Di seguito le foto che riguardano la costruzione delle cornici vetro fatte con lastra di alluminio da 0.6, sono state eliminate quelle riportate sulla carrozzeria e prima � stato messo il nastro adesivo sui trasparenti del kit, quindi � stato tagliato a misura e poi messo sulla lastra come "dima" per il taglio.
 |
|
|
|
ramapao69
Italy
512 Posts |
Posted - 02/05/2015 : 01:00:38
|
I am so happy of all these comments!!! ahahahah
Anyway.....
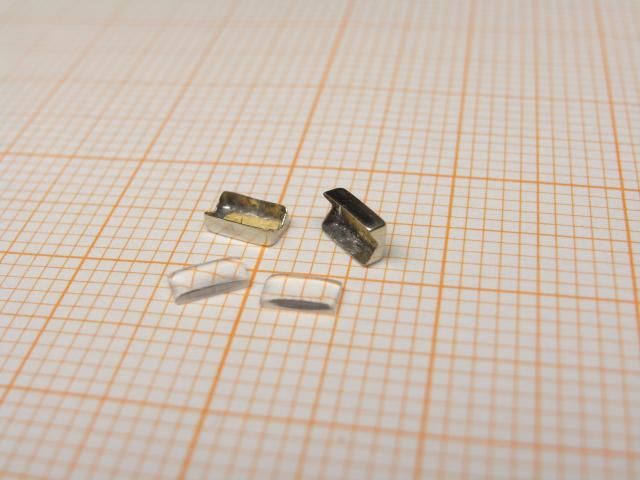
Proseguiamo...costruzione dei fari antinebbia con lastrino di nickel e vetro in plexi sagomato e lucidato
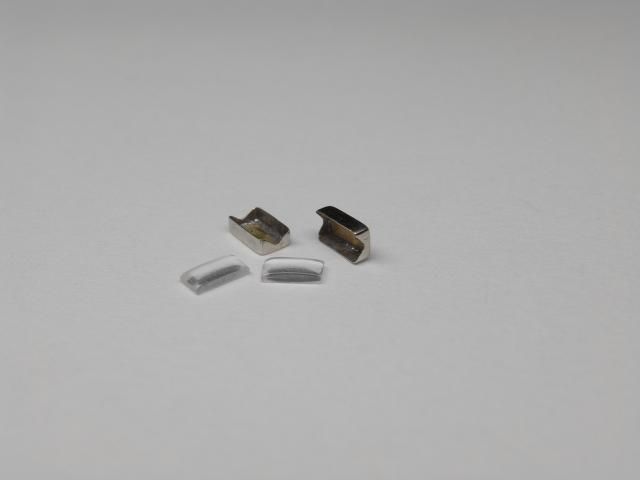
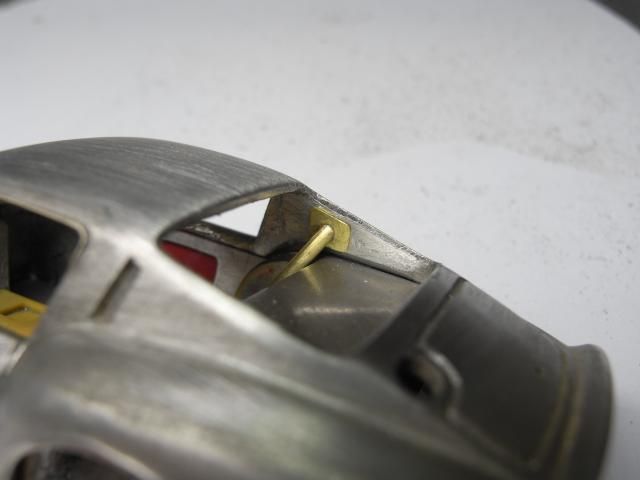
Ricostruzione del tubo del serbatoio e incollaggio in posizione

 |
|
|
|
SalMonOrd
Mexico
1 Posts |
Posted - 02/05/2015 : 08:23:14
|
| Keep the updates coming, please! I recently tried to convert an IXO GTO to this very same configuration but gave up. I'm finding your technical skills and solutions very useful. |
|
|
|
ramapao69
Italy
512 Posts |
Posted - 02/05/2015 : 08:59:12
|
quote:
Originally posted by SalMonOrd
Keep the updates coming, please! I recently tried to convert an IXO GTO to this very same configuration but gave up. I'm finding your technical skills and solutions very useful.
Thank you very much don't worry more pictures coming!! |
|
|
|
ramapao69
Italy
512 Posts |
Posted - 02/06/2015 : 03:48:05
|
Torniamo a noi.....la parte anteriore del fondino � stata staccata e poi saldata alla carrozzeria per poter meglio definire le prese d'aria inferiori.

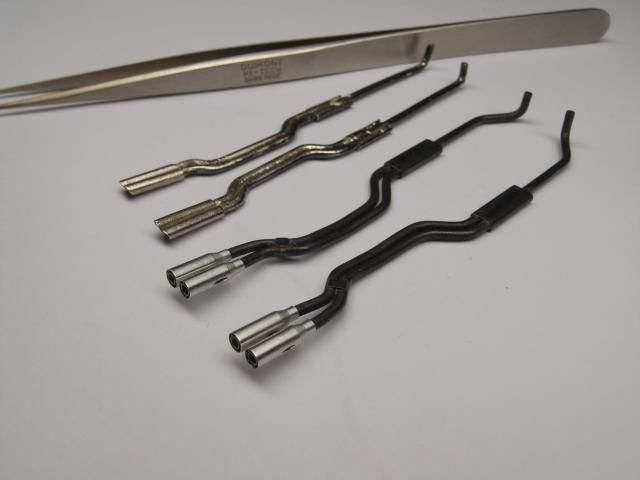
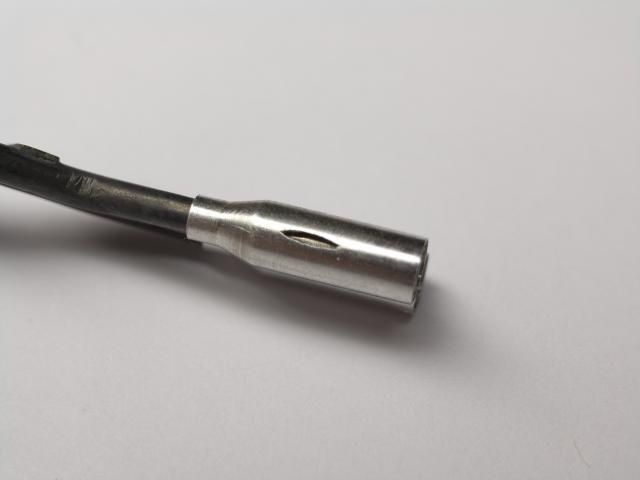
Gli scarichi sono stati bruniti ed � stata fresata l'asola sui terminali (SBAVVV :mrgreen: )
 |
|
|
|
FYI
Australia
8 Posts |
Posted - 02/08/2015 : 02:00:30
|
Very nice work! I really like the front fog light and exhaust with slot you made. They look real.
How did you do the slot? Do you have picture of the tool? |
|
|
|
ramapao69
Italy
512 Posts |
Posted - 02/08/2015 : 05:16:52
|
quote:
Originally posted by FYI
Very nice work! I really like the front fog light and exhaust with slot you made. They look real.
How did you do the slot? Do you have picture of the tool?
The builder is Alberto Gianfrancesco and made the slot with a milling machine....i will ask him if is possible to have a picture, thank you for your comment. |
|
|
|
ramapao69
Italy
512 Posts |
Posted - 02/08/2015 : 06:29:06
|
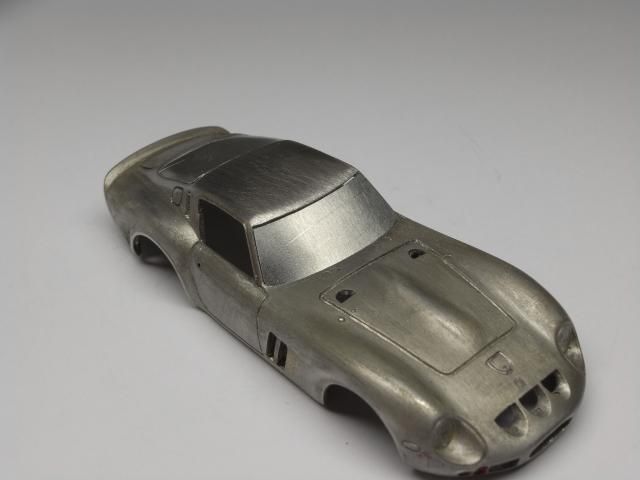
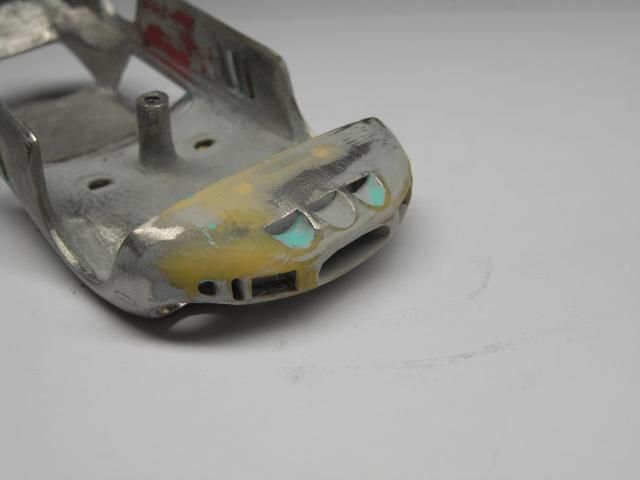
Have a nice Sunday you all .... here are some photos of various finishes on the body and the opening of the headlight slot in order to accommodate the new parables.

|
|
|
|
ramapao69
Italy
512 Posts |
Posted - 02/09/2015 : 07:05:37
|
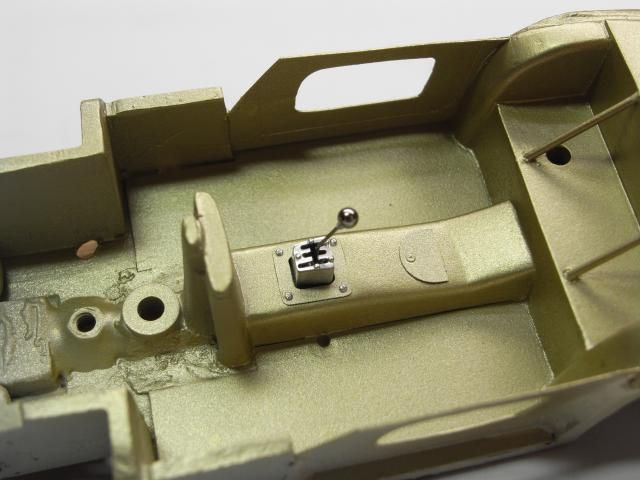
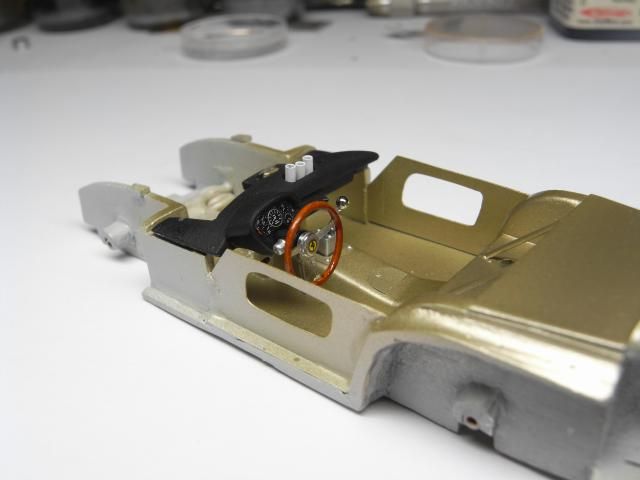
Painting interior with light gold, detail of the gear box and mounting complete dashboard

 |
|
|
|
ramapao69
Italy
512 Posts |
Posted - 02/12/2015 : 09:11:20
|
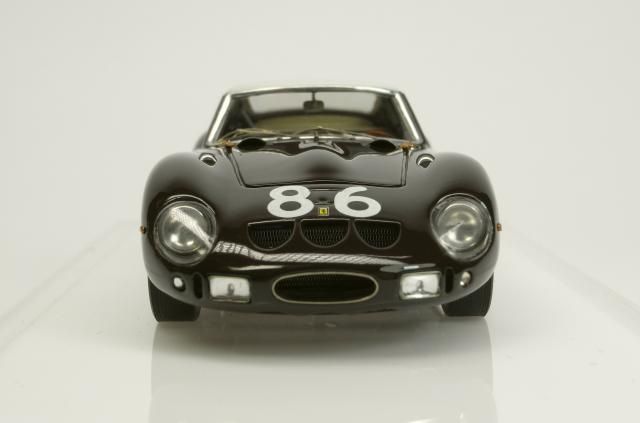
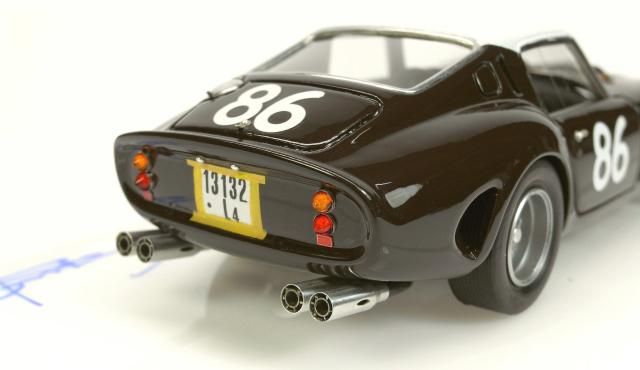
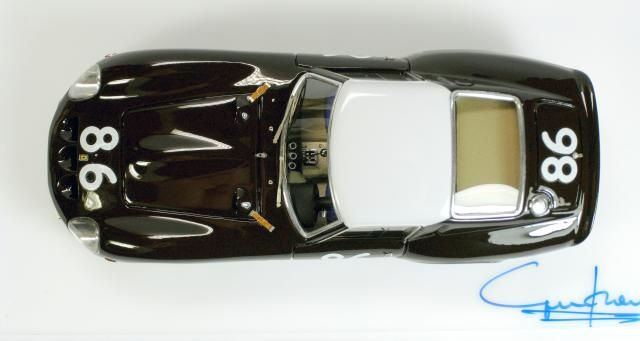
Here we are at the end...the finished model

|
|
|
|
Topic |
|