| Author |
 Topic Topic  |
|
LaSource
356 Posts |
 Posted - 12/16/2010 : 09:51:38 Posted - 12/16/2010 : 09:51:38


|
 |
 |
|
|
LaSource
356 Posts |
 Posted - 12/16/2010 : 09:55:24 Posted - 12/16/2010 : 09:55:24


|
 |
 |
|
|
LaSource
356 Posts |
 Posted - 12/16/2010 : 09:56:35 Posted - 12/16/2010 : 09:56:35


|
 |
 |
|
|
gdist43
Japan
32 Posts |
 Posted - 12/16/2010 : 16:32:01 Posted - 12/16/2010 : 16:32:01


|
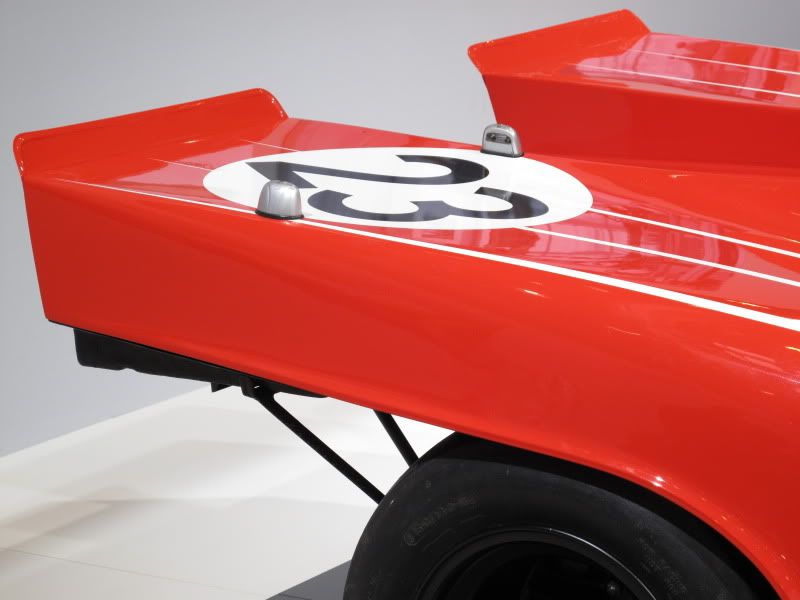
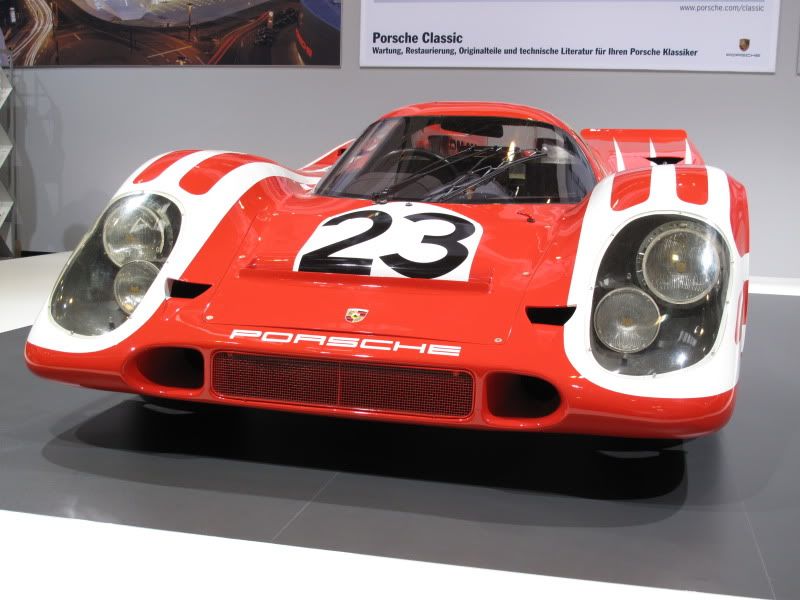
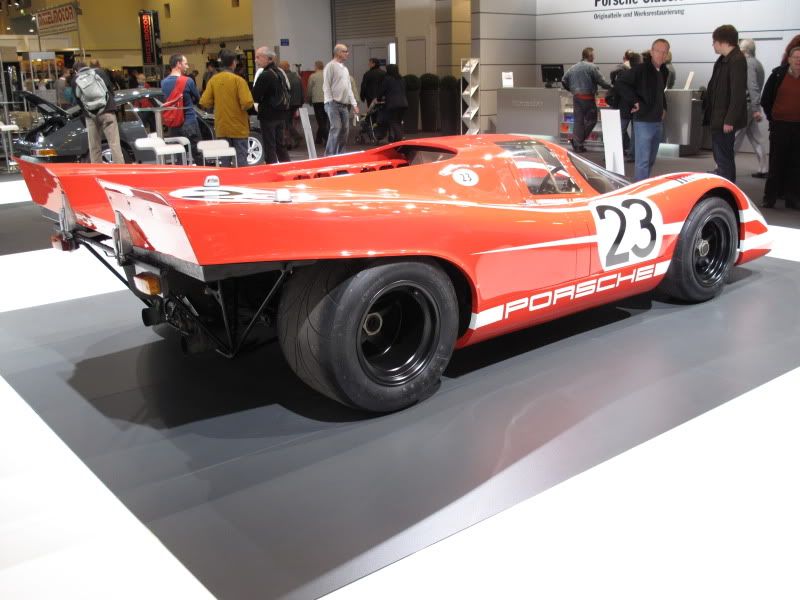
How clean PICS! The details of number light, exhaust pipes, spare tire rack will be reflexted my work. I appreciate it, LaSource.
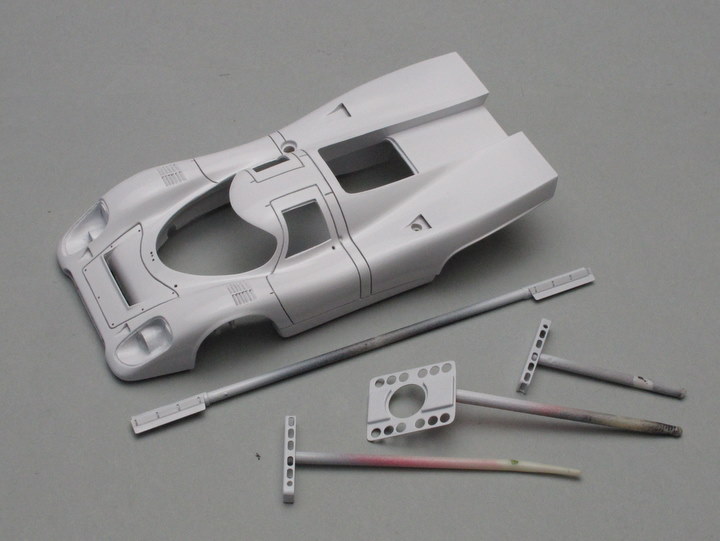
Today I did thick white coat on the body. It takes about a few days to harden completely... |
 |
|
|
LaSource
356 Posts |
 Posted - 12/17/2010 : 00:41:20 Posted - 12/17/2010 : 00:41:20


|
Thanks Akihiro,
I appreciate the great explanation of your work here in the forum, and the amazing details you add to such a model.
|
 |
|
|
Enzo1
Belgium
88 Posts |
 Posted - 12/18/2010 : 04:18:35 Posted - 12/18/2010 : 04:18:35


|
Mister Kamimura kindly allowed me to post some pictures of a Porsche 917 chassis made by Fred Suber. This is a 1/24 chassis :


 |
 |
|
|
914joe
USA
206 Posts |
|
|
gdist43
Japan
32 Posts |
 Posted - 12/20/2010 : 17:43:29 Posted - 12/20/2010 : 17:43:29


|
Thank you for posting links interesting... I stopped my work a little while and gazed into those amazing works. Today I would show you my painting process.
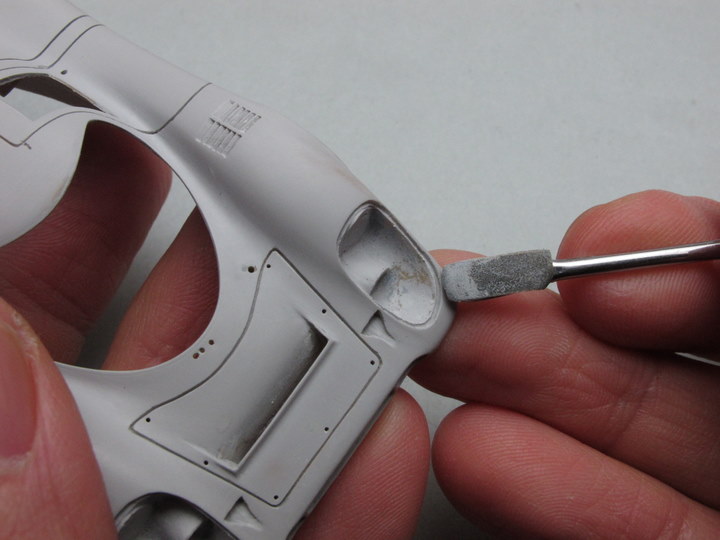
A bit late but I would remind you the fine-finishing of this area will cheer up overall impression of the model car. So I sanded the surface carefully before the white-painting.
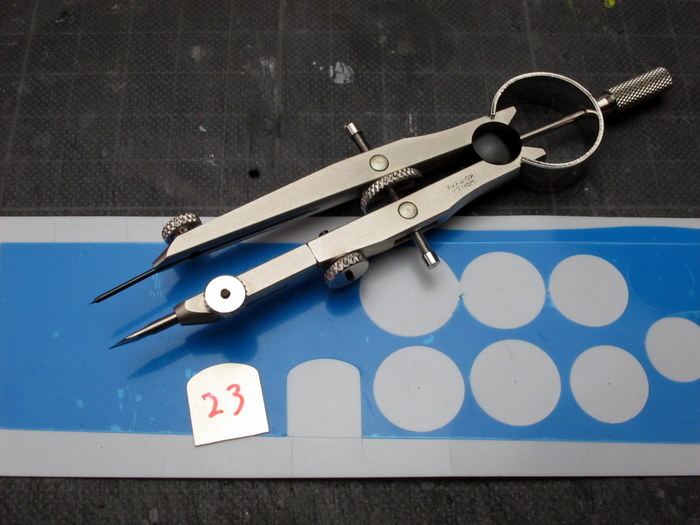
I had to mask these number circles as the original decals were too small, were not fitted to the body.
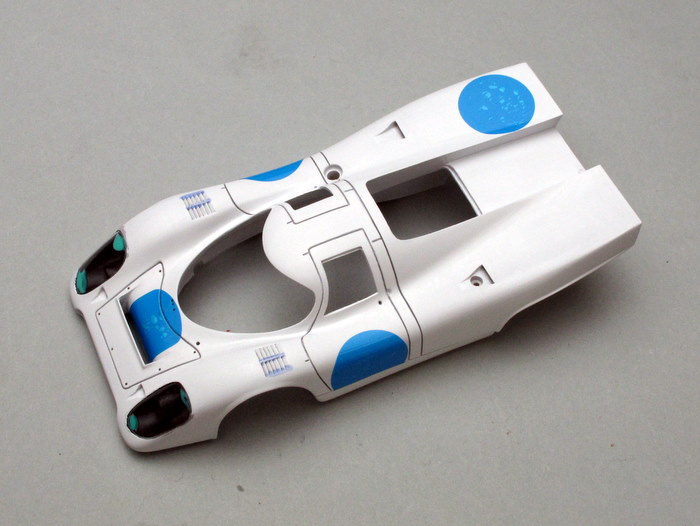
This blue masking film gives me fine edges, but requires a little patience to put it on. Anyway, ready to go to RED!
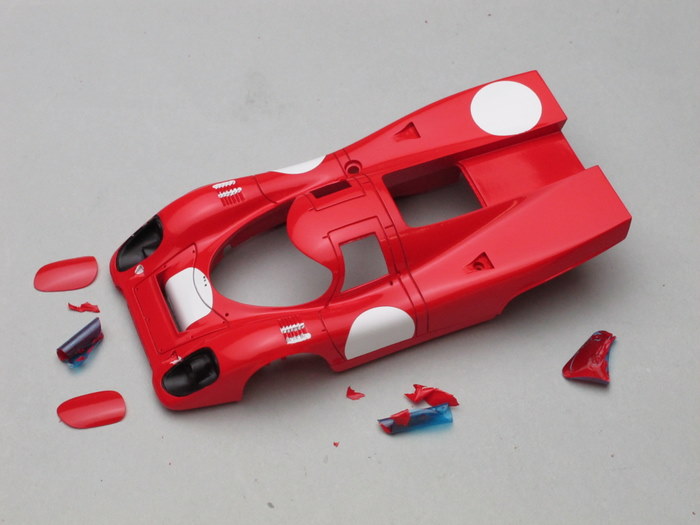
Ferrari? No, this will be Porshce LM'70 winner when I finish applying decals... I guess :) |
 |
|
|
gdist43
Japan
32 Posts |
 Posted - 12/28/2010 : 03:09:19 Posted - 12/28/2010 : 03:09:19


|
Let me tell you about my one week, have suffered from this old decal of 917K...
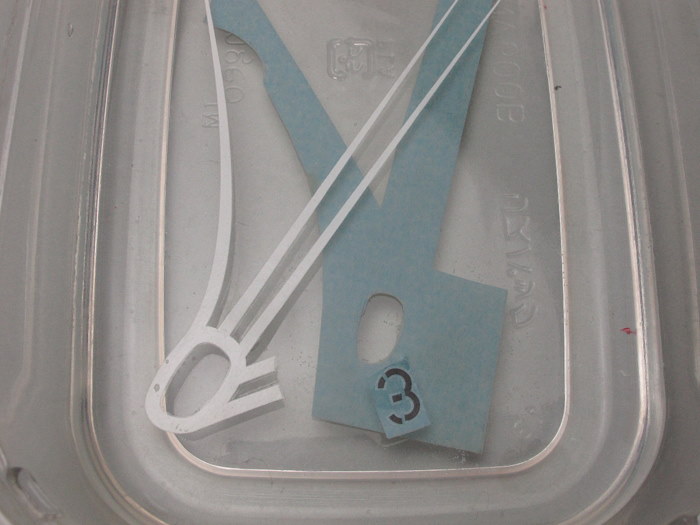
I guess it was printed over 10years ago, became less flexible. The number decal was broken when I tried to put it in water.
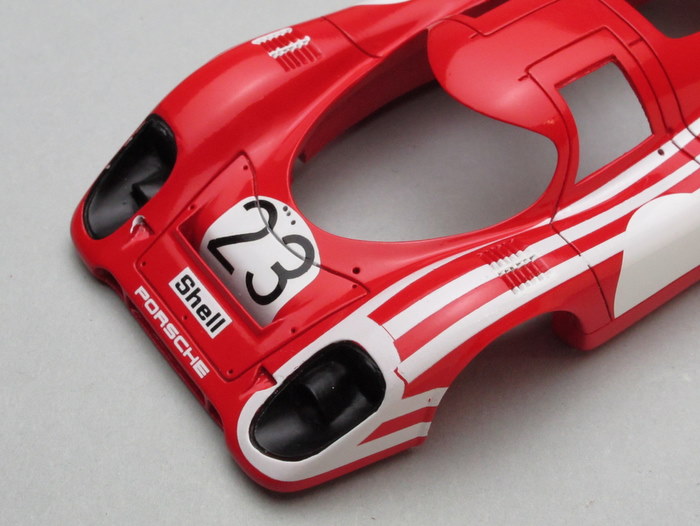
Fortunately those broken pieces could be aligned on the body at last. Then I encountered a lot of cracks in the white strip.
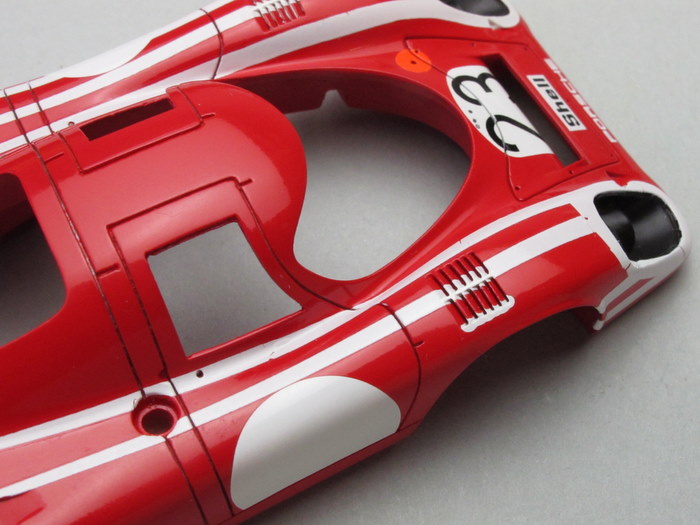
It took about 15min to get flexibility even I used decal softener and hot air from hair-dryer.
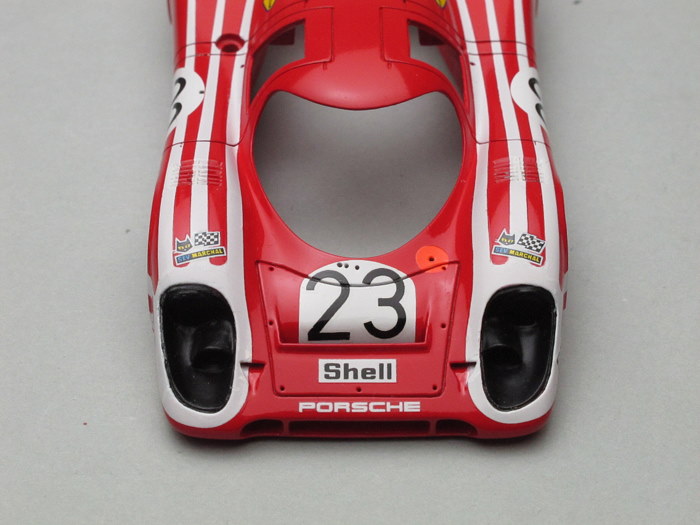
I brushed white paint to repair the cracks. Looks good at last.
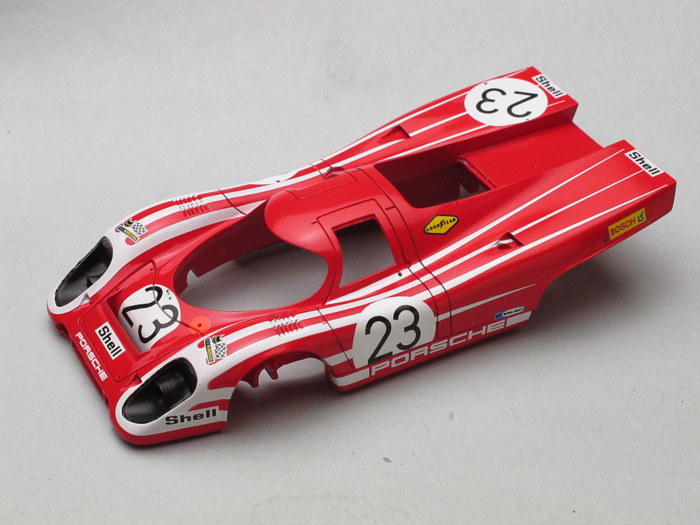
I am going to spray thick clear coat from now... Oops, a small "Shell" decal has gone away when I washed the body. |
 |
|
|
Ferrarinut
USA
1489 Posts |
 Posted - 12/28/2010 : 09:43:20 Posted - 12/28/2010 : 09:43:20


|
| Very impressive decal restoration Akihiro! It looks perfect. This livery is one of my favorites for the 917K. It looks like it is racing at top speed just standing still. |
 |
|
|
Trossi
232 Posts |
 Posted - 12/28/2010 : 09:53:29 Posted - 12/28/2010 : 09:53:29


|
| I have to agree with Mike and I am also very impressed. Its my favourite 917 version too. |
 |
|
|
914joe
USA
206 Posts |
 Posted - 12/28/2010 : 18:24:13 Posted - 12/28/2010 : 18:24:13


|
Looking good!!! Very stressfull when decals turn into puzzle peices.
If my memory is correct the inspiration for that paint scheme came when the car was being wind tunnel tested and some paint drops were added. |
 |
|
|
jeanpaul
France
149 Posts |
 Posted - 12/29/2010 : 02:57:09 Posted - 12/29/2010 : 02:57:09


|
For the old decal, you can use Microscale product
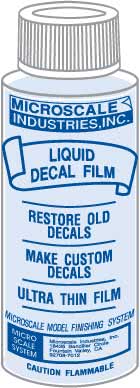
After applying the film, you must cut around your decal
|
 |
|
|
pierotecchio63
Italy
39 Posts |
 Posted - 01/02/2011 : 02:43:14 Posted - 01/02/2011 : 02:43:14


|
Dear Akihiro,
so pleased to see your work!
I will post some pics of the real car.
 /img] /img]


This is the car after the restoration in the new museum in Stuttgart.
BTW I have this model built by Mr. Hayakawa... |
 |
|
|
pierotecchio63
Italy
39 Posts |
 Posted - 01/02/2011 : 03:10:03 Posted - 01/02/2011 : 03:10:03


|
While this was the car as it looked like in the old Porsche Museum in Stuttgart, before the restoration of the car itself..


 |
 |
|
 Topic Topic  |
|
